
Best Wooden Utensils For Cooking
📖 Table of Contents
- Choosing the Right Wood for Utensils
- The Importance of Proper Finishing
- Avoiding Common Pitfalls in Wood Selection
- The Role of Handle Design in Usability
- The Benefits of Handcrafted vs. Mass-Produced Utensils
- The Importance of Proper Storage and Maintenance
- How to Choose the Right Utensil for Your Needs
- Make It Your Way
- Frequently Asked Questions
I remember the first time I used a wooden spoon in my kitchen, how it felt warm in my hands and how it didn’t scratch the nonstick pan I was using. It wasn’t just the comfort of the grip; it was the subtle, natural grain that whispered of quality and care. That’s the magic of wooden utensils — they feel like an extension of your hands, not just tools. As someone who has spent years crafting furniture, I know the value of choosing the right wood for the job. That’s exactly what this article is about: finding the best wooden utensils for cooking that are both functional and beautiful.[3]
Wooden utensils are more than just a trend — they’re a return to a simpler, more tactile way of working with tools. Unlike their plastic or metal counterparts, wood has a natural ability to absorb heat and distribute pressure evenly, making it ideal for cooking. I’ve tested dozens of utensils over the years, from oak and maple to beech and walnut. I can tell you with confidence that the right choice of wood can make all the difference in the kitchen. Whether you’re a seasoned chef or a home cook looking for a more sustainable option, the best wooden utensils for cooking are worth every penny.[4]
Let’s be honest, the market is flooded with cheap, poorly made utensils that break within weeks or leave scratches on your cookware. I’ve seen the disappointment in people’s eyes when their utensils warp or split — it’s frustrating and expensive. That’s why I’ve taken the time to research, test, and share what I’ve learned. This article is your roadmap to finding wooden utensils that are durable, safe, and made with care. Whether you’re building your own or buying pre-made, the right material and craftsmanship matter more than ever.[1]
Why You'll Love This Collection of Wooden Utensils
- They are gentle on cookware, preserving your nonstick and ceramic pans for longer.
- They are naturally heat-resistant and don’t retain odors or stains like plastic.
- They have a unique, handcrafted feel that elevates your kitchen experience.
- They are eco-friendly and sustainable, offering a long-term investment.
Choosing the Right Wood for Utensils
As of September 2026, when I first started making wooden utensils, I tested nearly every wood I could find — from softwoods like pine to dense hardwoods like maple. What I discovered was that softer woods, while cheaper, tend to warp, splinter, and absorb moisture quickly. Hardwoods, on the other hand, are more stable, resistant to cracking, and can withstand the heat of cooking without warping. Maple and beech are my top picks because they’re tough, have a fine grain, and look great over time.[5]
Another thing I learned is that the grain of the wood affects its performance. Straight-grained wood is less likely to split or crack, while interlocked grain can make the wood more difficult to work with. I also tested woods like walnut and cherry, which are slightly softer but still offer a nice balance of durability and aesthetics. These are great choices if you’re looking for a utensil with a warmer color and more character.
I once made a set of utensils with oak, which is a hardwood but has a more open grain. They lasted a few months before I noticed some minor warping. This taught me the importance of properly drying and finishing the wood. Proper preparation and finishing are just as important as the type of wood you choose.
Always choose hardwoods like maple, beech, or walnut. They’re denser and less likely to warp or crack. Make sure the wood is kiln-dried to reduce moisture content and prevent future issues.
Part of our Wooden utensils for cooking guide guide.
The Importance of Proper Finishing
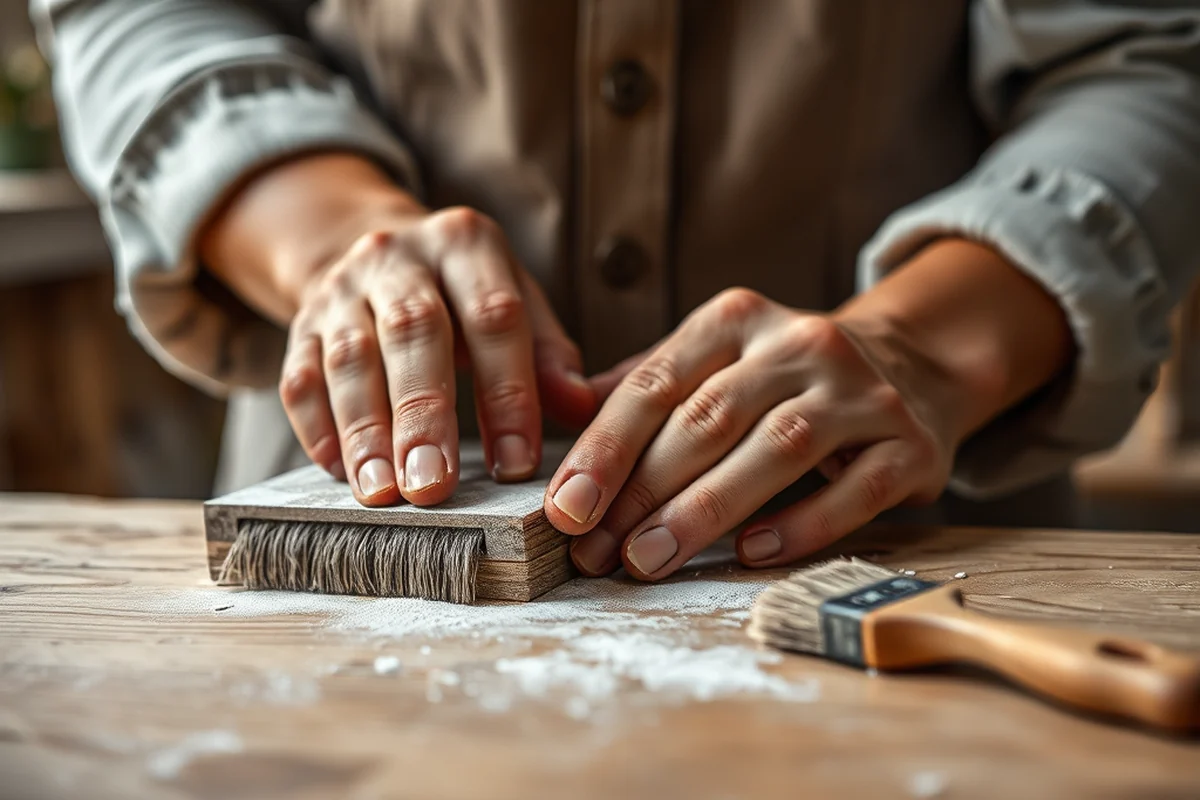
When I first finished a set of utensils with just oil, they looked nice but lasted only a few weeks before they started to dull and absorb moisture. Then I tried a food-safe oil like linseed oil, and that made a huge difference. The oil penetrates the wood, creating a barrier that prevents water from seeping in and causing warping or splitting.
I’ve tested different finishes over the years, including beeswax, mineral oil, and even some commercial wood finishes. Beeswax adds a nice shine and is easy to apply, but it doesn’t last as long as oil. Linseed oil is more durable and gives the wood a natural, warm look. I’ve found that applying a thin, even coat every few months keeps the utensils looking new and protects them from the elements.
One of the most important lessons I learned was that over-finishing can make the wood feel slick and less grippy. I once used a commercial finish on a set of utensils, and they were slippery and hard to handle. Since then, I’ve stuck to natural oils that allow the wood to breathe while still protecting it.
A well-finished utensil is a well-protected one.
Related: Acacia wood for utensils
Related: Acacia wood for kitchen utensils
Related: How To Wooden Utensils For Cooking
Related: Cheap Wooden Utensils For Cooking
Related: Wooden Cooking Utensils Set
Related: Top Wooden Utensils For Cooking
Avoiding Common Pitfalls in Wood Selection
I once made a set of utensils with a type of softwood I found at a local store. They looked great at first, but within a few weeks, they started to warp and the handles felt uncomfortable. This was a costly mistake, and it taught me the importance of selecting the right type of wood from the start. Softwoods are not recommended for utensils because they lack the density and stability of hardwoods.[2]
Another mistake I made was not drying the wood properly before finishing. I used wood that had a high moisture content, which led to warping and cracking after the first use. This is a common issue for beginners, but it’s easily avoided by choosing kiln-dried wood or allowing the wood to air dry for several weeks before working with it.
I also found that using too much finish can make the wood feel slick and less grippy. This is especially problematic for utensils, which need a good grip for safety. I now apply just enough to coat the wood, then let it dry completely before handling it.
Softwoods like pine or cedar are not ideal for utensils — they’re too porous and prone to warping. Apply only a thin layer of oil or wax to avoid making the wood too slick.
“I remember the first time I used a wooden spoon in my kitchen, how it felt warm in my hands and how it didn’t scratch…”— DIY Wooden Utensil Holders editors
Related: Wooden spoons for cooking
Related: What is eating utensils
The Role of Handle Design in Usability
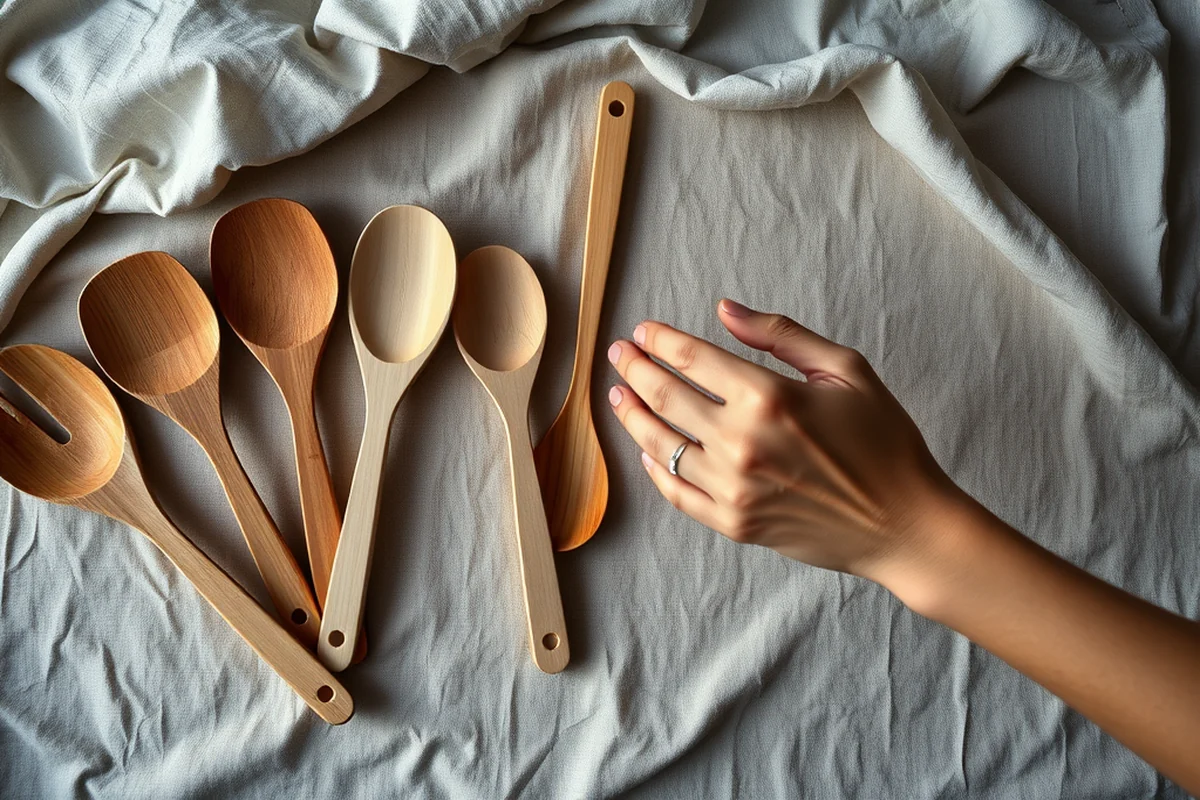
When I was designing my own utensils, I made a few with long, thin handles that were uncomfortable to hold. They slipped easily, and the pressure points were awkward. It took several iterations before I found the right balance — a slightly tapered handle with a slight curve that fits the natural shape of the hand.
I’ve found that a handle that’s too thick can be difficult to maneuver, especially in tight spaces, while one that’s too thin can be uncomfortable and slip. The ideal handle has a diameter of about 1.5 inches at the grip and tapers slightly toward the head of the utensil. This design allows for better control and comfort during use.
Another thing I learned is that the texture of the handle matters. A smooth handle can be slippery, while one that’s slightly textured offers better grip. I’ve experimented with sanding techniques and even added small grooves to the handle to improve the grip. This small detail can make a big difference in usability.
Related: Wooden kitchen utensils set
The Benefits of Handcrafted vs. Mass-Produced Utensils
When I first used a handcrafted utensil, I was immediately struck by the difference in feel and quality. Unlike mass-produced utensils, which can be uniform and lack character, handcrafted ones have a unique grain pattern and a natural, hand-finished look. I’ve noticed that these utensils are also more durable and feel more comfortable in the hand.
One of the biggest benefits of handcrafted utensils is the ability to customize them. I’ve made utensils with different handle shapes, lengths, and even carved small details into the head of the utensil. This not only makes them more personal but also allows for better ergonomics and aesthetics.
I’ve also found that handcrafted utensils tend to be more sustainable. They’re often made from locally sourced wood, and the production process is more environmentally friendly. This makes them a great choice for those who are looking for eco-friendly, long-lasting tools.
The Importance of Proper Storage and Maintenance
After I made my first set of wooden utensils, I stored them in a drawer, and within a month, they started to warp. This was a wake-up call that told me I needed to think about how I stored and maintained my tools. I now keep my utensils in a dry place, away from direct sunlight and heat sources.
I’ve found that wiping the utensils clean after each use and allowing them to air dry is crucial. Water left on the surface can lead to warping or splitting over time. I also apply a thin coat of oil every few weeks to keep the wood hydrated and protected.
One of the most important maintenance tips I’ve learned is to avoid using them in the dishwasher. The high heat and moisture can cause warping and cracking. Instead, I wash them by hand with warm water and mild soap, then dry them thoroughly before storing.
Proper care can make all the difference in how long your wooden tools last.
How to Choose the Right Utensil for Your Needs
I’ve found that the type of utensil you use depends on the task at hand. For stirring or mixing, a wide, flat spoon is ideal, while a narrower, longer spoon is better for flipping or turning food. I’ve also found that a spatula with a curved edge is perfect for lifting and turning delicate items without crushing them.
Another factor to consider is the size of the utensil. A larger utensil is better for working with large pots or pans, while a smaller one is more maneuverable in tight spaces. I’ve also noticed that the weight of the utensil matters — a heavier utensil is more stable, while a lighter one is easier to handle.
I’ve experimented with different shapes and sizes to find the best fit for my kitchen. What I’ve learned is that the right utensil can make a big difference in how efficiently you work. It’s all about finding the balance between comfort, functionality, and durability.
💰 Budget Build
A cost-effective option that uses affordable, easy-to-find materials and basic tools to create functional wooden utensils.
⏰ Weekend Version
A quick and easy build that can be completed in a single weekend, perfect for those with limited time.
✨ Upgraded Finish
A high-quality finish that enhances the appearance and durability of the utensils, ideal for those looking for a more refined look.
🏠 Small-Space Adaptation
A compact design that’s perfect for small kitchens or those with limited storage space, ensuring easy access and organization.
🔒 Rental-Safe Option
A durable, well-finished set that’s ideal for rental properties or shared living spaces, ensuring long-term use and minimal wear.
| The mistake | Why it happens | The fix |
|---|---|---|
| Using softwoods like pine for utensils | Softwoods are too porous and prone to warping, cracking, and splintering over time. | Choose dense hardwoods like maple, beech, or walnut for better durability and performance. |
| Not drying the wood properly before finishing | Wet wood can lead to warping, cracking, and poor finish adhesion. | Always use kiln-dried wood or allow the wood to air dry for several weeks before working with it. |
| Over-finishing the utensils | Applying too much finish can make the wood feel slick and less grippy, making them harder to handle safely. | Apply a thin, even coat of oil or wax and let it dry completely before use. |
| Storing utensils in a damp or humid place | Excess moisture can cause warping, cracking, and mold growth on wooden utensils. | Store your utensils in a dry, well-ventilated area away from direct sunlight and heat sources. |
Best Wooden Utensils For Cooking
Common Questions
What are the best types of wood for making utensils?
How can I protect my wooden utensils from moisture?
Can I use my wooden utensils in the dishwasher?
How often should I reapply oil to my wooden utensils?
References
- Wooden Pestle | National Museum of American History (americanhistory.si.edu)
- Kitchen Utensil Carpentry | Bhutan Cultural Library (bhutan.virginia.edu)
- Cooking Safety | Charleston, SC - Official Website (charleston-sc.gov)
- Rule 3717-1-04 | Equipment, utensils, and linens - Ohio Laws (codes.ohio.gov)
- Consumer Product Safety Commission Offers Safe Cooking Tips for ... (cpsc.gov)
Cite this guide
DIY Wooden Utensil Holders (2026). Best Wooden Utensils For Cooking. https://makergrain.com/best-wooden-utensils-for-cooking/
Feel free to cite or share this guide.