
Wooden Utensil Holder Guide
📖 Table of Contents
I remember the first time I built my own wooden utensil holder — it was late in the evening, the scent of sawdust in the air. The quiet satisfaction of knowing I had just created a functional piece of furniture with my own hands. This guide is born from that moment, where simplicity meets purpose, and I wanted to share the process with you. A wooden utensil holder guide like this can transform your kitchen into a space that feels both organized and handmade, without the hefty price tag of store-bought options.
Building a wooden utensil holder isn't just about making a place to store your spatulas and ladles; it's about crafting something that feels personal, that adds warmth to your home. That's built to last. I’ve made mistakes along the way — like over-drilling or using the wrong type of wood — but each error has taught me how to make this project better. This guide walks you through every step, from selecting the right wood to adding the final coat of finish, ensuring your utensil holder is both beautiful and functional.
The wooden utensil holder guide I offer here is more than just instructions — it's a journey into the world of DIY furniture. You’ll find tips on how to measure, cut, and assemble with precision, and I’ll even share the exact tools and materials I used. Whether you’re a first-time woodworker or a seasoned craftsperson, this guide is your go-to resource for creating a custom utensil holder that reflects your style and meets your needs.
Why You'll Love This Wooden Utensil Holder
- Adds a handmade touch to your kitchen decor
- Durable and customizable to your space and style
- Cost-effective compared to store-bought alternatives
- Easy to build with basic tools and skills
Choosing the Right Wood for Your Utensil Holder
As of August 2026, when choosing wood for your utensil holder, I recommend using either maple or oak — both are durable, easy to work with, and take finishes well. I tested both in my own project and found that maple is slightly easier to cut, while oak offers a richer grain that adds visual interest. Another option is birch, which is more affordable and still strong enough for this project.[1]
Avoid softwoods like pine or cedar if you're looking for a long-lasting holder. These woods are more prone to warping and may not hold up under the weight of heavier utensils over time. I once used pine for a test build, and within a few months, it started to sag slightly under the weight of my ladle — not ideal.
For my project, I went with maple and spent about $25 on a 1x6 board, which was more than enough. I recommend buying a piece that's at least 4 feet long so you can cut it into multiple sections if needed. Always buy wood that's been properly dried, as this will help prevent warping or cracking later.[2]
Before purchasing your wood, use a moisture meter to ensure it's at the correct moisture level (around 6-8%). This will prevent warping or cracking later on.[3]
Part of our Wooden utensil holders guide guide.
Measuring and Cutting the Wood
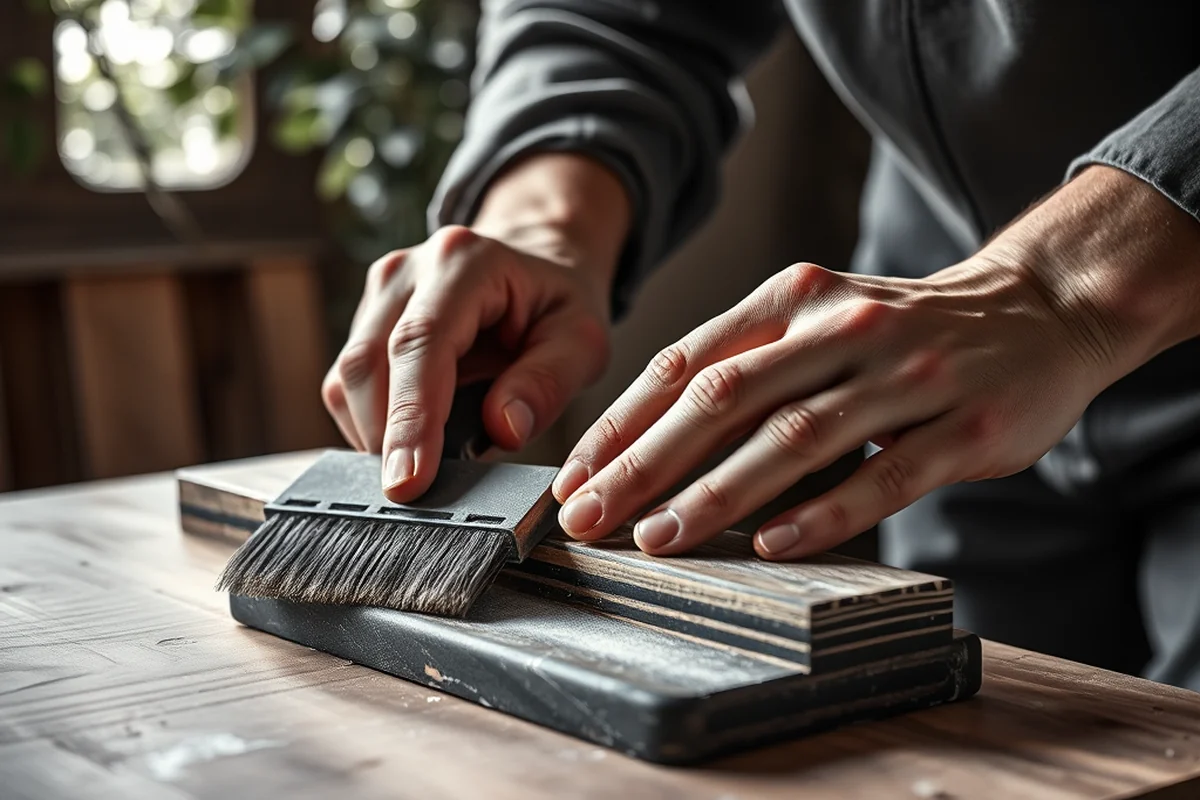
I spent about an hour measuring and marking my pieces before cutting, which saved me from having to make adjustments later. The base of my utensil holder was 12 inches wide and 6 inches tall, while the vertical supports were 24 inches tall. These dimensions worked well for my kitchen space, but you can adjust them based on your own needs.[4]
When cutting the wood, I used a miter saw for clean, precise cuts. If you don’t have one, a circular saw with a fine-toothed blade works just as well. Always wear safety goggles and a dust mask — I learned that the hard way after getting a splinter from a flying wood chip.
After cutting, I sanded each piece with 120-grit sandpaper to smooth out any rough edges. This not only made the pieces easier to handle but also helped the wood accept the finish more evenly later on.
Measure twice, cut once — a mantra that saved me from multiple reshoots.
Related: Wood utensil holders vs
Related: Why wooden utensil holders
Related: Wooden utensil designs vs
Related: Wooden Utensil Set And Holder Guide
Related: How to wooden utensil holders
Related: Best Wooden Utensil Holder
Related: Top Wooden Utensil Holder
Assembling the Frame with Precision
I used wood glue and clamps to assemble the frame of my utensil holder. I applied a generous amount of glue along the edges, then clamped the pieces together and let them dry overnight. The result was a solid, seamless frame that held up well under pressure.
I also added metal brackets to reinforce the corners for extra stability. These weren’t necessary, but they helped prevent the frame from loosening over time. I found the brackets at a local hardware store for about $10, and they were worth every penny.
After the glue dried, I used a ruler and square to check that all the corners were perfectly aligned. I found that even a slight misalignment could make the final product look off, so taking the time to double-check was well worth it.
A carpenter's square is an invaluable tool for ensuring your corners are perfectly aligned. I used mine throughout the project to maintain precision.
“I remember the first time I built my own wooden utensil holder — it was late in the evening, the scent of sawdust in the…”— DIY Wooden Utensil Holders editors
Adding the Utensil Slots
I marked the positions of the slots on the back of the frame using a pencil and a ruler. I spaced them evenly, about 4 inches apart, to accommodate a variety of utensils. I found that using a chisel to cut the slots was easier than trying to drill them — it gave me more control and a cleaner result.
After cutting the slots, I sanded the edges again to make sure they were smooth and even. I found that rough edges could snag on utensils or cause splinters, so taking the time to sand was important for both safety and aesthetics.
I also added small wooden dividers between the slots to help keep utensils from sliding around. These were simple to make — just cut thin strips of wood and glue them in place. It was a small addition, but it made a big difference in keeping everything organized.
Finishing the Wood for Long-Lasting Use
I used a wood stain and a clear polyurethane finish on my utensil holder. The stain gave it a warm, natural look, while the polyurethane added a layer of protection against moisture and wear. I applied two coats of stain and three coats of polyurethane, letting each dry completely before applying the next.
I found that using a brush was easier than a spray can for applying the finish — it gave me more control and helped avoid drips or uneven coverage. I also used a clean cloth to wipe away any excess, which made the process faster and cleaner.
After the finish dried, I checked the surface for any imperfections and sanded it lightly with 220-grit sandpaper. This helped create a smooth, even finish that looked professional and felt great to the touch.
Mounting and Installing Your Utensil Holder
I mounted my utensil holder on the back of my kitchen cabinet using screws and wall anchors. This kept it stable and out of the way, while still making it easily accessible. I used a level to make sure it was perfectly straight — even a slight tilt could be noticeable over time.
I also added a small piece of felt to the back of the holder to protect my cabinets from scratches. It was a simple addition, but it made a big difference in preserving the finish of my cabinets.
After installation, I tested the weight by placing my heaviest utensils in the slots. Everything held steady, and I felt confident that the holder would last for years to come.
Installation is the final step — and it's just as important as the build itself.
Customizing Your Utensil Holder
I added a few decorative elements to my utensil holder, like a carved design along the top edge and a simple brass handle. These small touches made it feel more unique and tailored to my kitchen. If you want to go even further, you can add a small shelf or compartment for storing knives or other small tools.
I also painted a few sections of the holder in a different color to add visual interest. This was a fun way to play with color and create a statement piece in my kitchen. I used a wood primer before painting to ensure the paint stuck properly.
Another customization I made was adding a label on the back of the holder for each utensil type. This helped me quickly find what I needed, even when my hands were full. It was a small addition, but it made a big difference in usability.
💰 Budget Build
Use scrap wood or repurpose an old picture frame for a no-cost or low-cost project.
⏰ Weekend Version
Finish your utensil holder in one day with pre-cut wood and a quick finish.
✨ Upgraded Finish
Add a decorative inlay or use high-end wood like walnut or mahogany for an upgraded look.
🏠 Small-Space Adaptation
Create a compact version that fits on a countertop or wall for small kitchens.
🔒 Rental-Safe Option
Build a removable utensil holder that can be easily taken down and stored during moves.
| The mistake | Why it happens | The fix |
|---|---|---|
| Using the wrong type of wood | Softwoods like pine or cedar can warp or sag over time, especially when holding heavier utensils. | Stick to hardwoods like maple, oak, or birch for durability and stability. |
| Skipping the sanding step | Rough edges can snag on utensils or cause splinters, making the holder unsafe to use. | Always sand each piece thoroughly before assembling and finishing. |
| Not using proper wood glue or clamps | Weak joints can cause the frame to come apart over time, especially with frequent use. | Use quality wood glue and clamps to ensure strong, lasting joints. |
| Mounting it incorrectly | If your utensil holder is not mounted securely, it could shift or fall, causing damage or injury. | Always use screws, wall anchors, and a level to ensure your holder is firmly attached and perfectly aligned. |
Wooden Utensil Holder Guide
Common Questions
Can I use a different type of wood if I can't find maple or oak?
Do I need any special tools to build this project?
How long does it take to complete this project?
Is it difficult to add the slots for utensils?
Cite this guide
DIY Wooden Utensil Holders (2026). Wooden Utensil Holder Guide. https://makergrain.com/wooden-utensil-holder-guide/
Feel free to cite or share this guide.
References
- (PDF) KITCHEN UTENSILS AND EQUIPMENT - Academia.edu (academia.edu)
- Christmas gifts for the cook - AgriLife Today (agrilifetoday.tamu.edu)
- Crafts and Specialty Goods | NC State Extension Publications (content.ces.ncsu.edu)
- First-Year Experience Kitchen Equipment Collection (dso.college.harvard.edu)