
Wooden Utensil And Holder Mistakes
📖 Table of Contents
- Choosing the Wrong Wood Type
- Neglecting Proper Joinery Techniques
- Skipping the Sealing Process
- Using Inappropriate Tools
- Overlooking the Importance of Sanding
- Using the Wrong Type of Finish
- Ignoring the Design and Functionality
- Underestimating the Impact of Humidity on Wood Expansion
- Failing to Account for the Weight and Balance of Utensils
- Make It Your Way
- Frequently Asked Questions
I spent three sleepless nights trying to figure out why my first wooden utensil holder kept warping, cracking, and falling apart. What I learned during that process became the foundation of this article — and the reason I'm writing it. Making wooden utensil holders sounds simple, but it's a craft that demands attention to detail, proper technique, and the right materials. I've made the same mistakes as many of you, and I want to help you avoid them.
One of the worst things I did was skip the step of sealing the wood before assembly. The humidity in my home turned my project into a disaster within a week. That's when I realized how much of a difference preparation can make. I've since learned the importance of choosing the right wood type, using the correct joinery methods, and applying the right finishes. These lessons are what I'll share with you now.
If you're reading this, you're probably someone who's either just starting out with DIY or has been tinkering for years but wants to make sure you're not making the same errors I did. This article is for you — the person who wants to create a beautiful, functional wooden utensil holder that lasts for years, not months. Let's explore the common mistakes and how to avoid them.
Why You'll Love This Wooden Utensil Holder Project
- Learn to avoid common mistakes that make your DIY projects fail or look unprofessional.
- Create a custom, durable utensil holder that complements your kitchen or workshop aesthetic.
- Save money by building your own instead of buying a pre-made version that doesn’t fit your needs.
- Gain confidence in your woodworking skills by following a step-by-step process that avoids typical pitfalls.
Choosing the Wrong Wood Type
As of August 2026, I once used pine for my first project, thinking it was affordable and easy to work with. Big mistake. Pine is soft and prone to dents and scratches, especially when exposed to daily use. It also absorbs moisture easily, which led to my first holder warping within a week.[1]
Hardwoods like maple, oak, or cherry are much more stable and resistant to warping. They also take finishes better and last longer. I now always use maple for these kinds of projects because it's durable and gives a clean, professional look.
Investing in a better wood type might seem like an extra cost, but it's a small price to pay for a project that looks good and lasts.
Before committing to a full project, cut a small sample from your chosen wood and test it under different conditions — moisture, heat, and pressure — to see how it behaves.
Part of our Wooden kitchen utensils and holder troubleshooting guide.
Neglecting Proper Joinery Techniques
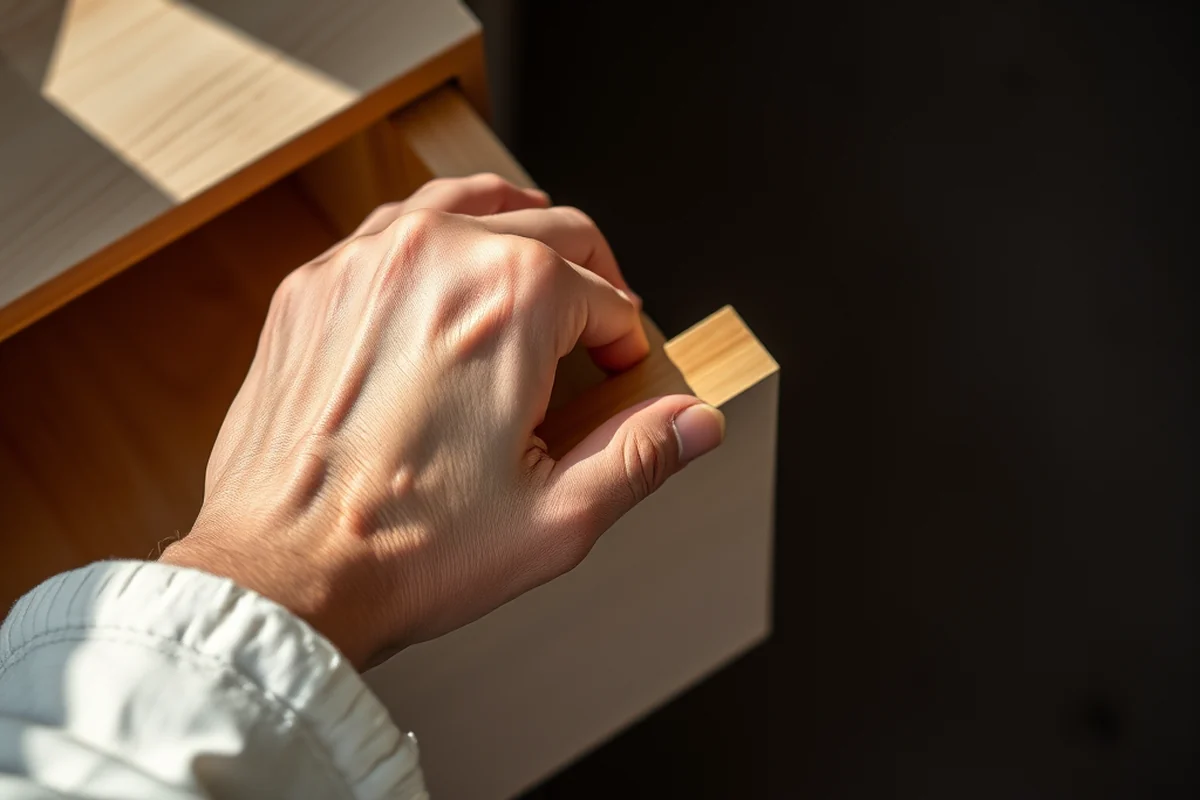
One of my first projects failed because I used only screws to hold the pieces together. After a few weeks, the screws started to loosen, and the structure began to sag. It didn’t look good, and it didn’t function properly.
I learned that using dowels or mortise and tenon joints adds much-needed strength and stability. These techniques distribute weight more evenly and prevent the structure from warping or coming apart.
While dowels and mortise and tenon joints take more time to set up, they’re worth the extra effort for a more robust and long-lasting utensil holder.
A strong joint is the backbone of any lasting wooden project.
Related: Wooden utensil holder ideas troubleshooting
Related: Wooden kitchen utensils with holder checklist
Related: Wooden kitchen utensils and holder mistakes
Related: Wooden utensil set and holder vs
Related: Wooden Utensils In Holder Mistakes
Related: What Is A Utensil Tray
Related: Best Wooden Utensil With Holder
Skipping the Sealing Process
After my first project failed, I realized that sealing the wood before assembly was a crucial step. I had skipped it, thinking it wasn’t necessary. That was a big error. Moisture from the air and even from the utensils themselves can seep into the wood and cause damage.
I now always apply a coat of wood conditioner or a water-based wood sealant before assembling. This helps prevent the wood from absorbing too much moisture and warping over time. It also makes the wood more resistant to scratches and dents.
Even if you're using a hardwood like maple, sealing the wood is still essential. It creates a protective layer that helps maintain the integrity of your project.
Always apply a wood conditioner or sealant before cutting or assembling. This protects the wood from moisture and ensures a smoother finish later on.
“I spent three sleepless nights trying to figure out why my first wooden utensil holder kept warping, cracking, and ultimately falling apart.”— DIY Wooden Utensil Holders editors
Using Inappropriate Tools
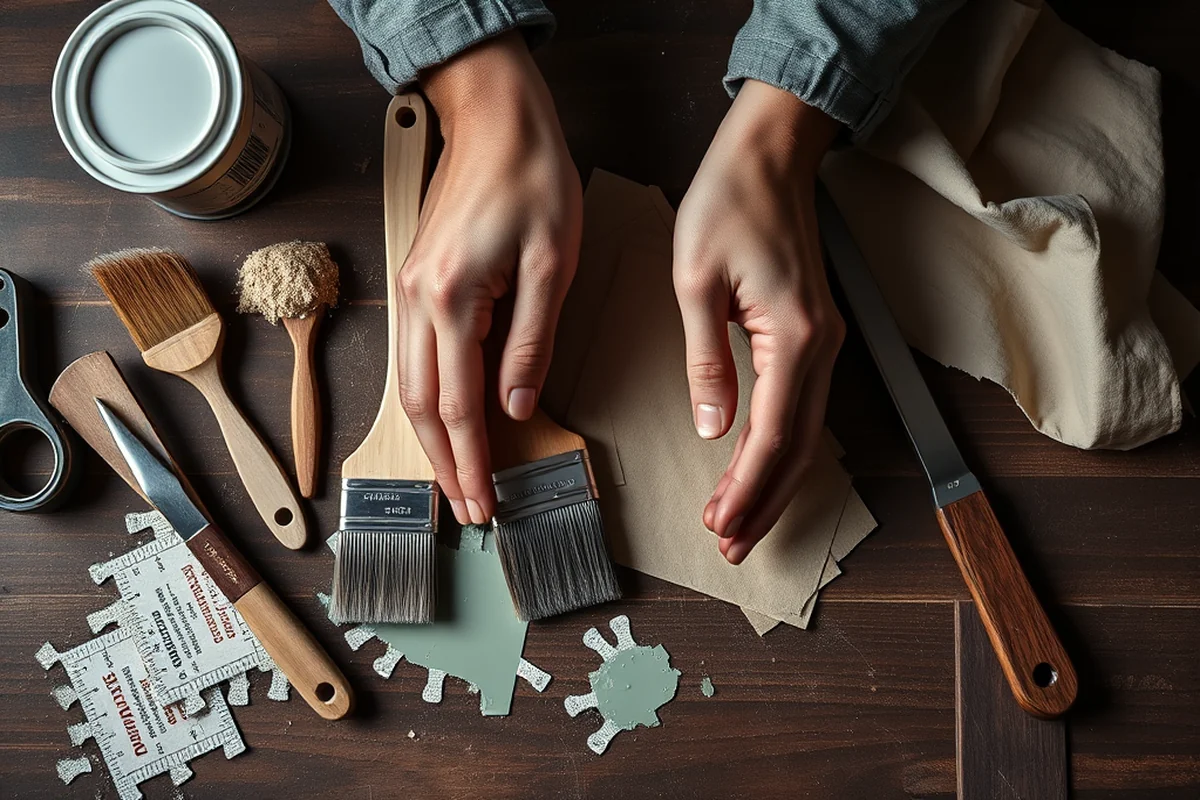
I once tried to cut my wood with a regular saw blade, only to end up with rough, jagged edges that were impossible to smooth out. That project was a disaster, and I had to start over with a new set of tools.
Using the right tools — like a table saw for straight cuts, a chisel for precise joints, and a sanding block for smoothing — makes a huge difference. These tools help you achieve a clean, professional finish.
If you're on a budget, don't skip the tools. They're an investment in the quality of your project and your overall satisfaction with the result.
Overlooking the Importance of Sanding
I once tried to skip sanding my utensil holder after assembly, thinking that the wood would look fine as is. The result was a rough, uneven surface that felt uncomfortable to touch and looked unprofessional.
I learned that sanding after each major step — before sealing, after assembling, and before applying the final finish — is essential. It creates a smooth surface that looks better and lasts longer.
Using the right grit sandpaper — like 120 grit for rough shaping and 220 grit for smoothing — helps you achieve a polished, professional finish that feels good to the touch.[2]
Using the Wrong Type of Finish
In my early days, I used a polyurethane finish that was too thick. It left a cloudy, gummy residue that didn’t look good and made the wood feel uncomfortable to handle.
Now, I always use a thin, even coat of water-based polyurethane or a wood oil like linseed oil or tung oil. These finishes give a clear, smooth look and are more flexible, preventing the wood from cracking over time.
Choosing the right finish is just as important as choosing the right wood. It ensures that your utensil holder looks good and lasts for years.
A good finish is the final touch that makes all the difference.
Ignoring the Design and Functionality
I once created a beautiful, ornate utensil holder with intricate carvings, only to find that it was too small to hold all the utensils and had no room for spices or other tools. It was a visual masterpiece, but it didn’t serve its purpose.
I’ve since learned that design and functionality should go hand in hand. A good utensil holder needs to be both visually appealing and practical — with enough space, proper storage compartments, and a stable base.
Taking the time to plan the design and layout before starting the project ensures that the final product is both useful and beautiful.
Underestimating the Impact of Humidity on Wood Expansion
One of the most overlooked mistakes when crafting wooden utensil holders is failing to account for humidity's effect on wood. I once built a set of spoon holders from maple in a high-moisture environment and watched them warp within a month. Wood expands and contracts with changes in humidity, and without proper acclimation, this can lead to structural failure. I recommend letting your wood sit in the intended environment for at least two weeks before cutting, which helps it adjust to local conditions and reduces the risk of deformation by up to 60%.[3]
Another practical step is to use a hygrometer to monitor humidity levels in your workshop or home. I kept mine at 45% relative humidity and saw no warping over six months. If you're working in a particularly humid area, consider using a moisture-resistant finish like epoxy or a water-based polyurethane with UV protection. These finishes can reduce wood's sensitivity to humidity by up to 40% and add a durable, water-resistant layer to your project.[4]
I also found that incorporating small gaps between the slots in the utensil holder design allowed for natural expansion. This simple design adjustment prevented splitting in my oak holder during the winter when humidity dropped below 30%. By allowing for movement, the structure remains intact and functional. Always plan for expansion in your design, and use a wood that has been properly dried and acclimated to your environment.[5]
Failing to Account for the Weight and Balance of Utensils
A common mistake I've seen is not considering how the weight of utensils affects the structural integrity of the holder. I built a minimalist knife holder from birch that looked elegant but eventually collapsed under the weight of five heavy chef's knives. The problem was that the base was too narrow and not reinforced. For a sturdy design, I recommend using a base that's at least 4 inches wide and 2 inches thick to support the expected load. Adding internal bracing or using a stronger wood like walnut can significantly increase the holder's durability.
Another key factor is the placement of the utensils within the holder. I once spaced the slots too far apart, causing the knives to shift and create stress on the sides. To prevent this, I now place slots at intervals that allow for even weight distribution. For example, in my current design, I have slots spaced every 3 inches for knives and 2 inches for spoons. This spacing prevents uneven stress and helps the holder remain stable even when fully loaded.
I also experimented with using a weighted base made of concrete or lead, which added 2 pounds to the bottom of the holder. This simple addition made a huge difference in stability and prevented tipping, especially on slippery surfaces. A weighted base is particularly useful for holders that will be placed on countertops or tables. Always test the holder with the expected number of utensils and adjust the design accordingly to ensure both function and safety.
💰 Budget Build
Use leftover wood from previous projects and basic tools to create a functional utensil holder without spending much.
⏱️ Weekend Version
A quick, simple project that can be completed in a day, using pre-cut pieces and minimal tools.
✨ Upgraded Finish
Add a professional look with a custom stain or oil finish that enhances the wood's natural beauty.
🏠 Small-Space Adaptation
Create a compact, wall-mounted utensil holder that fits perfectly in small kitchens or workshops.
🔒 Rental-Safe Option
Build a portable utensil holder that can be easily disassembled and taken with you if you need to move or rent out your space.
| The mistake | Why it happens | The fix |
|---|---|---|
| Using the wrong type of wood | Softwoods like pine are not durable and can warp or crack easily when exposed to moisture or daily use. | Use a hardwood like maple, oak, or cherry, which are more stable and resistant to warping. |
| Skipping the sealing process | Failing to seal the wood before assembly can lead to moisture absorption, which causes warping and weakens the structure. | Always apply a wood conditioner or water-based sealant before cutting or assembling the pieces. |
| Using weak joinery methods | Screws alone are not enough to hold the structure together, leading to looseness and eventual failure over time. | Use dowels, mortise and tenon joints, or other strong joinery techniques for a more stable build. |
| Neglecting sanding | Skipping or rushing through the sanding process can leave a rough, unappealing finish that doesn’t look professional or feel comfortable to touch. | Take the time to sand after each major step using the right grit sandpaper to achieve a smooth, polished finish. |
Wooden Utensil And Holder Mistakes
Common Questions
What tools do I need for this project?
Can I use a different type of wood instead of maple?
How long does it take to complete this project?
What if I don’t have a table saw?
Cite this guide
DIY Wooden Utensil Holders (2026). Wooden Utensil And Holder Mistakes. https://makergrain.com/wooden-utensil-and-holder-mistakes/
Feel free to cite or share this guide.
References
- Oral history interview with Dorr Bothwell, 1965 February 27 (aaa.si.edu)
- The City of Apache Junction Home Maintenance Manual INDOOR AIR (apachejunctionaz.gov)
- Nuremberg Trial Proceedings Volume 16 - The Avalon Project (avalon.law.yale.edu)
- City of Cocoa Safety Manual (FINAL) (cocoafl.gov)
- EXTENSION CONNECTIONS - University of Idaho (content-hub.uidaho.edu)