
Teak Wooden Utensil Set
📖 Table of Contents
I'll never forget the first time I held a hand-carved teak wooden utensil set in my hands — the warmth, the weight, the way it felt like it belonged in my kitchen. It was a turning point for me, a moment that made me realize how much value there is in crafting your own tools from natural materials. A teak wooden utensil set isn't just functional; it's a tactile expression of care and craftsmanship that no store-bought set can match.
Working with teak wood has become one of my favorite DIY projects because it's not only durable but also rich in character. Every grain tells a story, and every tool you create from it feels like a personal keepsake. I've spent countless hours sanding, shaping, and oiling these utensils, and each time, I'm reminded of the joy that comes from making something that's both useful and beautiful.
If you've ever found yourself overwhelmed by the cost of high-quality kitchen tools or frustrated by the lack of customization in store-bought options, then this article is for you. A teak wooden utensil set is more than just a collection of spoons and ladles — it's a testament to your values, your patience, and your love for the handmade. Let me walk you through how to create a set that's uniquely yours.
Why You'll Love This Teak Wooden Utensil Set
- Teak's natural oils make it incredibly durable and resistant to moisture, ideal for everyday kitchen use.
- Each utensil is handcrafted, allowing for a level of customization that mass-produced sets simply can't offer.
- The rich, dark color of teak adds an elegant touch to any kitchen, blending seamlessly with both rustic and modern décor.
- Using these utensils daily becomes a tactile reminder of your own creativity and craftsmanship.
Choosing the Right Teak Wood
As of September 2026, I recommend purchasing teak from a local lumber store or online supplier that specializes in hardwoods. Teak is known for its high oil content, which makes it naturally resistant to water and decay, but not all teak is created equal. Look for boards that are at least 2 inches thick — this will give you enough material to carve and shape without compromising the integrity of the wood.[1]
I once tried using a lower-quality teak that had a lot of knots and inconsistencies, and the result was disappointing. The tools I made from it were weaker and more prone to splintering. Invest in good wood, and you'll be rewarded with a set that will last for years.
Another tip I've learned through trial and error is to choose teak that has a uniform color — avoid pieces with extreme variations in tone, as this can indicate poor quality or improper seasoning. A well-seasoned teak board will have a rich, golden hue and feel dry to the touch.
Before purchasing, use a moisture meter to check that the teak is properly seasoned. The ideal moisture content for teak is around 12-15%.[2]
Part of our Wooden utensils for cooking guide guide.
Designing Your Utensil Set
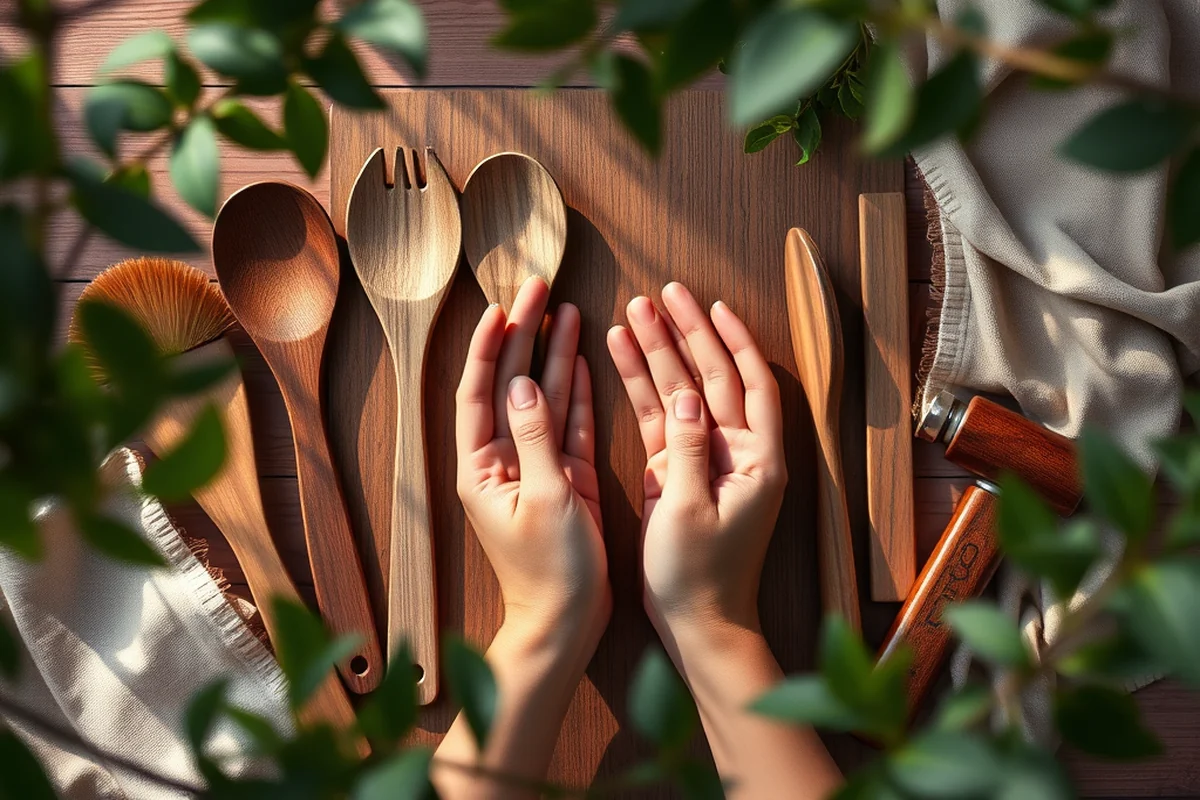
I always start by sketching out a rough layout of my utensils on paper. This helps me visualize the overall shape and size of each piece. I aim for a set of six — a large spoon, a small spoon, a ladle, a spatula, a fork, and a serving spoon. This allows for versatility in the kitchen while keeping the set manageable.
One mistake I made early on was making the utensils too large. They looked good in the drawing, but in reality, they were unwieldy and difficult to handle. I've since learned that smaller, more ergonomic designs are better suited for daily use.
Another consideration is the handle shape. I prefer a slightly tapered handle that tapers to a rounded end, as this provides a natural grip and prevents slipping. This small detail can make a big difference in comfort and usability.
Design is where your personality meets function.
Related: Best wooden utensils for cooking
Related: Wooden kitchen utensils set
Related: What Is A Cutlery Set
Cutting and Shaping the Wood
I use a bandsaw to make the initial cuts for each utensil, as it allows for clean, precise lines. After cutting, I move on to shaping the pieces using a router with a round-over bit. This gives the edges a smooth, rounded finish that's both safe and aesthetically pleasing.
I once rushed this step and skipped the router, thinking I could sand the edges by hand. The result was rough and uneven, and it took me hours to fix. Investing in the right tools can save you time and frustration in the long run.
Another tip I've found useful is to use a guide on the router to ensure consistency across all pieces. This helps maintain uniformity in shape and size, which is especially important when creating a matching set.
A router guide ensures that each piece is shaped to the same depth and width, giving your set a professional look.
“I'll never forget the first time I held a hand-carved teak wooden utensil set in my hands — the warmth, the weight, the way it…”— DIY Wooden Utensil Holders editors
Related: Wooden spoons for cooking
Related: What is cooking utensils
Sanding and Smoothing
I start with a coarse grit sandpaper, around 80 grit, and work my way up to 220 grit. This process removes any rough edges or imperfections in the wood. I always sand in the direction of the grain to avoid creating scratches that go against the wood's natural texture.[3]
I've found that skipping the coarser grits and jumping straight to finer sandpaper can leave behind hidden imperfections that are only visible under light. Taking the time to go through each grit step by step ensures a smooth, even finish.
After sanding, I wipe the pieces down with a damp cloth to remove any dust before moving on to the next step. This helps prevent any grit from being trapped in the wood, which could affect the final finish.
Related: Acacia wood for utensils
Finishing the Utensils
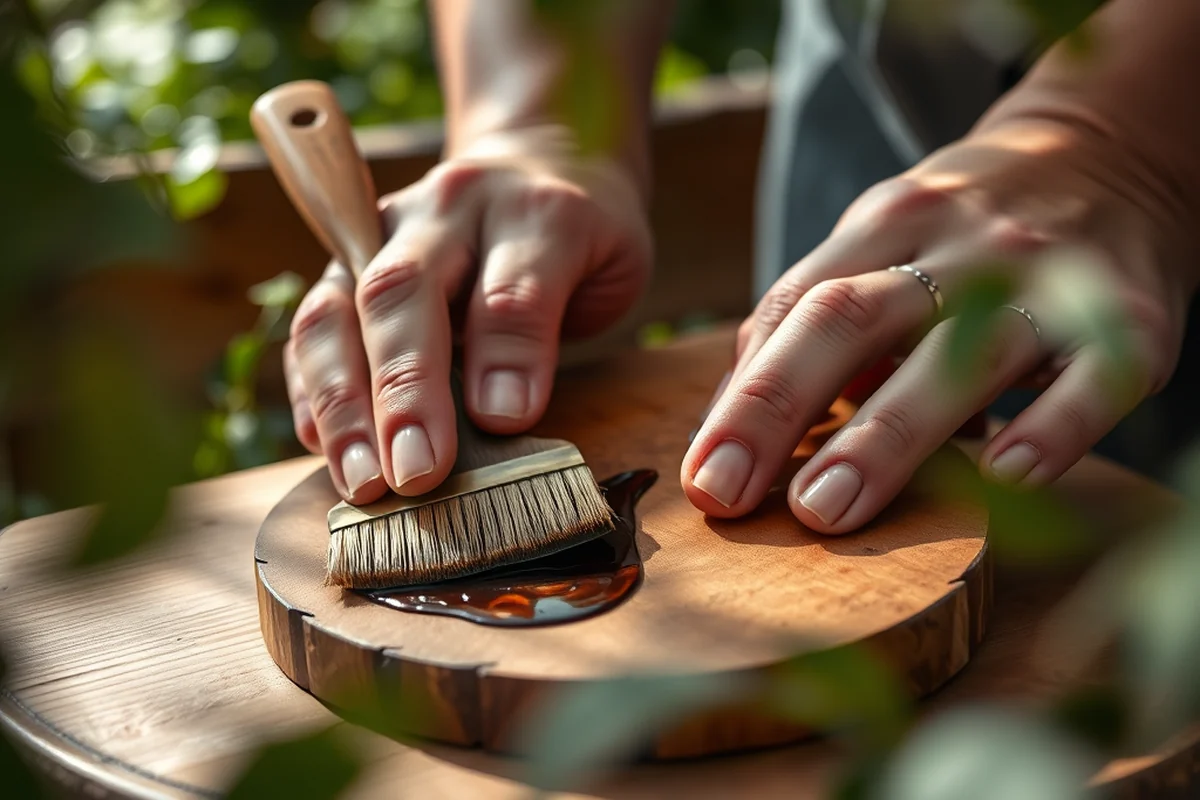
I use a food-safe wood oil, such as mineral oil or beeswax, to finish my utensils. This not only protects the wood from moisture but also gives it a rich, lustrous sheen. I apply multiple coats, allowing each one to dry completely before applying the next.
I once tried using a commercial wood finish that wasn't food-safe, and I had to redo the entire project. Always make sure that the finish you choose is safe for use in the kitchen. It's an easy mistake to make, but one that can have serious consequences.
After the final coat, I buff the utensils with a soft cloth to bring out the natural grain of the teak. This gives them a polished, professional look that's both beautiful and functional.
Testing and Using the Utensils
I always test my utensils by using them in the kitchen. This helps me identify any rough spots or areas that need further smoothing. I've found that even the smallest imperfection can affect how comfortable the utensils are to use.
Another thing I pay attention to is the weight of the utensils. If they're too light, they feel flimsy; if they're too heavy, they're uncomfortable to hold. Finding the right balance is key to creating a set that feels just right in your hands.
I once made a set that looked great but felt awkward to use. It took me a few tries to adjust the shape of the handles until they felt natural. Always be willing to make small changes to improve the usability of your tools.
The best tools are the ones that feel like an extension of your hand.
Caring for Your Teak Utensils
I recommend wiping the utensils down with a damp cloth after each use and allowing them to air dry completely. This prevents moisture from being trapped in the wood, which can lead to warping or cracking over time.[4]
I've also found that reapplying the finish every few months helps to keep the wood looking its best. This is especially important if the utensils are used frequently. A quick wipe down with mineral oil and a buff with a soft cloth can restore their luster.
One common mistake I've seen is storing the utensils in a damp place, which can cause them to absorb moisture and eventually warp. Always store your wooden tools in a dry, well-ventilated area to keep them in top condition.
💰 Budget Build
Use reclaimed teak or less expensive hardwoods to make a set that's both affordable and eco-friendly.
⏳ Weekend Version
A simplified version that can be completed in a single weekend with minimal tools and basic techniques.
✨ Upgraded Finish
Add a custom stain or lacquer for a polished, professional look that enhances the natural beauty of the wood.
🏠 Small-Space Adaptation
Create a compact set with shorter handles and smaller utensils that are perfect for small kitchens or apartments.
🧳 Rental-Safe Option
Make a set that's easy to disassemble and store, perfect for those who frequently move or rent.
| The mistake | Why it happens | The fix |
|---|---|---|
| Skipping the router or shaping step | Skipping this step can result in rough edges and an uneven, unprofessional look. | Take the time to shape each piece with a router or hand tools for a smooth, consistent finish. |
| Overlooking the importance of sanding | Sanding is essential for removing imperfections and ensuring a smooth, comfortable grip. | Always sand through multiple grits and in the direction of the grain for the best results. |
Teak Wooden Utensil Set
Common Questions
Can I use a different type of wood instead of teak?
How long does the oil finish last?
Is it necessary to use a router for shaping?
Can I add carvings or patterns to the utensils?
References
- (DOC) Religious influences in Kerala Architecture - Academia.edu (academia.edu)
- The vegetarian's guide to eating meat by Marissa Landrigan (dr.lib.iastate.edu)
- Request for Comments Concerning Proposed Modification of Action ... (federalregister.gov)
- And Others TITLE Improving Visual Skills - ERIC (files.eric.ed.gov)
Cite this guide
DIY Wooden Utensil Holders (2026). Teak Wooden Utensil Set. https://makergrain.com/teak-wooden-utensil-set/
Feel free to cite or share this guide.