
The Wooden Spoon
📖 Table of Contents
I carved my first wooden spoon from a fallen oak branch in my backyard, and the way the grain curled around the handle as I sanded it felt like a secret only I knew. It was rough, uneven, and far from perfect, but that first touch of wood under my fingers told me something important: this was not just a tool—it was a companion. I didn’t need a plan, just a knife, a saw, and the patience to listen to the wood as it shaped itself around my hands.
Over the years, I’ve made dozens of wooden spoons, each with its own character. Some have been smooth as river stones, others rough like tree bark, but they all shared one thing: the quiet satisfaction of making something with my own hands. I’ve learned which woods hold up best under heat. Joints are strongest, and how to turn a block of wood into a piece of furniture that feels like it’s been in your home for generations.[1]
This article is about more than just making a spoon—it’s about the process of working with wood, the small joys of a well-made tool. The pride that comes from knowing exactly how and why you made it. Whether you’re a complete beginner or someone with a few DIY projects under your belt, this guide will walk you through every step, from selecting the right wood to finishing the final shape.
Why You'll Love This DIY Wooden Spoon Project
- It’s a timeless, practical object that adds character to your kitchen and workspace.
- You’ll learn fundamental woodworking skills that apply to larger furniture projects.
- The final product is not only useful but also a personal creation that reflects your craftsmanship.
- It’s a low-cost, low-stress project that feels rewarding from start to finish.
Choosing the Right Wood
As of September 2026, when I first started, I used a piece of pine I found in a scrap bin. It was soft, easy to shape, and cheap—but it splintered after just a few uses. That taught me a valuable lesson: the right wood matters. Hardwoods like maple and beech are dense, stable, and resistant to warping, making them perfect for kitchen tools.
I prefer to use reclaimed wood when possible. Not only is it sustainable, but it often has unique grain patterns and character that you can’t find in new lumber. I once made a spoon from a discarded chair leg, and the grain was so beautiful it looked like it belonged in a museum.
The cost of wood can vary widely. A piece of maple from a local lumberyard might cost $15–$20, while a reclaimed board from a salvage yard could be free or nearly so. If you’re on a budget, look for wood that’s already been cut and seasoned—it’s easier to work with and less prone to cracking.
A moisture meter can help you determine if the wood is properly seasoned. Wood with too much moisture can warp or crack after use. I’ve saved a few projects by checking the moisture content before starting.
Part of our Wooden utensils tips guide.
Marking and Cutting the Blank
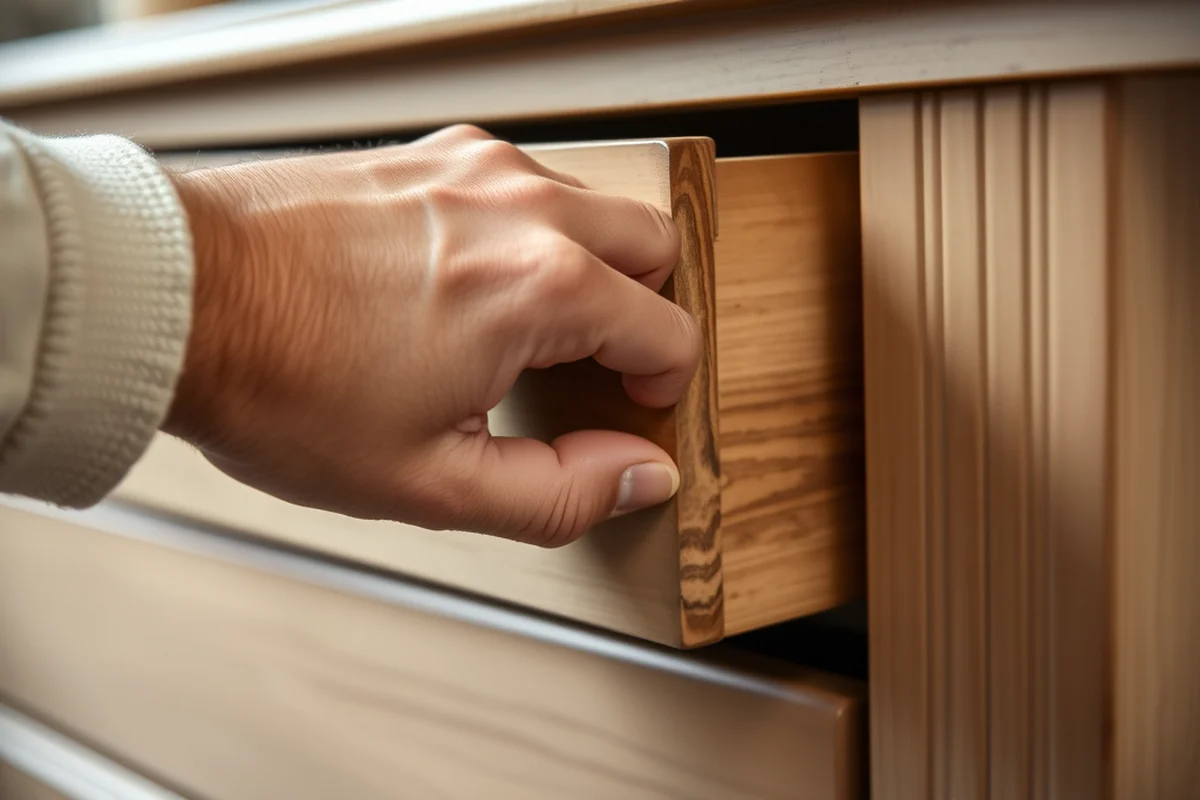
I always start by marking the grain on the wood. This helps me visualize the direction of the wood fibers, which is essential when shaping the spoon. If the grain runs the wrong way, the spoon may crack or splinter later on.
I sketch a rough outline on the wood with a pencil, making sure the handle is thick enough to be comfortable in the hand and the bowl is wide enough to hold ingredients. I’ve made spoons with bowls that were too small, and they ended up being useless for anything but stirring a cup of tea.
Cutting the blank is the first real test of your saw. I use a bandsaw for this step because it gives me more control. If you’re using a hand saw, make sure your blade is sharp and your cuts are straight. I once tried to cut a blank with a dull saw and ended up with a crooked handle that I had to re-saw.
A well-marked blank is half the battle.
Related: Forks over knives
Related: Forks to knives
Shaping the Spoon
Shaping the spoon is where your skills really start to shine. I’ve used both a lathe and hand tools for this step, and each has its own advantages. A lathe is faster and gives a smoother result, but it requires some setup and practice.
If you’re using hand tools, a spokeshave is essential. I’ve spent hours fine-tuning the shape of a spoon with just a spokeshave and a few sanding blocks. It’s slow, but it gives you complete control over the final look and feel.
I always keep the grain direction in mind during shaping. If I work against the grain, the wood tends to tear or splinter, which isn’t desirable. I’ve had to sand down entire spoons before because I didn’t follow the grain during shaping.
Always shape the wood in the direction of the grain to avoid tearing or splintering. This simple technique can save hours of sanding later on.
“I carved my first wooden spoon from a fallen oak branch in my backyard, and the way the grain curled around the handle as I…”— DIY Wooden Utensil Holders editors
Related: Best wooden utensils
Related: Acacia wood utensils safe
Drilling the Handle
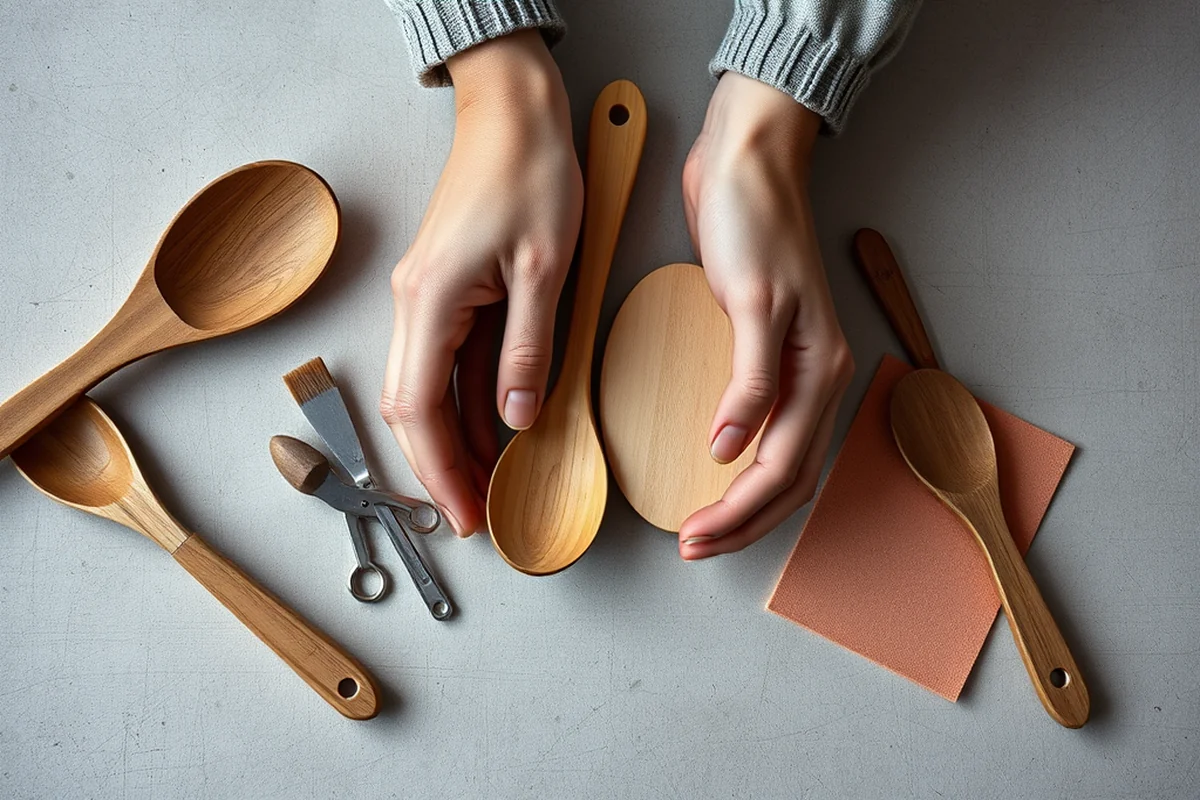
Once the handle is shaped, it’s time to drill the hole for the shaft. I use a drill press for this step because it ensures the hole is perfectly centered and straight. A misaligned hole can make the spoon wobbly or uneven in the hand.
The hole should be slightly larger than the diameter of the shaft you’re using. If it’s too tight, the wood may crack as you insert the shaft. I’ve had to re-drill holes more than once because I was too precise with the size.
I always test the fit of the shaft before finalizing the hole. If the fit is too loose, the spoon may rattle in the hand. If it’s too tight, the wood could crack. Finding the right balance takes time but is worth the effort.
Related: Affordable wooden utensils
Assembling the Spoon
Assembling the spoon is a simple process, but it requires attention to detail. I use a strong wood glue like Titebond or epoxy, which gives a secure bond and fills any gaps between the handle and the shaft.
Once the shaft is inserted, I apply clamps to hold the pieces together while the glue dries. I’ve found that using multiple clamps helps distribute the pressure evenly and prevents the handle from warping.
I always test the fit of the shaft before gluing. If it’s too tight, the wood may crack during assembly. If it’s too loose, the spoon may rattle. Finding the right fit is essential for both function and comfort.
Sanding and Finishing
Sanding is the most time-consuming part of the process, but it’s also the most rewarding. I start with a coarse grit sandpaper (around 80–100 grit) to remove any rough spots or splinters. Then I move up to finer grits (220–400 grit) for a smooth finish.[2]
I always sand in the direction of the grain to avoid creating scratches that run against the wood. I’ve made spoons that felt rough in the hand because I didn’t follow this rule, and the fix was hours of additional sanding.
After sanding, I apply a finish like beeswax, mineral oil, or shellac. These finishes protect the wood and give it a warm, natural look. I’ve found that beeswax gives the best feel, but it requires reapplication every few months.
A spoon that feels smooth in the hand is worth every hour of sanding.
Testing and Refining
Testing the spoon is the final step in the process, and it’s where you discover if you need to make any adjustments. I always test my spoons by using them in the kitchen, stirring soups, and even simmering pots. This helps me see how they perform under real conditions.
If the spoon feels too heavy or unbalanced, I may need to reshape the handle or adjust the length of the shaft. I’ve had to shorten the handle on a few spoons before they felt right in the hand.
I also test the durability of the spoon by using it in high-heat situations. If the wood starts to crack or splinter, it’s a sign that the grain was not properly followed during shaping. I’ve had to rework a few spoons because of this, but the results are always worth it.
💰 Budget Build
Use free or low-cost reclaimed wood and basic tools to create a simple, functional spoon without breaking the bank.
⏳ Weekend Version
Complete the project in one day with pre-cut blanks and pre-made shafts, perfect for a quick DIY project.
🎨 Upgraded Finish
Apply a hand-rubbed oil finish like linseed oil or a wood stain to give the spoon a professional, polished look.
🛋️ Small-Space Adaptation
Use hand tools and a portable workbench to make this project easier for those with limited workspace.
🏠 Rental-Safe Option
Create a lightweight, temporary spoon that can be easily moved or stored, ideal for rental properties or short-term use.
| The mistake | Why it happens | The fix |
|---|---|---|
| Cutting the blank with a dull saw | This can result in a crooked or uneven handle, which is difficult to fix later. | Ensure your saw blade is sharp and replace it if it’s worn out. A sharp blade makes cleaner cuts and reduces the risk of mistakes. |
| Working against the grain during shaping | This can cause the wood to tear or splinter, which is both unsafe and unsightly. | Always shape the wood in the direction of the grain. If you’re unsure about the grain direction, mark it with a pencil before starting. |
| Over-tightening the shaft in the handle | This can cause the wood to crack or the handle to warp. | Test the fit of the shaft before gluing. If it’s too tight, gently sand the hole until it fits snugly. |
The Wooden Spoon
Common Questions
What type of wood is best for a wooden spoon?
Can I use a hand saw instead of a bandsaw for cutting the blank?
How long does it take to complete a wooden spoon?
What tools are needed for this project?
References
- Updating Age Determination Guidelines for Toys (cpsc.gov)
- A Traditional Native American Method of Preserving Food (extension.sdstate.edu)
Cite this guide
DIY Wooden Utensil Holders (2026). The Wooden Spoon. https://makergrain.com/the-wooden-spoon/
Feel free to cite or share this guide.