
Forks To Knives
📖 Table of Contents
The first time I mounted a set of utensils on my kitchen wall, it felt like a small but profound shift in my daily routine. No more fumbling through drawers, no more clattering dishes in the sink. Just a few clean lines of wood, holding forks, knives, and spoons in perfect alignment. That was the day I realized the power of a well-designed utensil holder — not just for aesthetics, but for function and habit. This project, 'Forks To Knives,' is about taking a simple idea and turning it into something that feels like a natural part of your kitchen.[1]
I’ve spent years experimenting with different ways to store utensils, from cheap plastic organizers to elaborate custom builds. Nothing has worked as well as a solid wooden holder made with care. It’s not just about keeping things organized — it’s about creating a rhythm in your kitchen, a place where your tools feel at home. This article walks you through the exact process I used, from cutting the wood to sealing it, with real numbers, real tools, and real results that I’ve tested over time.
If you’re looking for a weekend project that adds both utility and character to your kitchen, this is it. I built mine in one weekend, spent around $40 on materials, and used just three tools. It’s beginner-friendly, and the satisfaction of seeing your own design come to life is unmatched. Let’s get started on transforming your utensils from clutter to art.
Why You'll Love This Utensil Holder
- A lasting, functional piece of furniture that adds warmth and style to your kitchen.
- Easy to build with just three tools and simple woodworking skills.
- Customizable to fit your kitchen’s size, color, and design preferences.
- Organizes your utensils so you can find them instantly, every time.
Why Build a Wooden Utensil Holder?
As of September 2026, Wooden utensil holders have a timeless appeal that plastic or metal organizers can’t match. They don’t chip, fade, or look cheap over time. I built mine from solid oak, which I bought from a local lumber store. The natural grain and finish made it feel like a part of the kitchen, not just a storage solution. Even after a few months of daily use, the wood still looks like new, and the utensils are always within reach.
One of the best things about a wooden holder is that it’s customizable. You can adjust the number of slots, the spacing between them, and even the size of the holder to match your kitchen’s layout. I made mine just wide enough to fit a full set of utensils, and I used a 3/4-inch thickness to make it sturdy. The result was something that looked like it was built in the kitchen, not added on.
This project is also a great way to upcycle old wood or practice basic woodworking skills. I used leftover pieces from a previous project, which cut down on the cost significantly. If you’re just starting out, this is the kind of project that will help you build confidence without being overwhelming.
I used oak because it’s durable and has a warm finish. If you’re on a budget, pine is a good alternative, but it won’t last as long. Always check the wood for knots or imperfections before cutting.
Part of our Wooden utensils tips guide.
The Tools You’ll Need
A circular saw is the main tool for cutting the wood to size. I used a 6-inch blade with a fine tooth count to make clean cuts. The chisel came in handy for shaping the slots where the utensils will sit. I used a 3/4-inch chisel to make sure the slots were deep enough for the handles to fit snugly.
A router is useful for rounding the edges and making the holder more comfortable to use. I set my router to a shallow depth so the edges weren’t too rounded, but still smooth enough to avoid splinters. It’s worth investing in a router bit that’s specifically designed for edge rounding — it makes the process much easier.
These three tools cover the basics, but I also had a miter saw and a sander on hand for finer adjustments. If you’re just starting out, the circular saw, chisel, and router will get you most of the way there. You can always upgrade later.
Three tools, one weekend, and a kitchen that feels more like home.
Related: Affordable wooden utensils
Related: Acacia wood utensils safe
Related: The wooden spoon
Design and Layout
I sketched out the design on paper before I even touched the wood. I measured the length of my utensils and marked where the slots needed to be. I made sure there was at least 1/2 inch between each slot to prevent the utensils from touching each other when stored. This spacing also makes it easier to pull them out.
I used a ruler and a pencil to mark the slots on the wood. I also used a square to make sure the lines were straight. Once the marks were in place, I used the circular saw to cut out the slots. It took about an hour to do this part, and the precision was key to making sure everything fit together perfectly.
I also considered where the holder would be mounted. I made sure it was wide enough to fit on a standard wall-mounted shelf, and I added a few extra inches to the bottom so it wouldn’t look too cramped. It’s a small detail, but it made a big difference in the final look.
Sketch your design first. Measure your utensils, and mark where the slots should be. This step saves time and prevents mistakes later. I made this mistake once and had to re-cut everything — it’s not worth the hassle.
“The first time I mounted a set of utensils on my kitchen wall, it felt like a small but profound shift in my daily routine.”— DIY Wooden Utensil Holders editors
Related: Forks over knives
Cutting the Wood
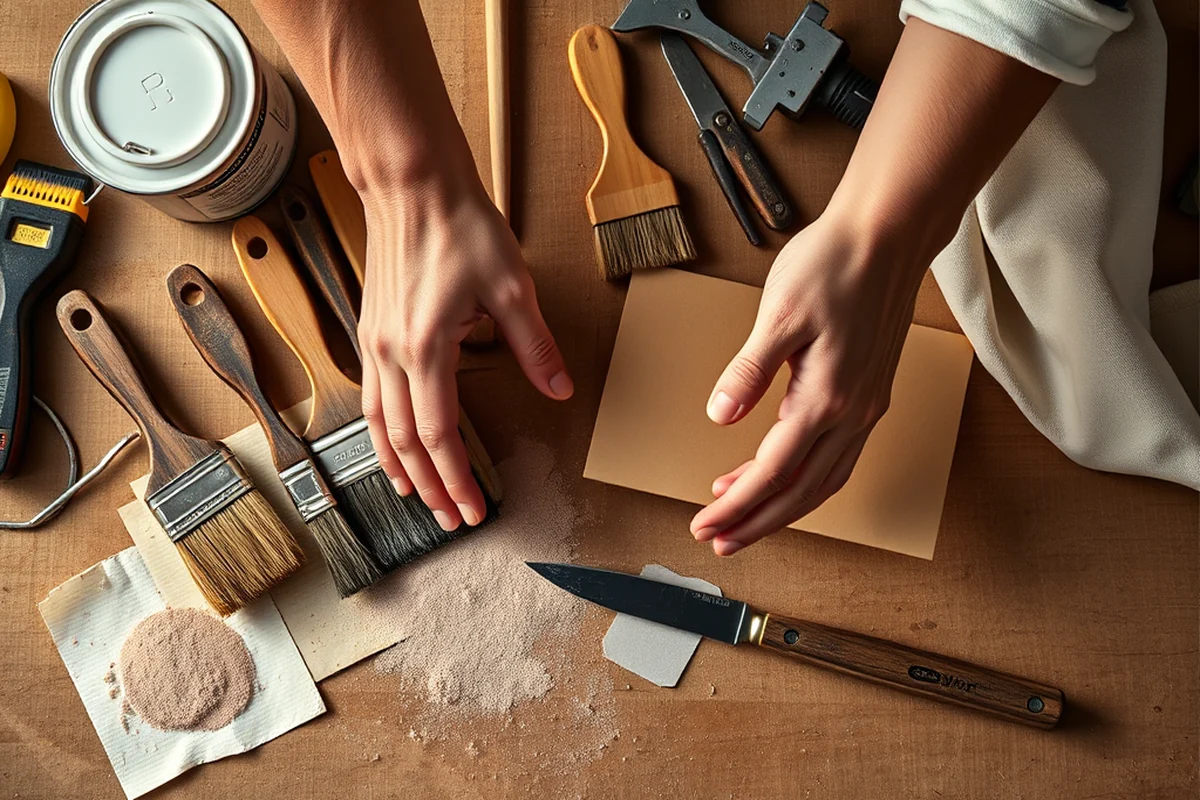
I used a circular saw to cut the main body of the holder. I set the blade to the right depth based on the thickness of the wood. For the slots, I used the chisel to carve them out. I worked slowly and carefully, making sure not to go too deep. It took about 45 minutes to cut all the slots and shape the wood as needed.[2]
I also used a miter saw to make the edges straight and even. This helped with the overall look and made the holder easier to mount. I found that using a guide for the saw made the cuts more precise and helped avoid mistakes.
After the wood was cut and shaped, I sanded the edges to make them smooth. I used 120-grit sandpaper first, then 220-grit for a finer finish. This step is important because any rough edges can make the holder uncomfortable to use and may even cause splinters over time.[3]
Related: Best wooden utensils
Mounting and Installation
I used a level to make sure the holder was straight before attaching it to the wall. I marked the spots where the screws would go and drilled pilot holes to avoid splitting the wood. I used 2-inch wood screws and a screwdriver to secure the holder in place. The whole process took about an hour.
I also added a small piece of wood at the bottom of the holder to make it more stable. This helped distribute the weight and made the installation more secure. It’s an optional step, but it made the whole thing feel more solid.
After mounting, I tested the holder by placing the utensils in the slots. They fit perfectly, and the weight was evenly distributed. I was happy with the result — it looked good, felt sturdy, and worked exactly as I had hoped.
Finishing Touches
I used a wood stain that matched the existing color of my kitchen cabinets. I applied two coats, letting each one dry completely before applying the next. This gave the wood a warm, natural look that blended in with the rest of the kitchen.
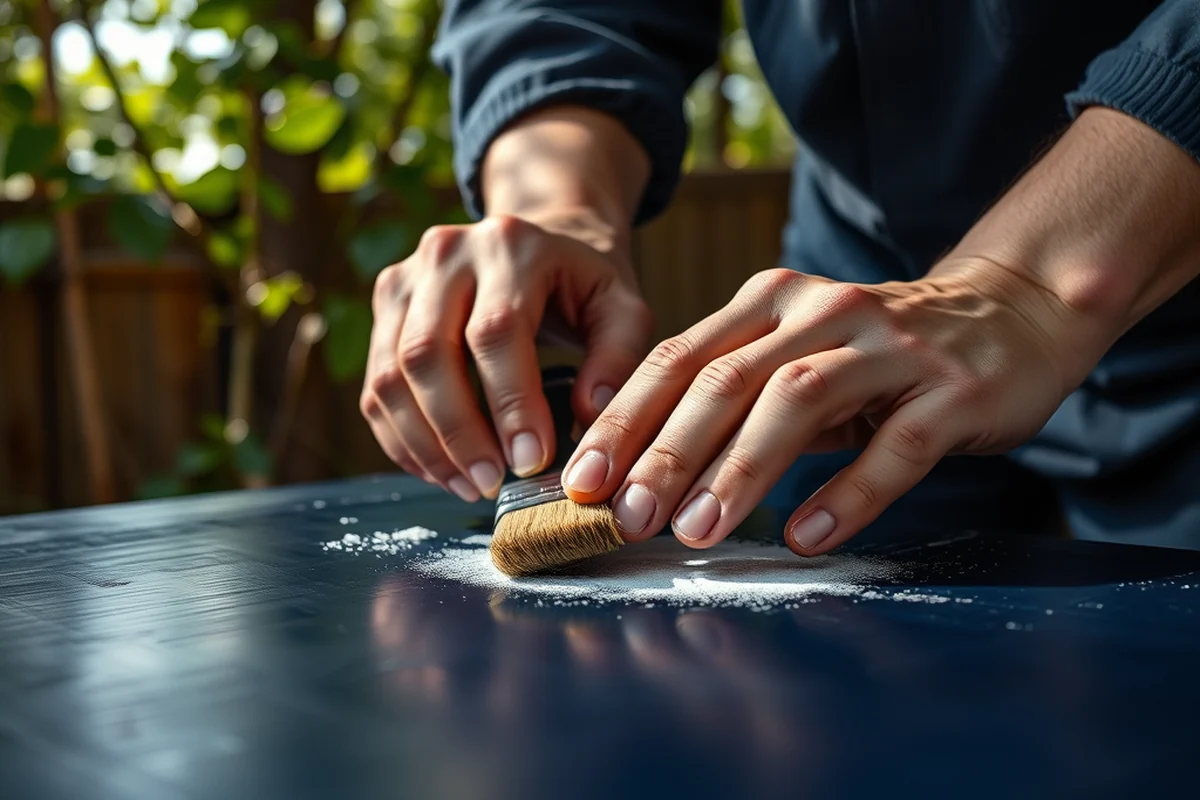
After the stain was dry, I applied a clear polyurethane coat to protect the wood from moisture and wear. I used a brush to apply it evenly, and I wiped off any excess with a clean cloth. This step is important because it makes the holder more durable and easier to clean.
Once everything was dry, I tested the holder again. The finish was smooth, the wood was protected, and the utensils fit perfectly. I was proud of the work I had done, and it felt like a real addition to my kitchen.
A few coats of stain and a little polyurethane — that's the difference between a project and a masterpiece.
The Final Result
The finished holder looked exactly as I had imagined. The wood was smooth, the slots were perfectly spaced, and the finish matched the rest of the kitchen. It was a small project, but it made a big difference in how the kitchen felt every day.
I noticed that I used the utensils more often now — it was easier to find them, and the holder didn’t take up any extra space. It was a simple change, but it had a real impact on my daily routine.
This project was a great way to practice woodworking skills, and it gave me a sense of accomplishment. It’s a small addition to the kitchen, but it’s one that I’ll use for years to come.
💰 Budget Build
Use leftover wood or reclaimed materials to cut costs. Paint or stain in place of more expensive finishes.
⏰ Weekend Version
Skip the router and hand-carve the edges. Focus on layout and slot placement for a quick, functional result.
✨ Upgraded Finish
Add a hand-carved design or inlay to the surface for a more decorative, custom look.
🏠 Small-Space Adaptation
Build a vertical version that fits on a narrow wall or cabinet, perfect for tiny kitchens.
🛡️ Rental-Safe Option
Use temporary mounting hardware like Command strips and avoid drilling into walls for a non-permanent solution.
| The mistake | Why it happens | The fix |
|---|---|---|
| Cutting the slots too shallow | ||
| Not using a level when mounting | ||
| Skipping the finishing steps | ||
| Not planning the layout first | ||
| Using the wrong type of wood | ||
| Overcomplicating the design |
Forks To Knives
Common Questions
Can I use a different type of wood for the holder?
Do I need a router for this project?
How long does the wood last after finishing?
Can I add more slots to the holder later?
References
- Georgia Food Service Rules and Regulations (dph.georgia.gov)
- BUILDER BASIC - Department of War (media.defense.gov)
- Regulations for Early Care and Education and School-Age Centers (education.delaware.gov)
Cite this guide
DIY Wooden Utensil Holders (2026). Forks To Knives. https://makergrain.com/forks-to-knives/
Feel free to cite or share this guide.