
Wooden Kitchen Utensils Set
📖 Table of Contents
- Choosing the Right Wood for Your Utensils Set
- Cutting and Shaping the Utensils
- Adding a Natural Finish for Longevity
- Designing Custom Utensils to Fit Your Kitchen Style
- Ensuring Comfort and Ergonomics in the Design
- Using Your Utensils Set in Everyday Life
- Maintaining and Caring for Your Utensils Set
- Make It Your Way
- Frequently Asked Questions
I remember the first time I laid my hands on a set of hand-carved wooden kitchen utensils — the smooth grain under my fingertips, the warmth of the wood as it settled in my hands. It was more than just a set of tools; it was a connection to a slower, more intentional way of living. I had spent weeks scouring online tutorials and visiting local woodshops, but nothing compared to the satisfaction of making my own wooden kitchen utensils set. It became a project that taught me patience, precision, and the quiet joy of creating something that would be used every day.
The idea of making a wooden kitchen utensils set might seem daunting at first, especially if you're new to woodworking. But I learned that with the right tools, materials, and a bit of trial and error, it's entirely doable. My first attempt took two full weekends, but the end result was worth every minute. I had a set of spoons, ladles, and spatulas that looked like they had been crafted by a professional — and yet, I had done it all myself. That sense of accomplishment is what keeps me coming back to woodworking projects like this.
What makes a wooden kitchen utensils set special is not just its function, but its form. It’s a blend of utility and artistry. When I finally laid out my completed set on the kitchen counter, I saw not just tools, but a collection of handcrafted objects that added warmth and personality to my space. The satisfaction of knowing that every piece was made with care, using sustainable wood and natural finishes, made it more than just a kitchen upgrade — it was a personal statement.
Why You'll Love This Wooden Kitchen Utensils Set
- Durable and long-lasting, made from high-quality hardwoods
- Adds a warm, natural aesthetic to any kitchen
- Customizable to fit your personal style and needs
- Eco-friendly and sustainable, made from responsibly sourced wood
Choosing the Right Wood for Your Utensils Set
As of September 2026, when I first started, I didn’t realize how important the wood type was. I used a softwood, and within weeks, the utensils were showing signs of wear. After some research, I learned that hardwoods like maple, beech, or walnut are best for kitchen utensils because they’re dense, resistant to warping, and can withstand frequent use. I ended up going with maple for its smooth finish and light color, which complemented my kitchen’s overall design.
Another thing to consider is the grain of the wood. A straight grain is easier to work with and less likely to crack or splinter over time. I made a mistake by picking a piece with a lot of knots — it made the carving process frustrating and the final product less polished. Choosing a board with consistent grain and minimal imperfections is key.
I also learned that the wood should be properly dried before starting the project. Using wood with a moisture content of 6-8% helps prevent warping and cracking. I bought a moisture meter and checked my wood regularly. It made a noticeable difference in the final quality of my set.[1]
Always go for hardwoods like maple, beech, or walnut. Ensure the wood is properly dried with a moisture content between 6-8% for the best results.
Part of our Wooden utensils for cooking guide guide.
Cutting and Shaping the Utensils
I had a hard time cutting the shapes for my utensils at first. I was using a hand saw, and the cuts were uneven. I realized that using a table saw and a miter gauge made a huge difference. It allowed me to make clean, straight cuts with minimal effort. Once the pieces were cut, I used a router to shape the edges and create the ergonomic handles.
One of the most challenging parts was shaping the spoons and ladles. I found that using a pattern or template helped me maintain consistency across all pieces. I made a simple pattern out of cardboard and used it to guide my router and chisels. It saved me a lot of time and ensured that each utensil was symmetrical and well-proportioned.
I also spent a lot of time sanding the pieces after shaping. It was tedious, but it was necessary to get the smooth finish I wanted. I used a combination of coarse and fine sandpaper, starting with 80-grit and working my way up to 220-grit. This process took several hours, but it was worth it for the final result.
Precision and patience are the keys to shaping perfect wooden utensils.
Related: Wooden spoons for cooking
Related: What is cooking utensils
Related: Affordable Wooden Utensils
Related: What Is A Cutlery Set
Adding a Natural Finish for Longevity
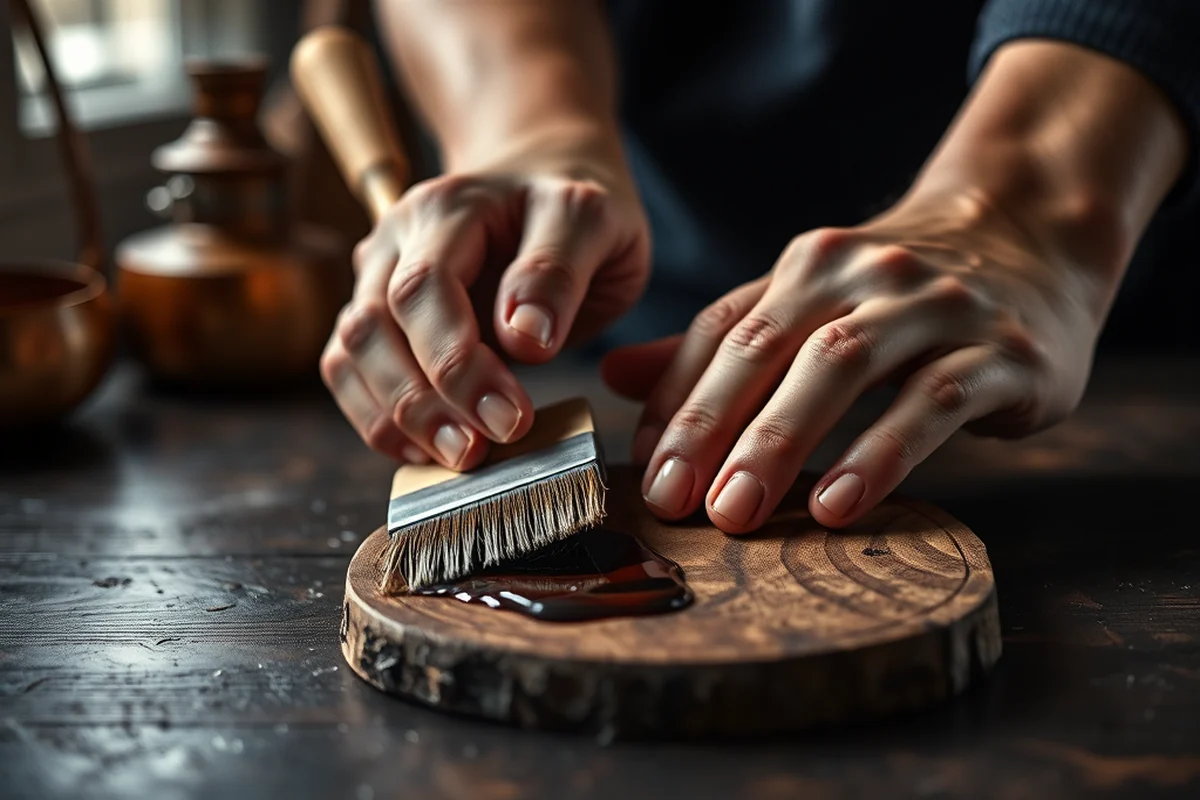
I initially tried using a commercial wood finish, but it didn’t work as well as I expected. It was too thick and left a sticky residue on the wood. After some research, I switched to using a combination of boiled linseed oil and beeswax. It gave the wood a smooth, natural sheen without making it feel greasy or slick.
I applied the finish in thin, even coats, allowing each layer to dry completely before applying the next. It took about three coats to get the right level of protection. I also used a brush and a cloth to apply the finish, which helped me cover all the surfaces evenly and avoid brush marks.
One thing I didn’t expect was how the finish affected the texture of the wood. The linseed oil and beeswax combination made the wood feel warm and smooth to the touch, which was a nice added benefit. I still use the same finish today, and my utensils look and feel just as good as they did on day one.
Mix boiled linseed oil with beeswax for a long-lasting, natural finish. Apply in thin layers, allowing each coat to dry completely before applying the next.
“I remember the first time I laid my hands on a set of hand-carved wooden kitchen utensils — the smooth grain under my fingertips, the…”— DIY Wooden Utensil Holders editors
Related: Acacia wood for utensils
Related: Acacia wood for kitchen utensils
Designing Custom Utensils to Fit Your Kitchen Style
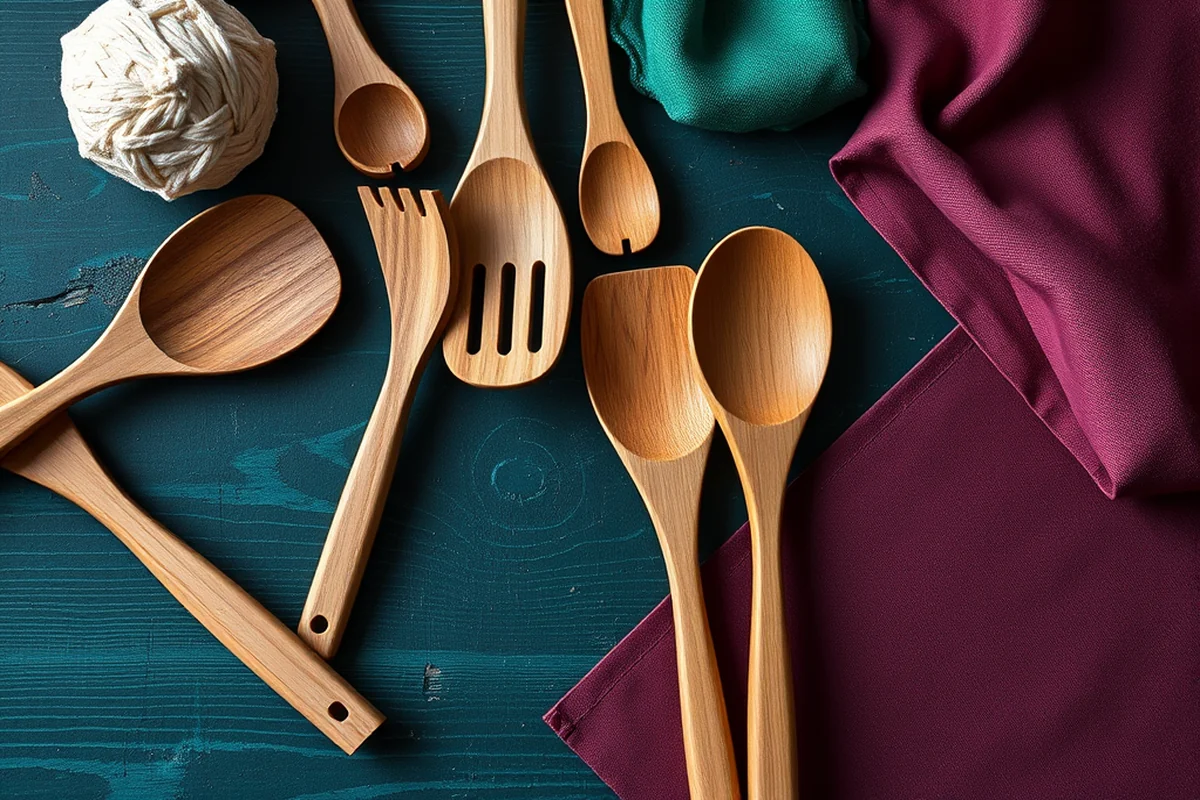
One of the most fun parts of this project was customizing the design of my utensils. I wanted them to match the rustic look of my kitchen, so I used a darker stain on the handles and kept the main body of the utensils in a natural finish. This created a nice contrast that added visual interest.
I also experimented with different shapes and sizes. I made larger ladles for serving soups and smaller spatulas for flipping food in a pan. This versatility made the set more practical and useful in everyday cooking.
Another thing I considered was the placement of the utensils on the kitchen counter. I made sure the handles were long enough to be comfortable for use but not too long that they would take up too much space. It was a small detail, but it made a big difference in the usability of the set.
Related: Best wooden utensils for cooking
Ensuring Comfort and Ergonomics in the Design
I initially overlooked the importance of ergonomics in my design. My first set of utensils felt awkward in my hands, and after a few uses, I started to experience some discomfort. I realized that I needed to pay more attention to the shape of the handles and the overall balance of the tools.
I did some research on ergonomic designs for kitchen tools and found that a contoured handle that fits the natural curve of the hand is ideal. I used a template to shape the handles so they were slightly curved and had a slight taper at the end. This made them much more comfortable to hold, especially when using them for longer periods of time.
I also made sure that the weight of the utensils was balanced. Heavier utensils can be tiring to use over time, so I used a combination of hardwood and light sanding to keep the weight just right. It was a small change, but it made a noticeable difference in how the utensils felt in my hands.
Using Your Utensils Set in Everyday Life
The first time I used my new set, I was surprised by how well they worked. They felt balanced, comfortable, and didn’t slip in my hands — even when I was flipping hot food in a pan. It was a small thing, but it made a big difference in my daily cooking routine.
I also noticed that the set became a conversation piece in my kitchen. Friends who visited were always curious about the utensils and asked where I got them. When I told them I made them myself, they were impressed and even asked for tips on how to make their own sets.
Over time, the set became more than just functional tools — they became part of my daily life. I used them every day, and they showed no signs of wear or damage. It was a reminder of how much effort and care went into making them, and it made me appreciate them even more.
Your handmade utensils set becomes more than just tools — they become part of your daily life.
Maintaining and Caring for Your Utensils Set
Even the best-made utensils will start to show wear over time if they’re not properly cared for. I made a habit of wiping them down after each use and storing them in a dry place. This helped prevent moisture buildup and kept them from warping or cracking.
I also occasionally reapplied the natural finish to the utensils. This helped maintain the smoothness of the wood and kept it protected from moisture and stains. It was a simple process that only took a few minutes, but it made a big difference in the longevity of the set.
One thing I learned was to avoid using the utensils in the dishwasher. The high heat and harsh detergents can damage the wood and the finish over time. Instead, I preferred to hand-wash them with mild soap and water. It might take a little more time, but it was worth it to keep them looking their best.
💰 Budget Build
Create a simple, no-frills set using affordable wood and basic tools. Ideal for first-time woodworkers looking to get started without a large investment.
⏰ Weekend Version
A quick and easy project that can be completed in a single day. Perfect for those with limited time but still want a professional-looking set.
✨ Upgraded Finish
Use higher-quality wood and finishes to create a more refined and durable set. Ideal for those who want a showpiece that will last for years.
🏠 Small-Space Adaptation
Design a compact set of utensils that are ideal for small kitchens or apartments. Focus on minimalism and functionality in this version.
🔒 Rental-Safe Option
Create a set that is easy to disassemble and transport. Great for those who need to move frequently or rent out their homes.
| The mistake | Why it happens | The fix |
|---|---|---|
| Using the wrong type of wood | Softwoods are more prone to warping and splintering, which can affect both the performance and appearance of your utensils set. | Always choose a hardwood like maple, beech, or walnut for better durability and longevity. |
| Skipping the drying process | Using wood that is too wet can lead to warping, cracking, or other structural issues over time. | Use a moisture meter to ensure the wood has a moisture content of 6-8% before starting your project. |
| Ignoring the grain of the wood | Wood with knots or irregular grain patterns can be harder to shape and may not look as polished in the finished product. | Select a piece of wood with a straight grain and minimal knots for better results. |
| Neglecting to sand properly | Skipping the sanding process can leave rough edges and an uneven finish, which can make the utensils uncomfortable to use. | Use a combination of coarse and fine sandpaper to achieve a smooth, even surface on all pieces. |
Wooden Kitchen Utensils Set
Common Questions
What type of wood is best for making kitchen utensils?
How long does it take to complete a set of wooden kitchen utensils?
What tools are needed to make a wooden utensils set?
Can I use a commercial wood finish for my utensils set?
References
Cite this guide
DIY Wooden Utensil Holders (2026). Wooden Kitchen Utensils Set. https://makergrain.com/wooden-kitchen-utensils-set/
Feel free to cite or share this guide.