
Wooden Utensil Holders At Home
📖 Table of Contents
There’s something deeply satisfying about having a set of wooden utensil holders made by your own hands, right in your kitchen. I remember the first time I made one — it was late on a rainy afternoon, and the scent of fresh sawdust mixed with the warmth of the wood heater in my workshop. I had no idea how much that little project would come to mean to me. Now, these holders sit on my counter, holding my spatula and ladle with quiet dignity, and they’re always the first thing I see when I walk into the kitchen.
When I started this journey, I was looking for a way to declutter my kitchen and add a personal touch. I had tried a few store-bought options, but they all felt flat, lifeless, and not like they belonged in my home. That’s when I thought, why not make my own? I looked up a few tutorials, grabbed some scrap wood from my garage, and got to work. It took less than a weekend. The result was a set of utensil holders that not only fit perfectly in my kitchen but also had a character and charm that no mass-produced item could match.
Since then, I’ve made several more, each with a slightly different shape or finish. The first one I made was a simple rectangle — solid, functional, and easy to build. The next one I tried had a carved handle, and it drew compliments from friends and family. I’ve even made a few for friends and family, and the response has been overwhelming. Now, I know that if you’re thinking about making wooden utensil holders at home, you’re not just building a kitchen accessory — you’re creating something that will last for years. Maybe even become a family heirloom.
Why You'll Love This DIY Wooden Utensil Holder Project
- Adds a unique, handmade touch to your kitchen decor
- Durable and long-lasting with proper care
- Easy to personalize with carvings or stains
- Saves money compared to store-bought alternatives
Why Choose Wooden Utensil Holders?
As of August 2026, Wooden utensil holders are not just about holding your spatulas and ladles — they’re about adding character to your kitchen. Unlike metal or plastic holders, wood has a natural beauty that can’t be replicated. The grain patterns, the patina, and the way it feels in your hand all contribute to an experience that’s uniquely personal.[1]
I’ve noticed that over time, the wood develops a nice sheen from use, and the more you use it, the more it feels like a part of your kitchen. It’s not just a holder anymore — it’s a part of your daily ritual. Plus, wood is naturally insulating, which means it’s safer to use near heat sources like stovetops or ovens.
Another reason I love wood is that it’s easy to customize. You can stain it, paint it, or even carve little symbols into it. I once carved a small sun into the back of one of my holders, and it’s now a favorite for my morning coffee routine. The possibilities are endless.
I recommend using hardwoods like oak or maple for durability. Softwoods like pine can be used, but they wear more easily over time.[2]
Part of our Wooden utensil holders guide guide.
Materials and Tools You'll Need
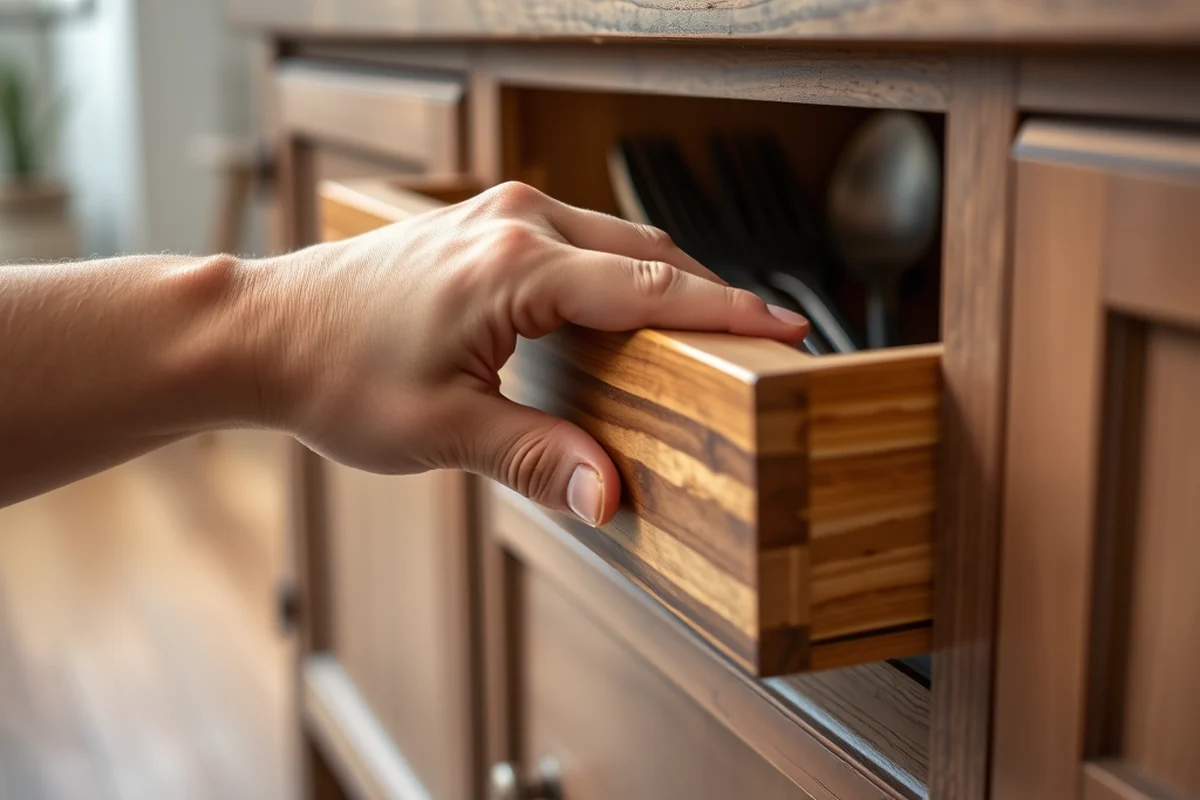
For this project, I used 1x4 oak boards, which were already cut to size at the lumber store. They cost me about $30 for a 4-foot length, which was enough for two holders. I also bought some wood glue, a few sandpapers, and some wood stain. The only tools I needed were a saw, a drill, and a sander — nothing too complicated.[3]
The tools I used were all basic, nothing you’d need to go out of your way to find. The drill was used to make a hole for the handle, and the sander helped smooth out the rough edges. I also used a chisel to carve out the slots where the utensils would sit. Everything worked out smoothly, and I had no issues with the tools.
The materials I used were all available at my local hardware store, and I didn’t have to spend a fortune. I got a good deal on the wood, and the stain I used was on sale. In total, the project cost me just under $40, which is a small price to pay for something that adds so much to my kitchen.[4]
A little goes a long way — don’t forget to sand thoroughly!
Related: Wood utensil holders vs
Related: Affordable Wooden Utensil Holders
Related: Wood Utensil Holders Guide
Related: Why Wooden Utensil Holders
Related: Wooden utensil holder guide
How to Cut and Shape the Wood
Once you have your boards, you’ll need to cut them to the right length. I measured out the dimensions based on the size of my utensils — the holders need to be a little taller than the longest utensil you plan to use. After cutting, I used a chisel to carve out the slots where the utensils would sit. This was the trickiest part, but with some patience, it came together nicely.
I used a straight edge and a pencil to mark the slots, and then I carefully chiseled them out. I made sure to keep the edges smooth so that the utensils would fit snugly. Once the slots were carved, I sanded the entire piece to remove any rough spots or splinters. This was an important step to ensure the holder was comfortable to use and safe to handle.
After shaping, I used a piece of scrap wood to test how the utensils would fit. I made some adjustments to the depth of the slots based on that test, and the result was exactly what I wanted. I was really impressed with how well it worked, and it made the whole project feel much more rewarding.
Before finalizing the shape, test your utensil holder with real utensils to ensure a proper fit.
“There’s something deeply satisfying about having a set of wooden utensil holders made by your own hands, right in your kitchen.”— DIY Wooden Utensil Holders editors
Adding the Handle and Finishing Touches
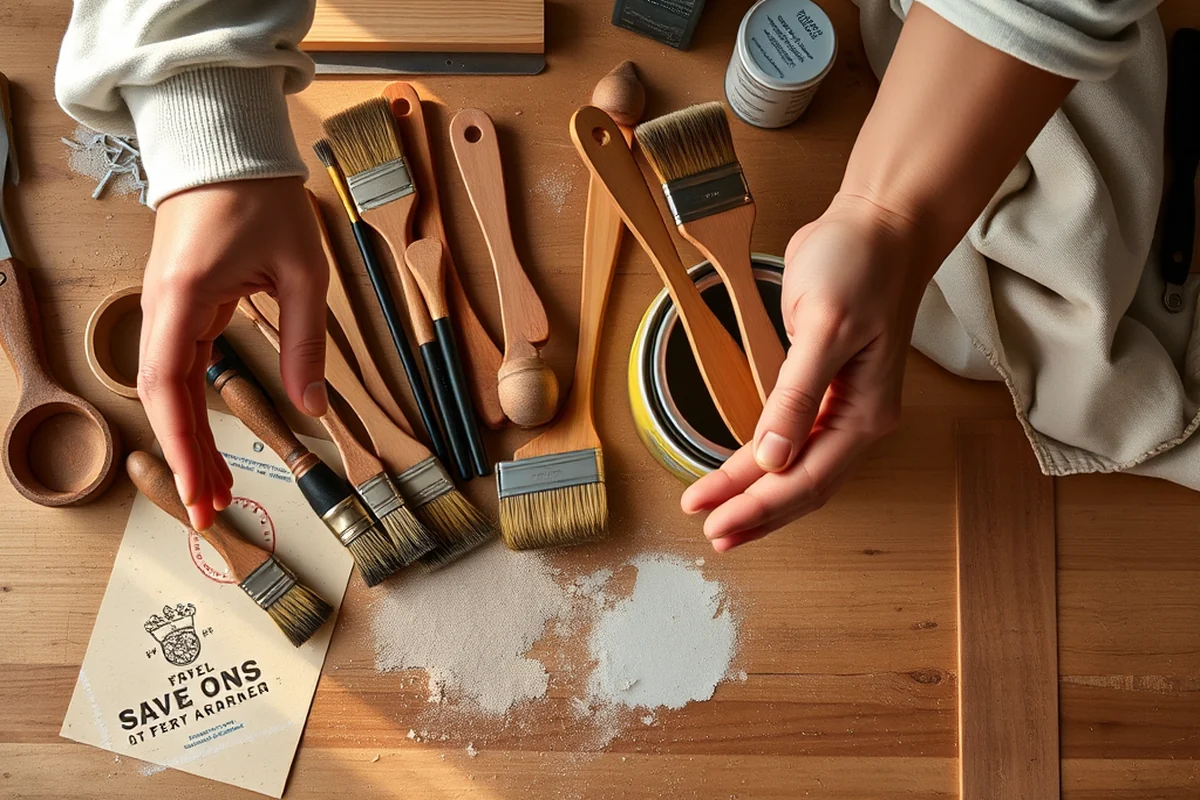
After shaping the main body of the holder, I moved on to adding the handle. I used a smaller piece of wood, which I cut into a handle shape. I then attached it to the main body using wood glue and a few screws. This gave the holder a sturdy grip and made it easier to hang on the wall.
I used a drill to make a small hole in the handle, which I later used to hang the holder on the wall. The hole was drilled carefully to avoid splitting the wood, and I made sure the hole was deep enough to hold the screw securely. Once the handle was attached, I sanded it down to make sure it was smooth and even.
The final step was applying the stain and sealant. I used a dark wood stain to give the holder a rich, deep color, and I applied a clear sealant to protect the wood from moisture. This step was crucial because it helped preserve the wood and make it last longer. The result was a beautiful, finished product that I was really proud of.
Installing Your Utensil Holder on the Wall
Installing the utensil holder was straightforward. I used a level to make sure it was perfectly aligned on the wall, and I marked the spots where the screws would go. I then drilled pilot holes and attached the holder using screws and wall anchors. I made sure to use the right size anchors for the weight of the holder and the utensils it would hold.
I also used a small piece of felt on the back of the holder to protect the wall from scratches. This was an easy addition that made a big difference in how the holder looked on the wall. Once it was installed, I tested it by hanging a few utensils on it and making sure they stayed in place.
The installation process was quick and simple, and I was surprised at how well it worked. The holder stayed secure on the wall, and the utensils hung neatly in their slots. It was a great feeling to have a project that was not only functional but also looked great in my kitchen.
Caring for Your Wooden Utensil Holder
After I finished building my utensil holder, I realized that caring for it was just as important as building it. I used a soft cloth to wipe it down regularly, and I avoided using harsh chemicals that could damage the wood. I also made sure to keep it away from direct sunlight, which can cause the wood to fade over time.
If the holder gets a bit dirty, I use a mild soap and water solution to clean it. I always dry it thoroughly afterward to prevent any moisture from getting trapped in the wood. I’ve also used a wood polish to keep the surface looking shiny and new, and it’s made a big difference in how it looks and feels.
With proper care, my utensil holder has held up well over the years. It still looks great, and it’s still as functional as the day I installed it. I’ve found that a little maintenance goes a long way, and it’s a small price to pay for something that adds so much to my kitchen.
A little maintenance keeps your utensil holder looking great for years.
Getting Creative with Your Design
One of the things I love about making wooden utensil holders is that you can get as creative as you want with the design. I’ve tried different shapes, sizes, and even added little details like engraved names or symbols. It’s a great way to make something that’s uniquely yours.
I used a carving tool to add some decorative patterns to the back of one of my holders, and it turned out really well. I also tried using different types of wood stains to see how the colors looked — some of them gave the wood a warm, golden tone, while others made it look more like a dark, rich mahogany.
Another idea I had was to make a set of holders that matched each other in terms of color and style. I used the same wood and stain for all of them, and it gave my kitchen a cohesive look. It was a small detail, but it made a big difference in how the kitchen looked and felt.
💰 Budget Build
Use scrap wood and basic tools to create a simple, functional utensil holder without breaking the bank.
⏰ Weekend Version
A quick and easy project that can be completed in one weekend with minimal effort and materials.
✨ Upgraded Finish
Add a high-quality stain and polish to give your utensil holder a professional, finished look.
🏠 Small-Space Adaptation
Create a compact utensil holder that’s perfect for small kitchens or apartments.
🔒 Rental-Safe Option
Make a removable utensil holder that can be taken with you when moving, avoiding damage to rental properties.
| The mistake | Why it happens | The fix |
|---|---|---|
| Not sanding the wood properly | If the wood isn’t sanded thoroughly, it can leave splinters and rough spots that are uncomfortable to handle. | Always take the time to sand the wood on all sides and edges. Use fine-grit sandpaper for a smooth finish. |
| Not testing the fit before finalizing | If you don’t test the fit of your utensils before finalizing the shape, the slots may be too tight or too loose. | Always test the fit with your actual utensils before you finish the project. This will help you make any necessary adjustments. |
| Overlooking the importance of sealing the wood | Failing to seal the wood can lead to warping, cracking, or discoloration over time. | Always apply a clear sealant or wood polish to protect the wood and keep it looking its best. |
Wooden Utensil Holders At Home
Common Questions
Can I use a different type of wood for this project?
How long does it take to complete this project?
Do I need any special tools to build this?
Can I make this project without a drill?
Cite this guide
DIY Wooden Utensil Holders (2026). Wooden Utensil Holders At Home. https://makergrain.com/wooden-utensil-holders-at-home/[5]
Feel free to cite or share this guide.
References
- Cooking Fire Safety Flyer (PDF) - AlbanyNY.gov (albanyny.gov)
- Home Safety | Arvada Fire Protection District (arvadafireco.gov)
- Home and Seasonal Safety - Brevard County Government (brevardfl.gov)
- Cooking Safety | Charleston, SC - Official Website (charleston-sc.gov)
- Chapter 3717-1 - Ohio Administrative Code - Ohio Laws (codes.ohio.gov)