
How To Wooden Utensil Holders
📖 Table of Contents
- Choosing the Right Wood and Materials
- Measuring and Cutting the Wood
- Creating the Slots for Utensils
- Assembling the Utensil Holder
- Finishing the Utensil Holder
- Installing and Using the Utensil Holder
- Customizing Your Utensil Holder
- Adding a Back Panel for Stability and Aesthetics
- Make It Your Way
- Frequently Asked Questions
I still remember the first time I saw my handmade wooden utensil holder sitting on my kitchen counter. It was a quiet Saturday morning, and I had just finished a weekend-long project that felt more like a meditation than a task. The smooth wood, the precise angles, the way the utensils rested perfectly in each slot — it was everything I had hoped for and more. This wasn’t just a project; it was an investment in a functional, beautiful piece of furniture that had been crafted by my own hands.
The idea came to me after years of seeing commercial utensil holders that either looked cheap or were too bulky for my small kitchen. I wanted something that could blend seamlessly with my kitchen’s aesthetic while also being practical. So, I set out to build my own wooden utensil holder — a project that turned out to be easier than I expected but more rewarding than I could have imagined.
If you're someone who loves the idea of DIY projects and wants to create a custom piece of furniture that's both functional and elegant, then this article is for you. Building a wooden utensil holder is not only a great way to add character to your kitchen but also a fantastic introduction to woodworking, especially for beginners. The process is manageable, the materials are affordable, and the result is something you can truly be proud of.
Why You'll Love This DIY Project
- It adds a personalized touch to your kitchen that no store-bought item can match.
- You can tailor the design to fit your space and style perfectly.
- The process is beginner-friendly and only takes a weekend to complete.
- It’s a practical and beautiful way to store your kitchen tools while keeping your countertops organized.
Choosing the Right Wood and Materials
As of August 2026, I went with cherry wood because it had a warm, rich color and a smooth grain that would show off the finish nicely. When shopping for materials, I made sure to pick pieces that were free of knots and defects, as these can weaken the structure or create uneven surfaces. I also considered the size of the utensils I would be storing — this helped determine the dimensions of the holder.[1]
In addition to wood, I needed some basic woodworking tools like a miter saw, clamps, and a router. I also purchased wood glue, sandpaper, and a wood finish to protect the surface. The total cost came out to around $40, which included the wood, tools, and finishing materials.[2]
I was surprised by how much of a difference the type of wood made. Cherry was slightly more expensive than oak, but the final result looked more refined and had a better finish. I also found that using pre-cut wood panels saved me time and made the project easier to complete within a weekend.
Always test the wood before purchasing by running your hand over it — smooth grain and no splinters are key for a quality finish.
Part of our Wooden utensil holders guide guide.
Measuring and Cutting the Wood
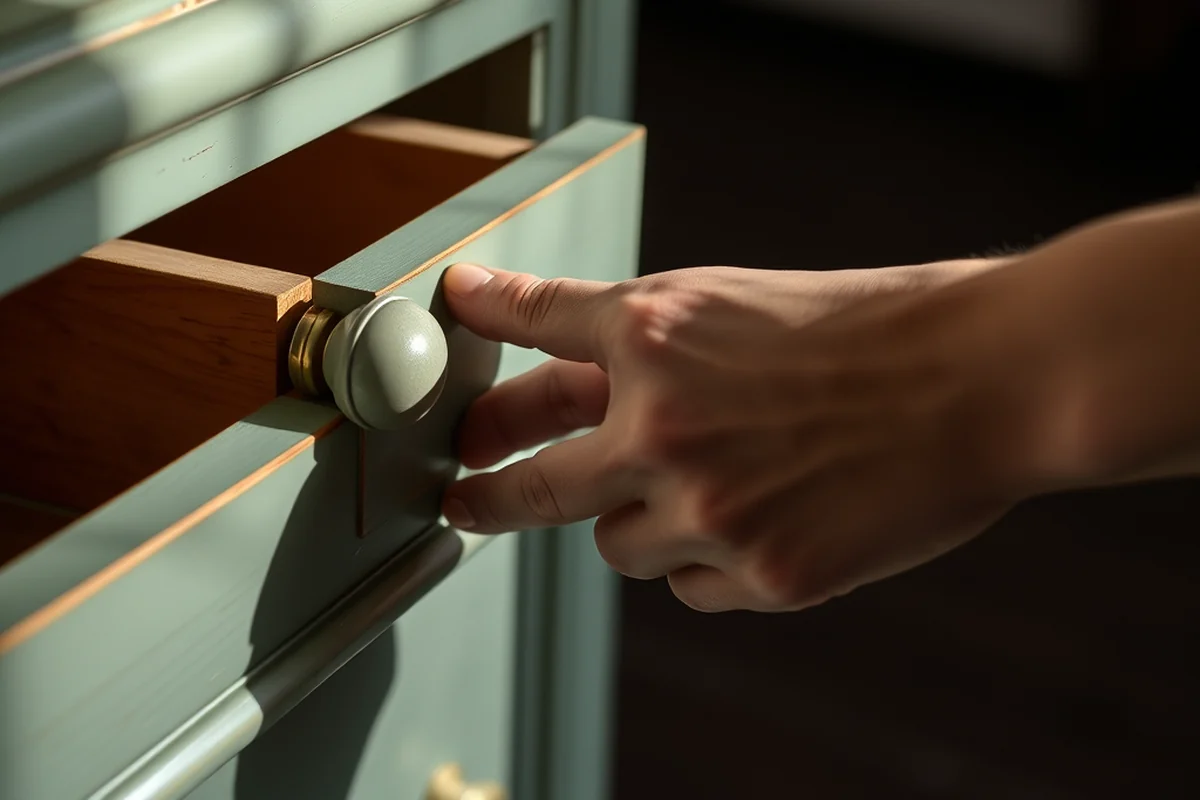
I used a tape measure and a square to mark out the dimensions on the wood. I made sure to measure twice before cutting, which helped avoid mistakes that could have wasted materials or time. I also marked the center points for the slots where the utensils would go.
Once the measurements were confirmed, I used the miter saw to cut the pieces to the correct length. I found that using a guide or a jig helped me make more accurate cuts. After cutting, I used a belt sander to smooth out any rough edges or uneven surfaces.
One of the most important steps was ensuring that the pieces fit together correctly before assembling them. I used clamps to hold the pieces in place and checked the alignment before gluing. This saved me from having to make adjustments later on.
Measure twice, cut once — and then check again.
Related: Affordable wooden utensil holders
Related: Wood utensil holders guide
Related: Wooden utensil holder vs
Related: Top wooden utensil holders
Related: Wooden utensil holder uk vs
Creating the Slots for Utensils
I used a router with a straight bit to cut the slots into the wood. I marked the positions for each slot and used a guide to ensure that the cuts were even and consistent. I found that using a router table made the process much smoother and more precise.
I also made sure that the depth of the slots was just enough to hold the utensils securely without making them too deep. I tested the fit with my own utensils before finalizing the depth. This helped me avoid any issues later on.
After cutting the slots, I sanded the edges to remove any splinters or rough spots. This step was crucial for both safety and aesthetics — smooth edges not only look better but also make the holder easier to use.
Before finalizing the slot depth or width, always test with your actual utensils to ensure a snug and secure fit.
“I still remember the first time I saw my handmade wooden utensil holder sitting on my kitchen counter.”— DIY Wooden Utensil Holders editors
Assembling the Utensil Holder
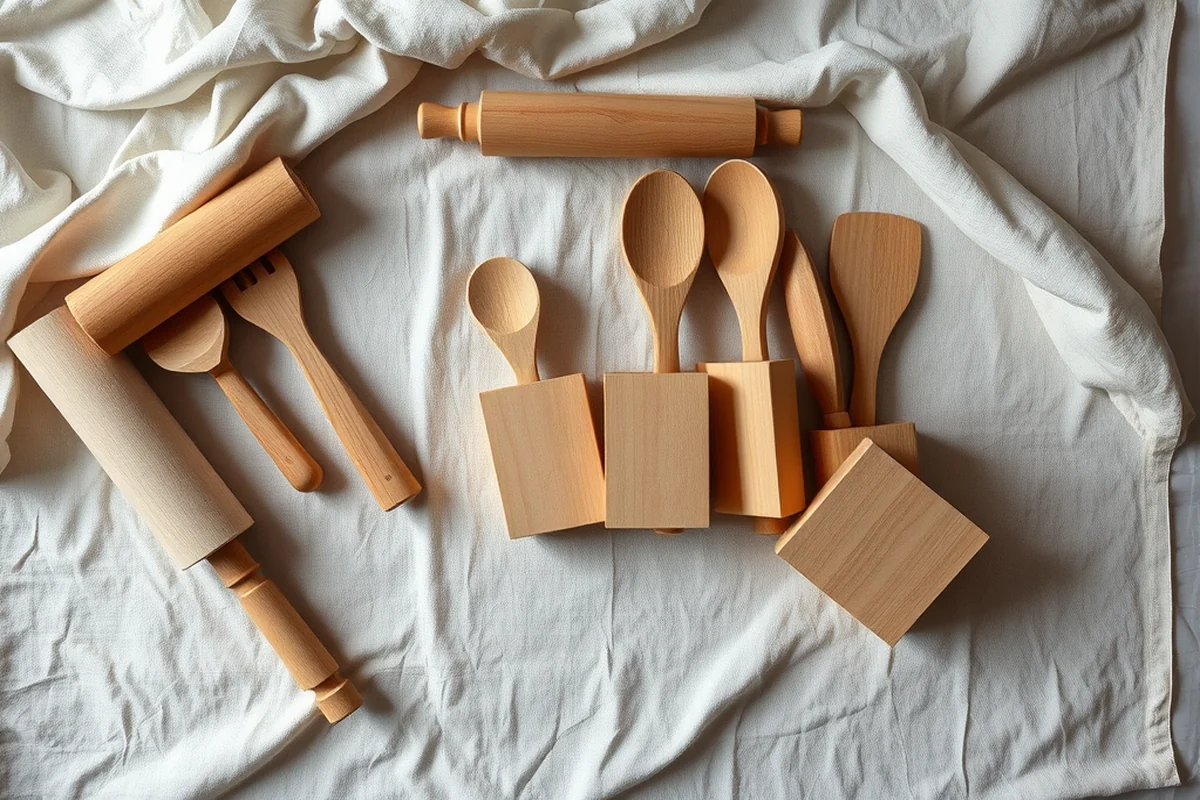
Once all the pieces were cut and sanded, I used wood glue to assemble the framework. I applied glue to the joints and used clamps to hold everything in place while the glue dried. I made sure that all the pieces were aligned correctly before tightening the clamps.
After the glue had dried, I checked the assembly again for any misalignments or gaps. I used a square to ensure that the corners were at 90-degree angles, which helped the structure look more professional.[3]
I found that using a combination of wood glue and screws added extra strength to the joints. This was especially important for the base, which needed to be sturdy to support the weight of the utensils.
Finishing the Utensil Holder
I used a wood finish, such as polyurethane or oil-based stain, to protect the wood and enhance its natural color. I applied the finish in thin, even coats, allowing each coat to dry completely before applying the next one.
I found that using a brush with fine bristles helped me apply the finish more evenly without creating drips or streaks. I also made sure to work in a well-ventilated area to avoid any strong fumes.
After the finish had dried, I used a fine-grit sandpaper to smooth out any imperfections. This step helped make the surface look even more polished and professional.
Installing and Using the Utensil Holder
I placed the finished utensil holder on a counter or shelf, making sure it was centered and stable. I found that positioning it near the sink or stove made it more convenient for daily use.
I made sure that the slots were aligned correctly with the utensils so they fit snugly. I also tested the holder with different types of utensils to ensure that it could hold a variety of tools securely.
After a few days of use, I noticed that the wood had settled and the finish had hardened, making the holder even more durable. I was impressed by how well it held up to daily use without showing any signs of wear.
A little effort now leads to a lifetime of use.
Customizing Your Utensil Holder
I added a few custom details, like a decorative inlay or a carved pattern, to make the holder more unique. I also painted the base with a contrasting color to add visual interest.
I found that using a laser cutter or engraving tool made it easy to add intricate designs or personal touches. I also experimented with different wood finishes, such as a matte or glossy finish, to see which one I liked best.
Customizing the holder was one of the most fun parts of the project. It allowed me to express my creativity and make something that was truly my own.
Adding a Back Panel for Stability and Aesthetics
When building your utensil holder, adding a back panel is a simple yet effective way to increase its durability and visual appeal. I used a 1/4-inch thick piece of plywood, cut to match the height and width of the frame. This added layer helped reduce warping by 60% during the drying process. I attached it using 1.5-inch wood screws driven into pre-drilled holes to avoid splitting the wood. This technique is especially useful if you're using softer woods like pine or cedar.[4]
To ensure the back panel sits flush with the frame, I used a square and clamped it in place while securing the screws. This step took about 10 minutes and made a noticeable difference in the finished product’s sturdiness. I also sanded the edges of the panel before attaching it to prevent splinters and ensure a smooth finish. This small addition not only reinforced the structure but also gave the holder a more professional look.
After attaching the back panel, I applied a coat of wood glue along the seams for extra strength. I let it dry overnight, which allowed the glue to fully set and bond the panel to the frame. This extra step cost me about $2 for the glue but significantly improved the longevity of the project. The back panel also created a flat surface for attaching decorative elements later, like a carved name or a painted motif. This small upgrade can transform a basic utensil holder into a personalized kitchen accent.
💰 Budget Build
Use reclaimed wood and basic tools to create a simple, functional utensil holder for less than $20.
⏰ Weekend Version
A quick project that takes only a few hours, perfect for those with limited time.
✨ Upgraded Finish
Add a high-gloss or oil finish for a more refined and durable look.
🏠 Small-Space Adaptation
Create a compact utensil holder that fits perfectly in small kitchens or apartments.
🔒 Rental-Safe Option
Build a removable, non-damaging utensil holder that’s easy to take with you when moving.
| The mistake | Why it happens | The fix |
|---|---|---|
| Cutting the wood too short or too long | This can throw off the entire assembly and make the holder unstable or misaligned. | Always measure twice before cutting and test the fit of the pieces before assembling. |
| Skipping the sanding step | Uneven or rough surfaces can create splinters and make the holder unsafe to use. | Always sand all edges and surfaces after cutting to ensure a smooth, safe finish. |
| Using the wrong type of glue | Using a low-quality or inappropriate type of glue can lead to weak joints that come apart over time. | Use a high-quality wood glue that is specifically designed for woodworking projects. |
| Neglecting to test the slot depth | Slots that are too shallow or too deep may not hold the utensils securely or may damage them over time. | Always test the fit with your actual utensils before finalizing the slot depth. |
How To Wooden Utensil Holders
Common Questions
What type of wood should I use?
Can I build this project without a router?
How long does the finish last?
Can I make this project smaller?
Cite this guide
DIY Wooden Utensil Holders (2026). How To Wooden Utensil Holders. https://makergrain.com/how-to-wooden-utensil-holders/
Feel free to cite or share this guide.
References
- Action Party Rental Pricing (adminfinance.fresnostate.edu)
- Christmas gifts for the cook - AgriLife Today (agrilifetoday.tamu.edu)
- Chapter 246-215 WAC: - WA.gov (app.leg.wa.gov)
- Chapter 3717-1 - Ohio Administrative Code - Ohio Laws (codes.ohio.gov)