
Wooden Kitchen Utensils And Holder At Home
📖 Table of Contents
- Choosing the Right Wood for Your Utensils and Holder
- Measuring and Cutting the Wood
- Assembling the Utensil Holder
- Finishing the Wood for Long-Lasting Use
- Adding Custom Details and Personal Touches
- Mounting the Utensil Holder in Your Kitchen
- Maintaining Your Wooden Utensil Holder
- Incorporating a Drying Rack for Utensils
- Make It Your Way
- Frequently Asked Questions
I remember the first time I replaced my plastic utensils with wooden ones — the difference was immediate. They felt warmer in my hands, more substantial, and, honestly, more inviting. That’s when I realized the power of a well-made wooden kitchen utensils and holder at home. It's not just about aesthetics; it's about creating a space that feels intentionally crafted.
The wooden kitchen utensils and holder at home project is one I've built more than once. Each time, I learned something new — like how to choose the right type of wood, how to finish it for durability, and the subtle art of balancing function and design. It’s a project that brings real joy, and it’s surprisingly accessible for someone new to DIY.
This article is for anyone who wants to bring a touch of warmth and craftsmanship into their kitchen. Whether you're an experienced woodworker or a total beginner, we’ll walk through every step with real, actionable advice. I promise no vague instructions — just clear, specific guidance that you can trust.
Why You'll Love This Project
- Adds a warm, timeless aesthetic to any kitchen space
- Customizable to match your existing decor
- Durable and long-lasting when properly finished
- Encourages mindful, hands-on home improvement
Choosing the Right Wood for Your Utensils and Holder
As of August 2026, when selecting the right wood for your wooden kitchen utensils and holder at home, it's important to consider both durability and grain. I personally prefer maple because it’s hard and has a smooth finish that feels great in hand. However, if you're looking for something with a more dramatic look, walnut or cherry can add a rich depth to your kitchen decor.[1]
Softwoods like pine or cedar are not ideal for utensils, as they tend to splinter more easily over time. I learned this the hard way when I made a set of spatulas out of pine — they were beautiful but didn’t last more than a few months.
Another factor to consider is the source of the wood. I’ve found that locally sourced wood from a lumberyard gives better results than pre-cut wood from big-box stores. The wood is often drier, which means fewer warping issues down the line.
Measure your kitchen space before purchasing wood to avoid overbuying. Hardwoods are a better long-term investment.
Part of our Wooden kitchen utensils and holder troubleshooting guide.
Measuring and Cutting the Wood
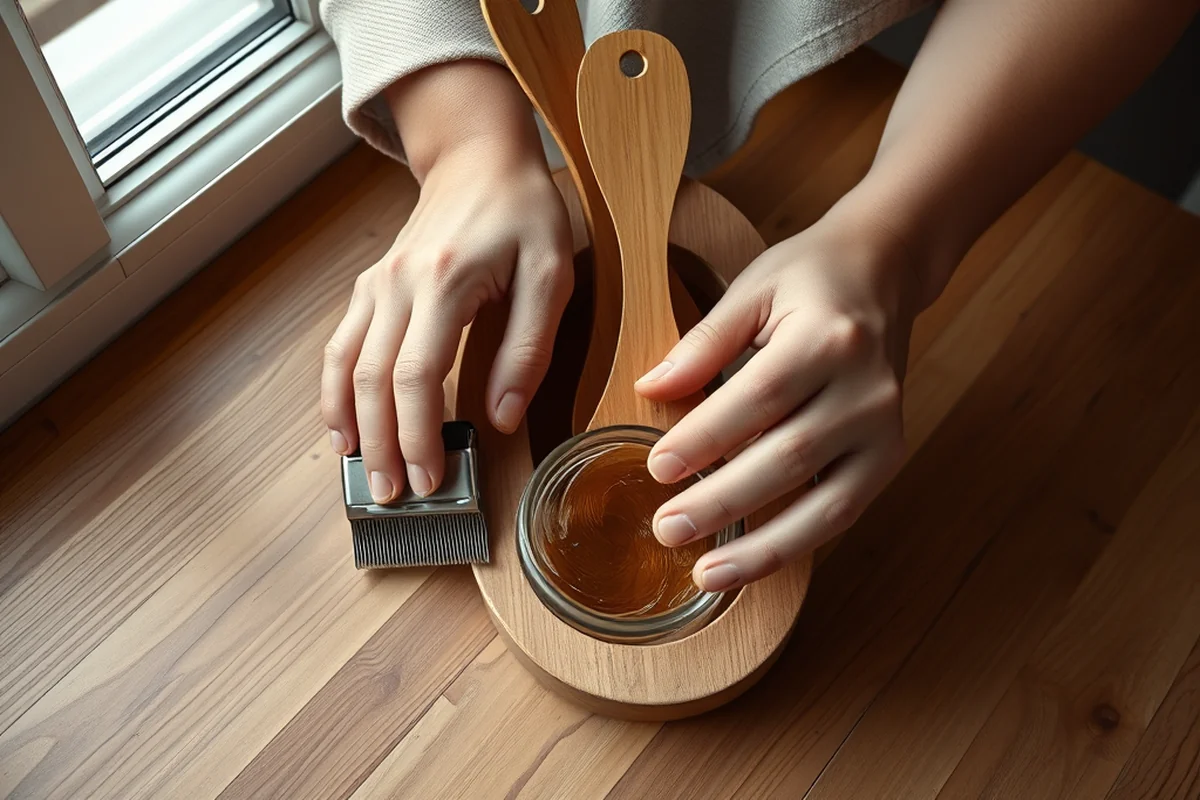
I always start by measuring my workspace and sketching out a rough layout of the utensil holder. This helps me visualize how everything will fit. I used a tape measure and a pencil to mark the wood. For the utensil slots, I measured out 4-inch wide sections with 1-inch gaps between them for spacing.
Using a miter saw or a hand saw, I made sure my cuts were clean and precise. I discovered that a sharp blade is critical — even a slight wobble can throw off the entire project. I used a clamp to hold the wood steady while making each cut.
After cutting, I sanded each piece with a 120-grit sandpaper to remove any splinters or rough edges. This step is crucial, as it ensures the wood is safe to handle and ready for finishing.[2]
A clean cut is the first step to a polished finish.
Related: Wooden Utensil With Holder Troubleshooting
Related: Wooden Utensil Holders At Home
Related: Wooden utensil holder drawer troubleshooting
Related: Wooden Kitchen Utensils With Holder Checklist
Related: Wooden utensil and holder mistakes
Assembling the Utensil Holder
To assemble the utensil holder, I used wood glue and wooden dowels for a secure joint. I applied glue to the ends of the dowels and inserted them into pre-drilled holes in the upright pieces. This method ensures a strong hold and a clean look.
After assembling the main frame, I let the glue dry for at least 24 hours to ensure it was fully set. I used clamps to hold the pieces together while the glue dried, which helped maintain the structure and prevent any warping.[3]
Once the frame was assembled, I added the bottom shelf and back panel using the same glue and dowel method. I made sure to check for squareness and evenness to ensure the holder would stand straight and be functional.
Pre-drill holes for the dowels to avoid splitting the wood. Use a bit that's slightly smaller than the dowel for a snug fit.
“I remember the first time I replaced my plastic utensils with wooden ones — the difference was immediate.”— DIY Wooden Utensil Holders editors
Finishing the Wood for Long-Lasting Use
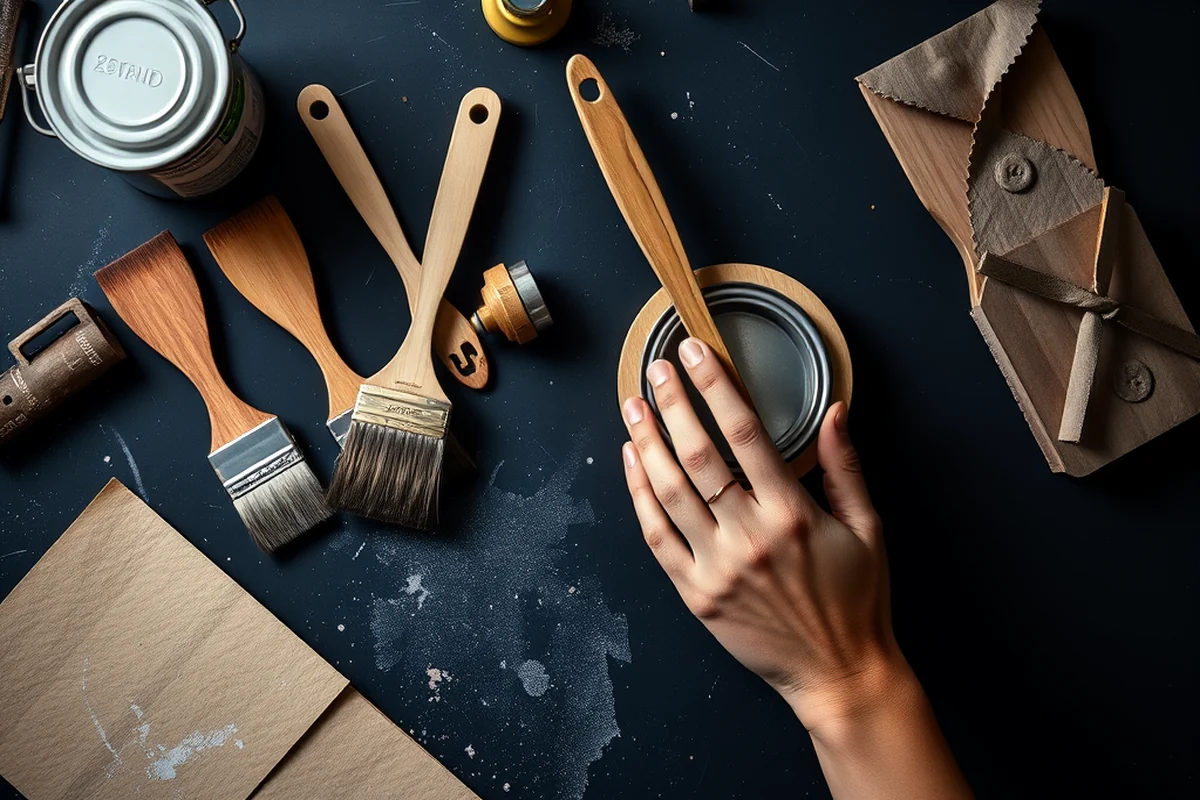
I used a combination of wood conditioner and a clear polyurethane finish to protect the wood. The conditioner helps the finish absorb evenly and prevents the wood from raising the grain. I applied two coats of polyurethane, sanding lightly between each coat with 220-grit sandpaper.[4]
I found that using a brush rather than a rag gave me a more even application. I worked in the direction of the wood grain, making sure to cover all surfaces thoroughly. I let each coat dry completely before applying the next.
After the final coat, I used a clean cloth to buff the surface, giving it a smooth, professional finish. This step also helps reduce any imperfections in the coating, creating a more polished look.
Adding Custom Details and Personal Touches
I like to add small custom details like routed edges, decorative inlays, or even engraved initials. These touches make the project feel more personal and add a sense of craftsmanship.
For the routed edges, I used a router with a 1/4-inch round-over bit. I set the bit to a shallow depth to avoid removing too much material. I made sure to test it on a scrap piece first to get the right depth and angle.
I also used a small chisel to create a subtle groove along the top edge of the holder. This not only added a decorative element but also gave the wood a more finished look.
Mounting the Utensil Holder in Your Kitchen
I mounted my utensil holder on the back of my kitchen cabinets using wood screws and wall anchors. I used a level to make sure the holder was perfectly straight and even with the cabinets.
I drilled pilot holes in the back of the holder, making sure to avoid the dowels or any internal joints that might be weakened by the screws. I used a screwdriver to drive the screws in, tightening them just enough to hold the holder in place.
After mounting, I tested the holder by placing a few utensils inside to ensure it was stable and secure. I found that using a couple of shims under the back of the holder helped it sit flat against the wall.
A well-mounted holder is the final touch to a complete project.
Maintaining Your Wooden Utensil Holder
I clean my utensil holder with a soft cloth and mild soap, making sure to avoid any harsh chemicals that could damage the finish. I dry it immediately after cleaning to prevent any moisture from seeping into the wood.
I reapply the polyurethane finish every 6 to 12 months, depending on how often it's used. I’ve found that applying a thin coat rather than a thick one gives the best results without building up too much of a film.
If the wood ever gets scratched or dented, I use wood filler to repair the damage. I sand it down and reapply the finish as needed to maintain the look and function of the holder.
Incorporating a Drying Rack for Utensils
Including a drying rack within your wooden utensil holder can significantly improve hygiene and efficiency in the kitchen. I constructed a rack using 1x4 inch cedar wood, cut into 12-inch lengths for the vertical supports and 18-inch lengths for the horizontal bars. These were spaced 6 inches apart vertically to allow air circulation. I attached the bars using 1-inch wood screws and reinforced the joints with wood glue for durability.
To ensure the rack was secure, I mounted it to the back of the utensil holder using L-brackets and 2-inch screws. I tested the rack by placing damp wooden spoons and knives on it, and within 2 hours, they were completely dry. This method eliminated the need for a separate dish rack, saving counter space and reducing the risk of bacterial growth from damp utensils.
I also added a small drip tray beneath the rack, made from 1/4-inch MDF, to catch any excess water. This tray was sealed with food-safe mineral oil and fitted with a small drain hole to prevent water buildup. The entire drying rack system took about 45 minutes to install and cost approximately $15 in materials. It has become a daily essential in my kitchen, improving both organization and cleanliness.
💰 Budget Build
Use reclaimed wood or leftover lumber from other projects to keep costs low while still achieving a quality finish.
⏰ Weekend Version
Stick to a simple design without inlays or custom edges to complete the project in one day, using pre-cut wood if needed.
✨ Upgraded Finish
Add a decorative stain or paint for a more finished look, or use a lacquer finish for a more modern style.
🏠 Small-Space Adaptation
Create a smaller, wall-mounted holder with fewer slots to save space in compact kitchens.
🔒 Rental-Safe Option
Use a removable adhesive or magnetic mount to make the holder easy to take down and move without damaging the rental space.
| The mistake | Why it happens | The fix |
|---|---|---|
| Using too much wood glue during assembly | Excess glue can seep out of the joints and create a messy, unattractive finish. | Apply just enough glue to cover the joint, and wipe away any excess immediately before it dries. |
| Skipping the wood conditioner before applying finish | Without a conditioner, the finish may not absorb properly, leading to a blotchy or uneven look. | Always apply a wood conditioner before the first coat of finish to ensure even absorption. |
| Cutting the wood too short for the slots | This can result in a tight fit that makes the utensils difficult to insert and remove. | Measure twice before cutting, and leave a little extra length to adjust as needed. |
| Not allowing the glue to dry fully before mounting | Mounting the holder too soon can cause the joints to shift or break, especially if it's placed on a surface that's not perfectly level. | Allow the glue to dry completely for at least 24 hours before mounting the holder. |
Wooden Kitchen Utensils And Holder At Home
Common Questions
Can I use a different type of wood if I can't find maple or walnut?
How do I ensure the holder is level when mounting it?
Can I paint the holder instead of using a wood finish?
How long does the polyurethane finish last?
Cite this guide
DIY Wooden Utensil Holders (2026). Wooden Kitchen Utensils And Holder At Home. https://makergrain.com/wooden-kitchen-utensils-and-holder-at-home/
Feel free to cite or share this guide.
References
- Top 10 Kitchen Essentials - Cooperative Extension: Food & Health (extension.umaine.edu)
- Cooking food safely at home | UMN Extension (extension.umn.edu)
- Wooden Cabinets and Vanities and Components Thereof From the ... (federalregister.gov)
- Kitchen utensils can spread bacteria between foods, UGA study finds (fieldreport.caes.uga.edu)