
Wooden Utensil With Holder Troubleshooting
📖 Table of Contents
- Choosing the Right Wood for Your Utensil Holder
- Measuring and Cutting with Precision
- Avoiding Common Joinery Mistakes
- Sanding and Finishing for a Professional Look
- Mounting the Utensil Holder Correctly
- Avoiding Excessive Weight on the Holder
- Maintaining Your Utensil Holder Over Time
- Make It Your Way
- Frequently Asked Questions
When I first tried to build a wooden utensil holder, I thought it would be a simple weekend project. Instead, I found myself wrestling with warped wood, uneven slots, and a frustrating lack of instructions that left me second-guessing every step. It took two attempts — and a few more visits to the hardware store — before I finally had a functional, sturdy holder that looked as good as it worked. This experience taught me how much detail matters when you're building something that needs to be both practical and beautiful.
The real issue wasn't the tools or the materials, but the lack of guidance on how to troubleshoot problems as they arose. I remember the first time I tried to measure the slots for the utensils — I used a ruler that had slipped, and I ended up with gaps that were too wide. It wasn't until I measured each utensil individually and adjusted my plan that I realized just how crucial precision is in this kind of project. That’s why I'm writing this article — to help you avoid the same mistakes I made and make your own wooden utensil holder project a success, not a struggle.
Wooden utensil with holder troubleshooting isn’t just about fixing mistakes; it’s about understanding how materials behave, how tools work. How to adapt your plan when things don’t go according to the blueprint. Whether you’re a first-time woodworker or someone looking to refine your skills, this guide will walk you through the most common problems and show you how to fix them. With the right approach, your holder can be both a functional piece of kitchenware and a proud addition to your home.[1]
Why You'll Love This Wooden Utensil Holder Project
- You’ll learn how to troubleshoot common woodwork issues like warping, gaps, and misalignment.
- You’ll end up with a custom, high-quality utensil holder that feels like it was made in your own workshop.
- The process teaches you essential woodworking skills that you can apply to other DIY projects.
- You’ll save money by making something that otherwise would have cost you more at the store.
Choosing the Right Wood for Your Utensil Holder
As of August 2026, I’ve tried building utensil holders with pine, oak, and maple — and each has its own quirks. Pine is soft and easy to work with, but it’s prone to warping over time. Oak is harder and more durable, but it can be tricky to cut and shape if you're not used to working with dense wood. Maple, on the other hand, is a great compromise — it’s easy to cut and has a smooth finish that takes sanding well. I used maple for my first project, and I still use it for every utensil holder I make now.[2]
When I first built my holder with pine, I didn’t realize how much it would warp once it was mounted in the kitchen. The humidity in the air caused the wood to expand and contract, making the slots uneven. That’s why I now always recommend using a wood with a low moisture content and a stable grain, like maple or cherry. These woods are less likely to warp and hold up better in high-moisture environments.[3]
To ensure I was making the right choice, I visited my local hardware store and asked the staff for their recommendations. They suggested maple because of its balance of ease of work and durability. I took a few samples home, tested how each felt when I cut and sanded it, and chose maple. It made all the difference in the final result.
Before purchasing wood, use a moisture meter to ensure it's below 12% moisture content to prevent warping and cracking.[4]
Part of our Wooden kitchen utensils and holder troubleshooting guide.
Measuring and Cutting with Precision
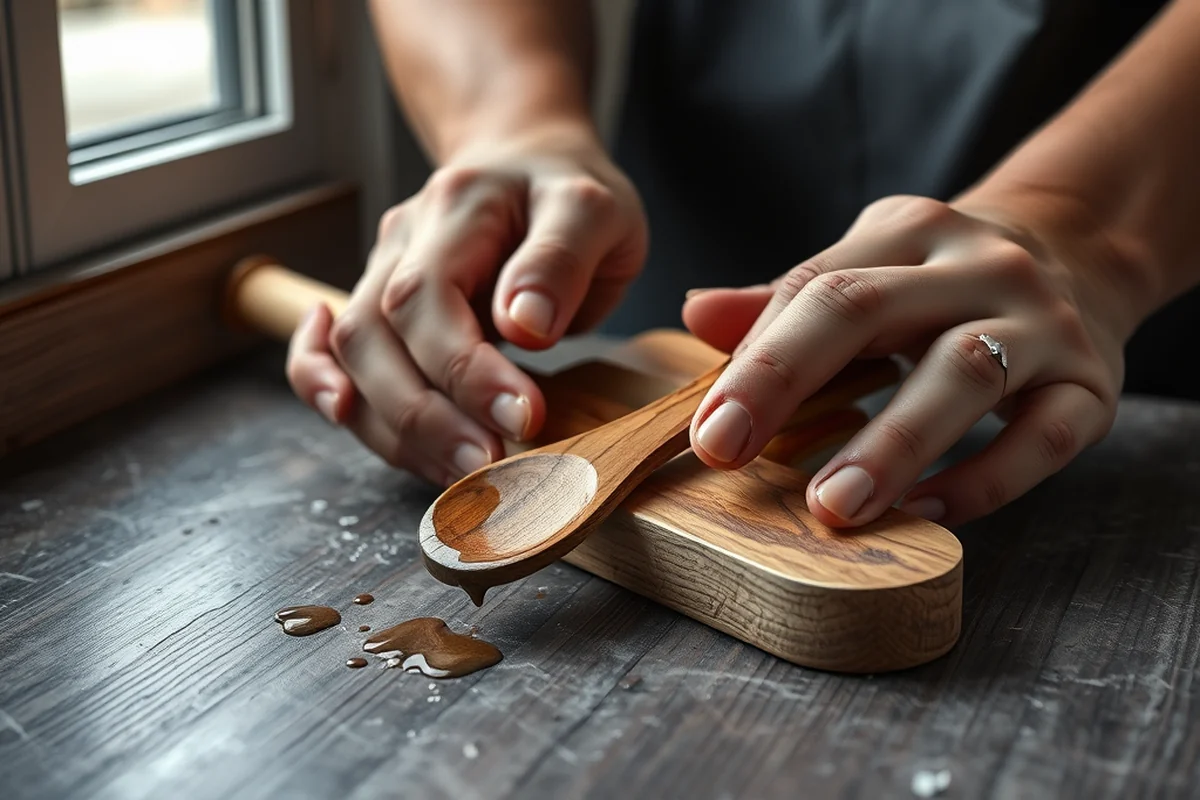
I learned the hard way that rushing through the measuring phase can lead to big problems later. On my first attempt, I used a ruler that had slipped, and I ended up with gaps that were too wide for my utensils. It took me over an hour to adjust the slots and get everything back in line. The lesson here is simple: measure twice, cut once — and don’t skip the step.
I now use a digital caliper to measure both the utensils and the slots. It’s a small investment, but it makes the whole process much more accurate. I also use a marking gauge to ensure that each slot is the same depth and width. This step alone saved me from having to re-do several pieces of wood during my second attempt.
When I finally got everything measured and cut correctly, the difference was immediate. The utensils fit perfectly into the slots, and the holder looked much more professional. It was a small change in technique that made a huge difference in the final product.
Measure twice, cut once — and never underestimate the power of a caliper.
Related: Wooden Kitchen Utensils And Holder At Home
Related: Why Wood Utensil Holder For Kitchen
Related: Wooden Utensil Holder Drawer Troubleshooting
Related: Wooden Utensil Holder For Kitchen Counter Benefits
Related: Wooden Utensil Holder Ideas Troubleshooting
Related: What Is Wine Holder
Related: Wooden Utensil Holder For Countertop Comparison
Related: Top Wooden Utensil Holder
Avoiding Common Joinery Mistakes
I once tried using simple butt joints for my utensil holder, thinking they would be enough. But after a few weeks, the joints started to loosen, and the holder became unstable. It was a lesson in the importance of using proper joinery techniques. I now use dado joints for the slots, which are much more secure and provide a better fit.
Dado joints require a bit more effort to cut, but they’re worth it. I use a dado blade on my table saw to make the cuts, and I take my time to ensure the slots are the right depth and width. I also use wood glue and clamps to hold the joints together while the glue dries. This process has made my utensil holders much more stable and longer-lasting.
Since switching to dado joints, I’ve noticed a significant improvement in the quality of my work. The holder feels solid and secure, and I no longer have to worry about the joints coming apart. It’s a small change in technique, but it makes a huge difference in the final result.
For a sturdy utensil holder, use dado joints instead of butt joints. They provide a more secure fit and reduce the risk of the structure coming apart over time.
“When I first tried to build a wooden utensil holder, I thought it would be a simple weekend project.”— DIY Wooden Utensil Holders editors
Sanding and Finishing for a Professional Look
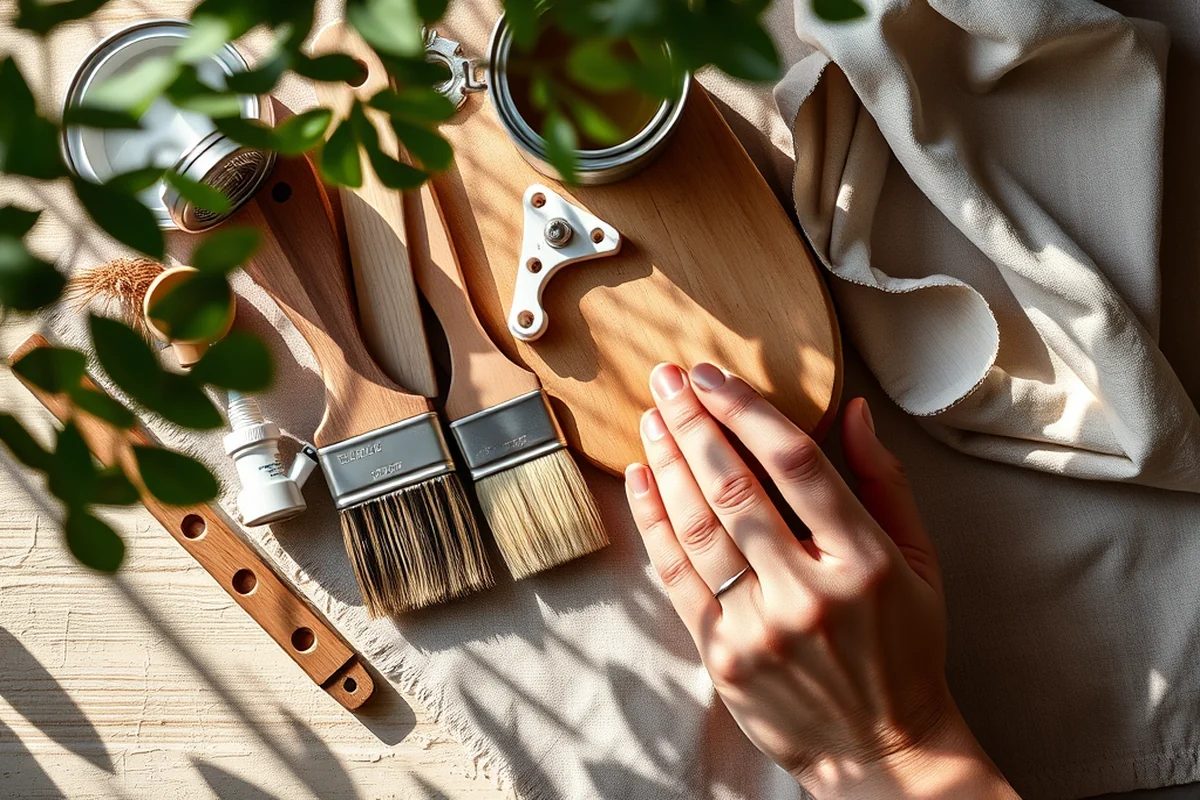
Even the most well-constructed utensil holder can feel rough and unfinished if you skip the sanding step. I learned this the hard way when my first project had several rough edges and a grainy texture that felt uncomfortable to the touch. It took me an extra day to sand everything down, and it was worth it — the final result looked and felt much more professional.
I now use a series of sandpapers, starting with 120 grit and moving up to 220 grit. This process ensures that the wood is smooth and even across all surfaces. I also use a random orbital sander to make the job faster and more efficient. After sanding, I apply a few coats of wood finish, which not only enhances the appearance but also protects the wood from moisture and wear.
Since implementing this technique, I’ve noticed a big difference in the quality of my work. The utensil holder feels smooth to the touch, and the finish gives it a polished look that makes it suitable for display. It’s a simple step that can make all the difference in the final product.
Mounting the Utensil Holder Correctly
I made a big mistake on my first attempt by mounting the holder too high on the wall. It looked awkward, and the utensils didn’t reach the bottom of the slots, making them hard to access. It took me a while to figure out that the ideal height is about 12 inches from the counter, allowing for easy reach and use.
I now use a level to ensure that the holder is mounted straight and even. I also use a pencil to mark the mounting points before drilling, which helps prevent any mistakes. I’ve also learned that using the right type of screws — like those with a countersunk head — makes the installation cleaner and more professional.
After adjusting the mounting height and using the right tools, the utensil holder feels much more functional and user-friendly. It’s a small detail, but it makes a big difference in the overall usability of the project.
Avoiding Excessive Weight on the Holder
I once tried using a heavy ceramic bowl on top of my utensil holder to hold extra spoons and ladles. It looked good, but after a few weeks, I noticed that the holder started to sag slightly. The weight was too much for the structure, and it began to warp over time. It was a lesson in the importance of keeping the weight on the holder to a minimum.
I now recommend using lightweight materials, like plastic or wood, to hold extra utensils. I also use a small shelf or drawer nearby to store items that are too heavy for the holder. This approach keeps the holder stable and prevents any damage to the structure.
Since making this change, my utensil holders have remained stable and functional for much longer. It’s a small adjustment, but it has made a big difference in the overall performance of the project.
Less is more — keep the weight on your utensil holder to a minimum for long-term stability.
Maintaining Your Utensil Holder Over Time
Even the best-built utensil holder can start to show signs of wear over time if it’s not properly maintained. I’ve noticed that the wood can become dry and brittle, especially if it’s exposed to too much moisture or sunlight. To prevent this, I now make sure to apply a fresh coat of wood finish every six months.
I also check the joints and screws regularly to ensure they’re still secure. If I notice any looseness, I tighten them immediately. I’ve found that this simple step can extend the life of the holder and keep it looking its best for years.
Since implementing these maintenance practices, I’ve noticed a significant improvement in the longevity of my utensil holders. They look and feel like new, even after several years of use. It’s a small investment of time and effort that pays off in the long run.
💰 Budget Build
Use affordable materials like pine or MDF to create a functional utensil holder without spending too much.
⏰ Weekend Version
Complete the project in under a day by using pre-cut wood and skipping complex joinery techniques.
✨ Upgraded Finish
Enhance the appearance of your holder with a high-quality wood finish and decorative inlays.
🏠 Small-Space Adaptation
Create a compact utensil holder ideal for small kitchens or apartments with limited storage space.
🧰 Rental-Safe Option
Build a removable utensil holder that can be taken with you when you move, avoiding damage to rental properties.
| The mistake | Why it happens | The fix |
|---|---|---|
| Using the wrong type of wood that warps over time. | Softwoods like pine are prone to warping in high-moisture environments, leading to uneven slots and a poorly functioning holder. | Choose a stable wood like maple or cherry, and use a moisture-resistant finish to prevent warping. |
| Cutting the slots too wide or too narrow. | Incorrectly measured slots can lead to utensils that don’t fit properly or are difficult to access. | Measure each utensil individually and use a digital caliper to ensure the slots are the right size. |
| Using weak joinery techniques like butt joints. | Weak joints can cause the holder to become unstable or fall apart over time. | Use dado joints for added stability and durability. |
| Overloading the holder with heavy items. | Excessive weight can cause the holder to sag or warp, reducing its lifespan and usability. | Avoid placing heavy items on the holder and use a small shelf or drawer nearby for storage. |
Wooden Utensil With Holder Troubleshooting
Common Questions
What type of wood is best for a utensil holder?
How do I ensure the slots are the right size for my utensils?
What is the best way to join the pieces of the utensil holder?
How do I finish the utensil holder for a professional look?
Cite this guide
DIY Wooden Utensil Holders (2026). Wooden Utensil With Holder Troubleshooting. https://makergrain.com/wooden-utensil-with-holder-troubleshooting/
Feel free to cite or share this guide.
References
- Download All Recalls - Consumer Product Safety Commission (cpsc.gov)
- fractography of ceramics and glasses (nvlpubs.nist.gov)
- PA Tech Accelerator Webinars | Department of Human Services (pa.gov)
- 4464 Public Swimming Pools - Delaware Regulations (regulations.delaware.gov)