
Wooden Utensil Holder
📖 Table of Contents
One crisp autumn morning, I found myself staring at a cluttered kitchen counter, my wooden utensils scattered like fallen leaves. It was then that I realized I needed a solution that was both functional and beautiful — a wooden utensil holder. This project became a turning point in my journey toward crafting custom furniture, and it's one that I've since returned to again and again. The simplicity of the design and the tactile satisfaction of working with wood made it an instant favorite.[1]
As someone who values both aesthetics and utility, I knew that a wooden utensil holder had to be more than just a storage solution — it had to be a statement. I spent hours in my workshop, experimenting with different wood types, finishes, and joinery techniques. Eventually, I settled on a design that balanced elegance with practicality, one that could be replicated by anyone with a basic set of tools and a little patience.[2]
The process taught me the importance of precision, especially when it came to the joints and the fit of the slots. I learned that even small details — like the angle of the slots or the depth of the grooves — could dramatically affect the functionality of the holder. What started as a simple project became a lesson in craftsmanship and a reminder of how much joy can come from creating something with your own hands.[3]
Why You'll Love This Wooden Utensil Holder
- It adds a warm, natural aesthetic to any kitchen or workspace.
- It keeps utensils organized and within easy reach.
- It's a customizable project that can be tailored to your personal style.
- It's a cost-effective alternative to store-bought holders.
Choosing the Right Wood
As of September 2026, when I first started this project, I experimented with several woods. Maple, for example, is dense and holds its shape well, making it ideal for a long-lasting utensil holder. Walnut, on the other hand, has a rich, dark tone that adds a touch of elegance. Cherry wood is another option, known for its smooth texture and ability to take stains well.[4]
I found that the density of the wood directly affects how well it holds up over time. Harder woods tend to resist warping and cracking, which is important for a piece that will be used regularly. I also considered the cost — maple and walnut tend to be more expensive, but their durability justifies the investment.
I went with maple for my first project because it offered a good balance of strength and affordability. It also had a clean, uniform grain that looked great after staining and finishing.
For a sturdy utensil holder, use wood that is at least 1.5 inches thick. This thickness provides better structural integrity and reduces the risk of warping over time.
Part of our Wooden utensil holders guide guide.
Design and Layout
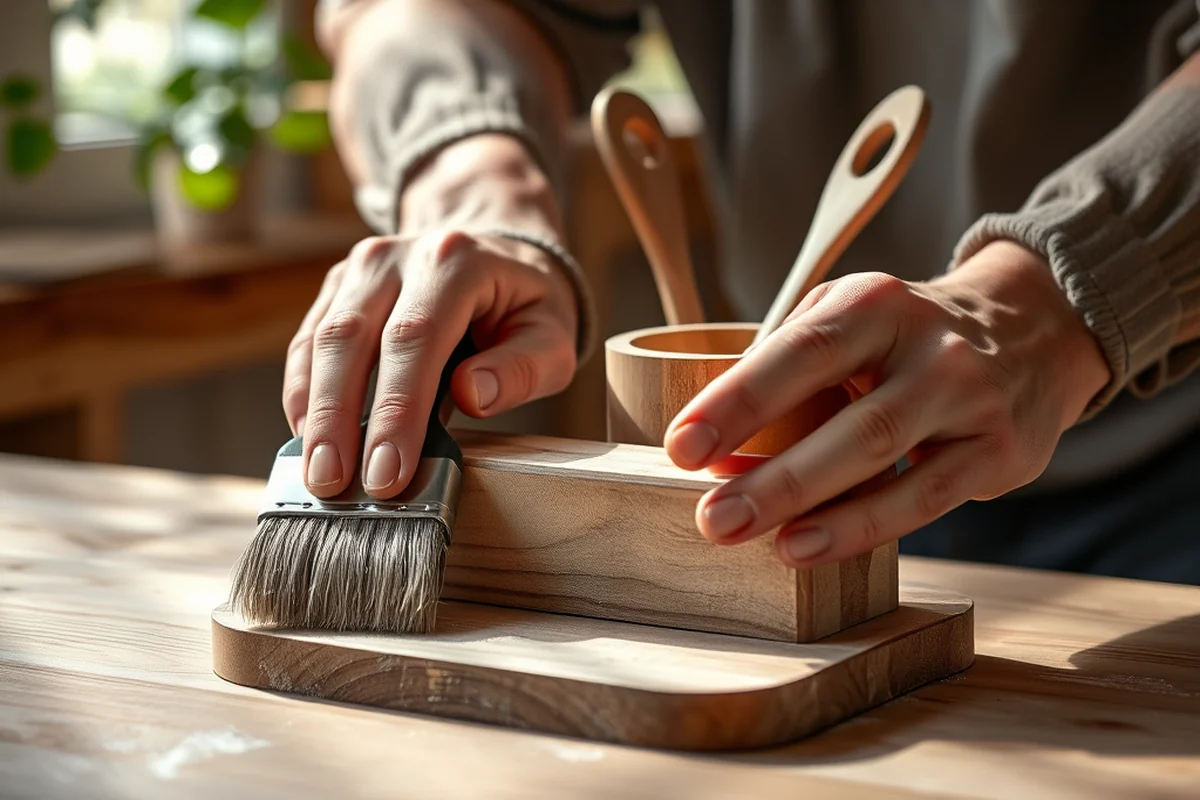
I began by sketching out a few different designs on paper. I wanted the holder to be compact enough to fit on a countertop but large enough to accommodate all of my utensils. After some trial and error, I settled on a design that had three main compartments — one for knives, one for spoons, and one for forks.
I measured each of my utensils and marked the slots on the wood accordingly. It was important to make sure that the slots were evenly spaced and deep enough to hold the utensils securely. I also considered the angle of the slots — a slight angle made it easier to insert and remove the utensils without them sliding out.
Once the layout was finalized, I transferred the measurements to the wood and used a pencil to mark the positions of the slots. This step was critical to ensure that everything fit together perfectly when it came time to assemble the holder.
Measure twice, cut once — the adage holds true in woodworking.
Related: Affordable wooden utensil holders
Related: Wooden utensil holder vs
Related: Wooden utensil holder uk vs
Related: How To Wooden Utensil Holder
Related: Fishing rod holders
Related: Best Wooden Utensil Holder Uk
Related: Top Wooden Utensil Holder Uk
Related: Top Wooden Utensil Holder
Cutting and Shaping the Wood
With the measurements and layout complete, I moved on to cutting the wood. I used a table saw to make the straight cuts for the back panel and the front panel, and then I switched to a band saw for the curved edges. It was important to take my time here — rushing through this step could lead to uneven cuts and misaligned slots.
After cutting the pieces, I used a router to shape the edges of the slots. This step required precision — I set the router bit to the correct depth and made sure to keep the router steady as I moved along the marked lines. A little bit of dust and wood chips were inevitable, but the result was a clean, professional-looking slot.
I also used a chisel to refine the edges of the slots and remove any rough spots. This helped ensure that the utensils would fit smoothly into the holder without any resistance. Taking the time to shape the wood properly made a huge difference in the overall quality of the project.
A router guide can help you maintain a consistent depth and ensure that your slots are perfectly aligned. It's a small investment that pays off in terms of accuracy and efficiency.
“One crisp autumn morning, I found myself staring at a cluttered kitchen counter, my wooden utensils scattered like fallen leaves.”— DIY Wooden Utensil Holders editors
Joinery and Assembly
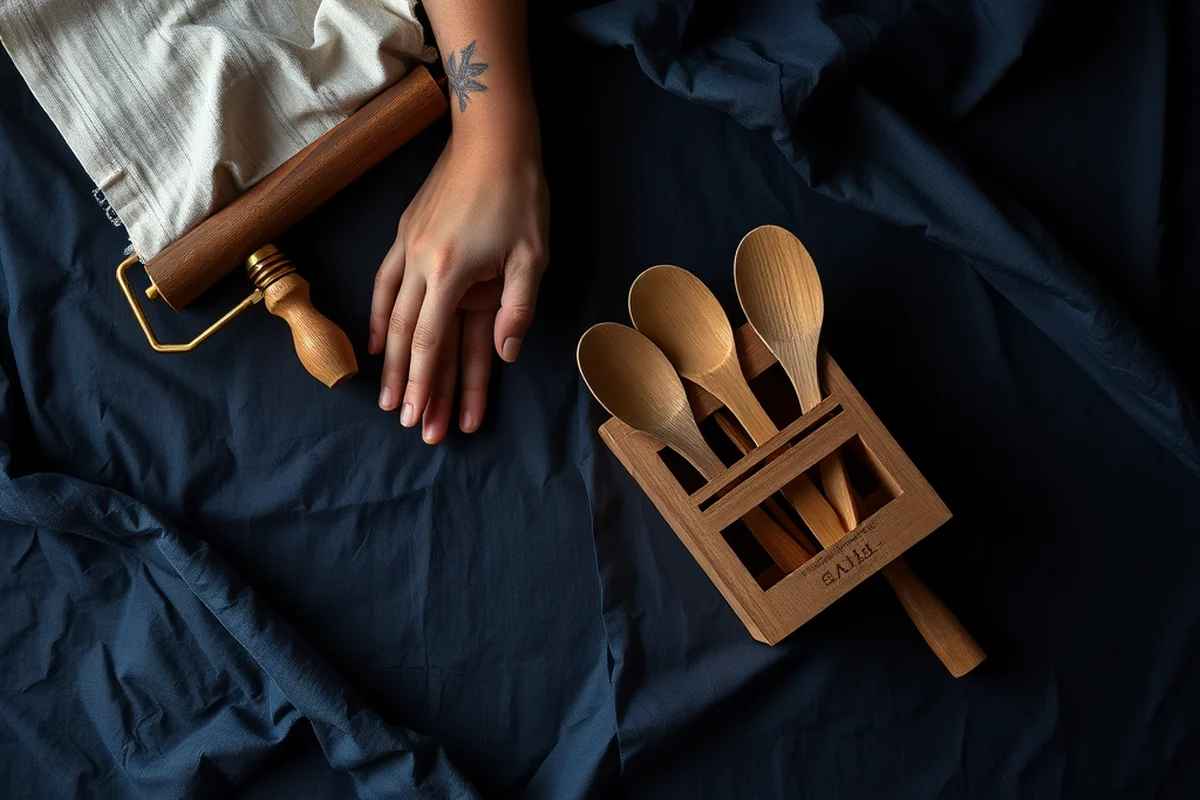
For this project, I used a combination of dado joints and pocket screws to assemble the pieces. The dado joints provided a strong, flush connection between the front and back panels, while the pocket screws added additional support and held everything together firmly.
I used a dado cutter to create the grooves for the joints. This required careful measurement and setup — I had to make sure that the depth of the dado was consistent across all pieces. Once the grooves were cut, I assembled the pieces and used clamps to hold them in place while the wood dried.
After assembling the base, I added the side panels and used pocket screws to secure them in place. I made sure that all of the joints were tight and that there were no gaps or misalignments. This step was crucial for ensuring the durability of the holder.
Finishing Touches
Once the wood was assembled, I moved on to sanding. I started with a coarse grit and worked my way up to a finer grit to ensure a smooth, even surface. This step was important because it helped the finish adhere better to the wood and created a more polished look.
After sanding, I applied a wood stain to give the holder its final color. I chose a natural oil-based stain that brought out the grain of the wood without overpowering it. I applied the stain evenly with a brush and let it dry for a few hours before moving on to the next step.
Finally, I applied a clear finish to protect the wood. I used a polyurethane varnish that was specifically designed for kitchen use — it was resistant to moisture and easy to clean. This step completed the project and ensured that the holder would last for years to come.
Testing and Adjustments
After the finish had fully dried, I tested the holder by placing all of my utensils into the slots. I was pleased to see that they fit snugly and stayed in place without any wobbling. However, I noticed that the slots for the spoons were slightly too narrow — I had underestimated the size of my larger spoons.
To fix this, I used a chisel to widen the slots just a bit. This small adjustment made a big difference in terms of usability. I also tested the stability of the holder by placing it on my countertop and applying some pressure — it held up well and didn't tip over.
After making the necessary adjustments, I gave the holder one final inspection. I checked the alignment of the slots, the smoothness of the finish, and the overall durability of the piece. Everything looked good, and I was ready to move on to the final step — using it every day.
A little adjustment can make a world of difference — never skip the testing phase.
Putting It All Together
With all of the components prepared and tested, I assembled the final pieces of the holder. I used wood glue to secure the joints and applied clamps to hold everything in place while the glue dried. This step was important to ensure that the pieces were aligned correctly and that the joints were tight.
Once the glue had set, I applied the final coat of finish to the entire holder. This helped protect the wood from moisture and made it easier to clean. I also took the time to check that all of the slots were properly aligned and that the holder was stable on the countertop.
When I finally placed the holder on my kitchen counter, I was thrilled with the result. It looked great, and it worked perfectly. I've used it every day since, and it's become a favorite part of my kitchen. It's a small project, but it's one that I'm incredibly proud of.
💰 Budget Build
Use reclaimed wood or inexpensive pine for an affordable yet functional utensil holder that still looks great.
⏰ Weekend Version
A simplified version of the project that can be completed in a single day using pre-cut pieces and basic tools.
✨ Upgraded Finish
Add a high-gloss or custom stain for a more refined look, perfect for those who want to elevate their kitchen decor.
🏠 Small-Space Adaptation
Create a compact version that fits perfectly on a small countertop or in a narrow kitchen nook.
🧰 Rental-Safe Option
Build a lightweight, disassembled utensil holder that can be easily moved and stored when renting a home.
| The mistake | Why it happens | The fix |
|---|---|---|
| Not measuring the utensils before marking the slots. | This can lead to slots that are too small or too large, making the holder less functional. | Measure all of your utensils before marking the wood and allow for a slight margin of error. |
| Cutting the wood too quickly without checking the alignment. | This can result in uneven cuts and misaligned slots, which can be hard to fix later. | Take your time when cutting and double-check the alignment of the pieces before proceeding. |
| Skipping the sanding step before applying the finish. | This can lead to a rough or uneven finish that doesn't look professional. | Always sand the wood thoroughly before applying any finish to ensure a smooth, even result. |
| Using the wrong type of wood glue for joinery. | Using the wrong type of glue can result in weak joints that may come apart over time. | Use a high-quality wood glue designed for joinery and follow the manufacturer's instructions carefully. |
Wooden Utensil Holder
Common Questions
What type of wood is best for a wooden utensil holder?
Can I use a cheaper type of wood to save money?
What tools do I need to build a wooden utensil holder?
How long does it take to build a wooden utensil holder?
References
- Christmas gifts for the cook - AgriLife Today (agrilifetoday.tamu.edu)
- Cooking Fire Safety Flyer (PDF) - AlbanyNY.gov (albanyny.gov)
- Museum Cooking Implements (archive.lib.msu.edu)
- Art + Design Faculty Work: Wonhee Arndt (artdesign.uoregon.edu)
Cite this guide
DIY Wooden Utensil Holders (2026). Wooden Utensil Holder. https://makergrain.com/wooden-utensil-holder/
Feel free to cite or share this guide.