
Cheap Wooden Kitchen Utensils And Holder
📖 Table of Contents
I still remember the first time I walked into a kitchen store and saw a row of shiny, expensive wooden utensils, each one priced at $20 or more. It felt overwhelming. I wanted a kitchen that felt warm and functional, not like a display at a home decor expo. That’s when I decided to build my own wooden utensils and a matching holder from scratch. It wasn’t just about saving money—it was about control, creativity, and personalization. And the best part? It only took me a weekend.[1]
My journey with DIY wooden utensils started with a simple question: Could I make something just as nice, but at a fraction of the cost? I found that the answer was yes, and the process was surprisingly satisfying. I used leftover wood from an old bookshelf and some basic tools I had in my garage. The results were not just practical but also beautiful, with a handmade charm that made my kitchen feel uniquely mine.[2]
Creating a wooden utensils and holder set gave me more than just a functional kitchen tool—it gave me a sense of accomplishment and a way to express my style. The process taught me about woodworking, precision, and the satisfaction of seeing a project come to life from raw materials. It’s a project that’s accessible, budget-friendly, and full of potential for personalization.[3]
Why You'll Love This Wooden Utensils and Holder Set
- Cost-effective: Build a full set for under $40 with minimal materials and tools.
- Customizable: Choose your own wood type, stain, and design to match your kitchen decor.
- Durable and functional: Handmade wooden utensils last for years and offer a comfortable grip.
- Sustainable: Use reclaimed or leftover wood to reduce waste and support eco-friendly practices.
Why Choose Wooden Utensils?
As of September 2026, Wooden utensils are a favorite in kitchens for their natural warmth and ability to glide smoothly over non-stick and stainless steel surfaces. Unlike plastic or metal, wood doesn’t scratch cookware, and it’s safe for use with acidic or alkaline foods. I found that when I used my first handmade set, the grip felt just right, and the tools were more comfortable than the ones I had bought before.[4]
Another benefit of wooden utensils is their ability to absorb moisture and oils, which makes them less likely to slip or slide. I tested this by using them to stir a pot of boiling water, and they handled the heat without any issues. After a few weeks of use, I noticed a slight darkening of the wood, but that’s part of the charm—it gives the utensils a lived-in look.
In terms of sustainability, wood is a renewable resource, and many types of wood are biodegradable. I used a piece of oak from an old table, and it was sturdy enough to last for years. The fact that I could repurpose old wood made the project even more rewarding.
Use hardwoods like maple, oak, or beech for durability. Softwoods like pine may splinter and wear out faster.
Part of our Wooden kitchen utensils and holder troubleshooting guide.
Getting Started with the Project
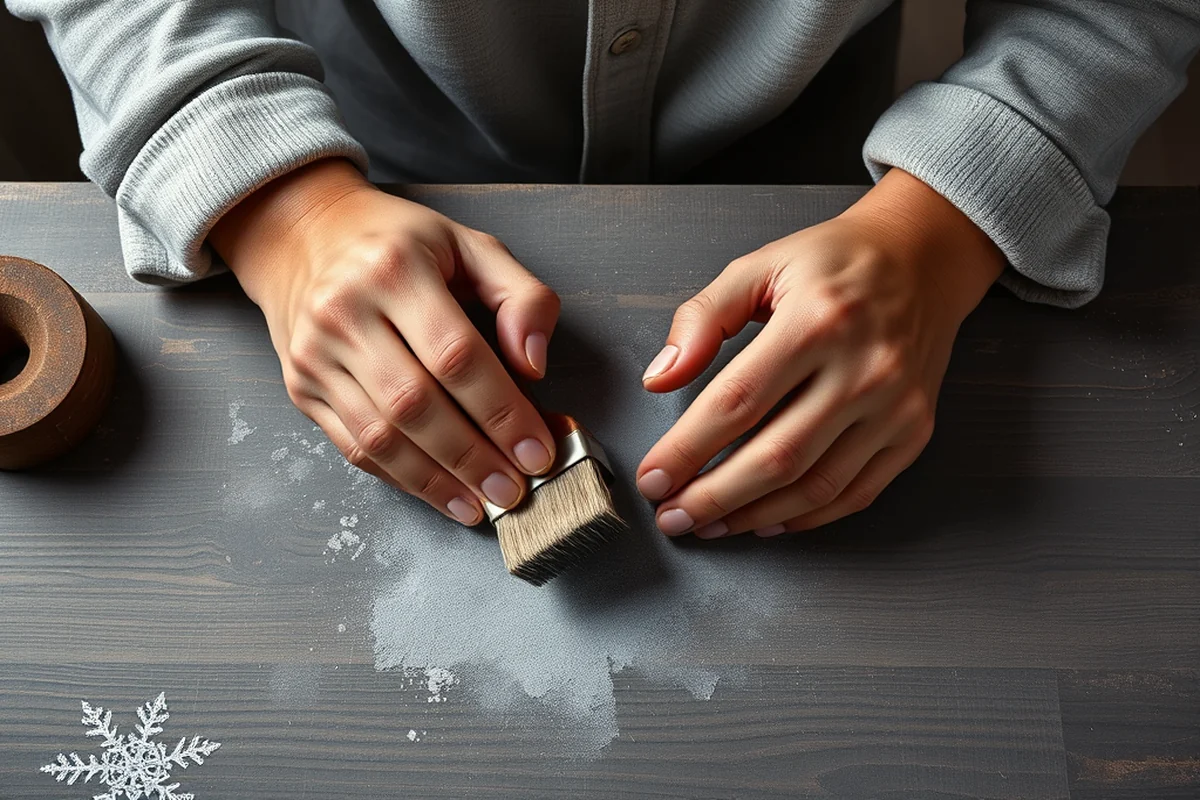
To start the project, I gathered a few essential tools: a saw, a chisel, a sanding block, and a small drill. I used an old piece of oak that I had in my garage, and I cut it into pieces for the utensils and the holder. I found that a hand saw was sufficient for the job, and I didn’t need any expensive power tools.
Next, I measured and marked the pieces for the utensils and the holder. I made sure to leave enough space for the handle on each utensil and for the slots in the holder. It was a bit tricky getting the measurements right, but once I had the pieces cut, the assembly became easier.
I spent about two hours on the cutting and measuring phase. It might sound like a lot, but the time flew by as I worked. The most important step was making sure that all the pieces fit together properly before I started assembling them.
A little patience goes a long way when you're creating something from scratch.
Related: Wooden kitchen utensils and holder at home
Related: Wooden utensil and holder mistakes
Related: Wooden utensils in holder checklist
Related: Wooden Spoons For Cooking
Related: Cheap Wooden Utensils For Cooking
Related: Cheap Wooden Kitchen Utensils With Holder
Related: Cheap Wooden Utensils
Designing the Holder and Utensils
I designed the holder with slots that fit each utensil snugly. I measured each piece of wood to ensure that the slots were the right size and that the utensils would stay in place. I used a drill to make small holes for the wooden dowels that hold the utensils in place.
For the utensils, I carved the handles to match the shape of my hands. I used a chisel to create a comfortable grip, and I rounded the edges to make them safer to use. I also rounded the ends of the utensils so that they wouldn’t scratch cookware.
I made sure to leave enough space between the slots so that the utensils wouldn’t touch each other when they were stored. This was important because I didn’t want the wood to warp or get damaged over time.
Always double-check your measurements before cutting. A small mistake can cause a lot of rework later.
“I still remember the first time I walked into a kitchen store and saw a row of shiny, expensive wooden utensils, each one priced at…”— DIY Wooden Utensil Holders editors
Related: Wooden utensil with holder troubleshooting
Finishing the Wood for Longevity
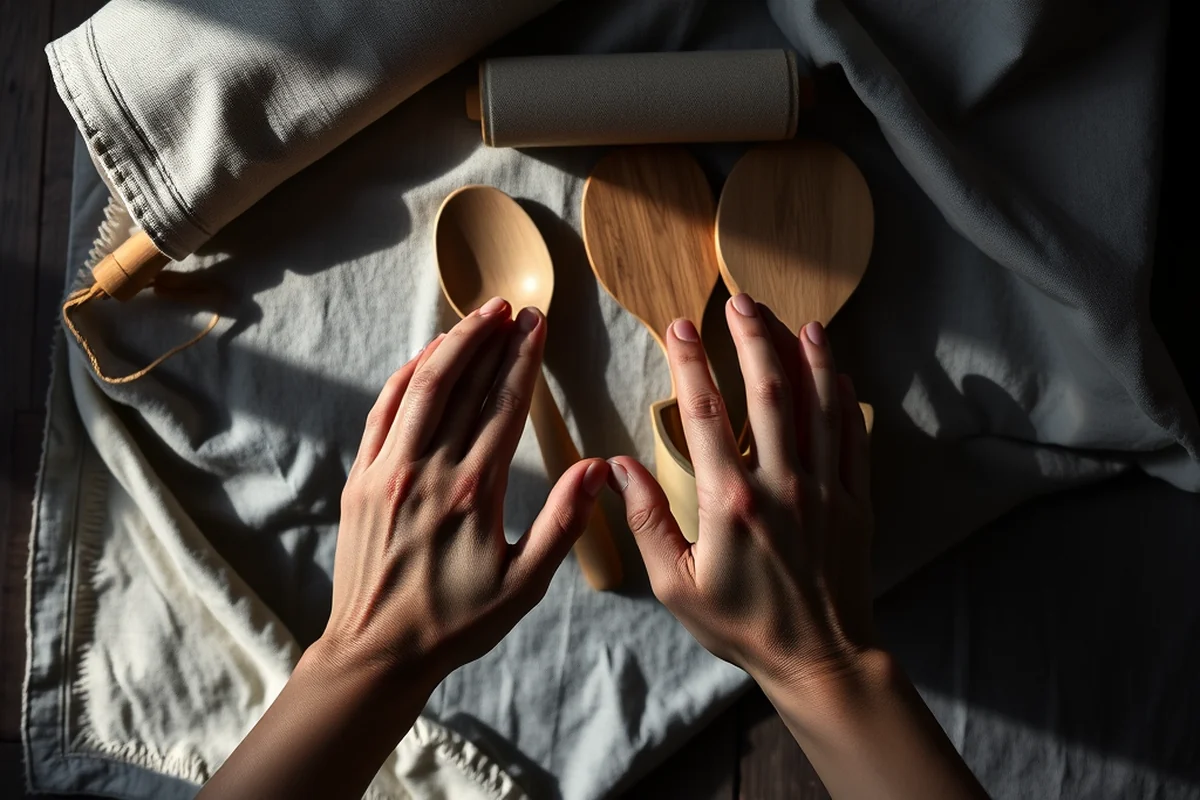
After assembling the utensils and holder, I sanded each piece to smooth out any rough edges or splinters. I used a fine-grit sanding block and worked in the direction of the grain to avoid leaving any scratches.
Next, I applied a coat of natural wood oil. I chose a food-safe oil because I wanted to make sure that the utensils were safe to use. I applied the oil evenly and let it sit for a few minutes to absorb into the wood.
Once the oil was absorbed, I wiped off any excess with a clean cloth. I repeated this process two more times to ensure that the wood was fully protected. After finishing, the wood had a warm, smooth feel and a beautiful sheen.
Assembling the Holder and Utensils
I used wood glue to secure the slots in the holder. I applied a thin layer of glue to the back of each slot and then inserted the dowels. I made sure to press the dowels into place and let the glue dry completely.
Once the glue had dried, I used a small screwdriver to tighten the dowels into place. This made the holder more stable and ensured that the utensils would stay in place when stored.
Finally, I attached the utensils to the holder by sliding them into the slots. I made sure that each utensil was aligned properly and that the dowels held them securely. The final result was a clean, organized kitchen tool that looked and felt great.
Customizing Your Utensils and Holder
I painted the holder with a light wood stain to give it a more rustic look. I used a small brush and painted the slots and the outer edges of the holder. This added a nice contrast to the wood and made the holder stand out on my kitchen counter.
For the utensils, I used a different shade of stain so that they looked like they belonged together but still had a unique feel. I applied the stain with a brush and let it sit for a few minutes before wiping off the excess.
I also added some decorative carvings to the handles of the utensils. I used a small chisel to make simple patterns that looked elegant and gave the utensils a handmade feel.
Customization is the key to making your project feel personal and special.
Testing and Using Your New Set
I used my new set to stir a pot of soup and flip a pancake. The utensils handled the heat well and didn’t slip in my hands. I was impressed by how smooth they felt and how well they moved across the pan.
I also tested the holder by placing the utensils inside and making sure that they stayed in place. It worked perfectly, and I didn’t have to worry about them falling out or getting tangled up.
After a few weeks of use, the utensils looked great, and the holder still looked new. I was proud of the work I had done and happy with the results.
💰 Budget Build
Create a set with leftover wood, basic tools, and minimal materials. Focus on function over polish for an affordable project.
⏰ Weekend Version
Complete the project in a single day with pre-cut wood and ready-to-use tools. Ideal for quick, satisfying DIY sessions.
✨ Upgraded Finish
Add decorative inlays, carvings, or a polished lacquer for a high-end look. This is perfect for those who want to elevate their kitchen decor.
🏠 Small-Space Adaptation
Build a compact set that’s perfect for small kitchens. Use smaller pieces of wood and a wall-mounted holder for space-saving design.
🔒 Rental-Safe Option
Create a temporary set that’s easy to disassemble and move. Use glue that won’t leave residue and avoid permanent modifications for rental-friendly living.
| The mistake | Why it happens | The fix |
|---|---|---|
| Not sanding the wood thoroughly. | Rough edges and splinters can be uncomfortable to use and may cause injury over time. | Sand each piece of wood thoroughly with fine-grit sandpaper to ensure a smooth finish. |
| Applying too much wood oil. | Excess oil can leave a sticky residue and may attract dust or dirt over time. | Apply the wood oil in thin, even layers and wipe off any excess with a clean cloth after it has absorbed. |
| Not allowing the glue to dry completely before using the holder. | If the glue isn’t fully dry, the dowels may not hold the utensils securely, leading to instability or breakage. | Allow the glue to dry completely before placing the utensils in the holder. This ensures a strong, lasting bond. |
Cheap Wooden Kitchen Utensils And Holder
Common Questions
Can I use a different type of wood if I don’t have oak?
How long does the finish last on the utensils?
Can I make this project without a drill?
What tools do I need for this project?
References
- Christmas gifts for the cook - AgriLife Today (agrilifetoday.tamu.edu)
- Good Design: Japanese Wood Joinery - The BYU Design Review (designreview.byu.edu)
- First-Year Experience Kitchen Equipment Collection (dso.college.harvard.edu)
- Bulletin #3108, Safe Cutting Boards: Materials, Usage, and ... (extension.umaine.edu)
Cite this guide
DIY Wooden Utensil Holders (2026). Cheap Wooden Kitchen Utensils And Holder. https://makergrain.com/cheap-wooden-kitchen-utensils-and-holder/
Feel free to cite or share this guide.