
Wooden Utensil Holders Guide
📖 Table of Contents
A wooden utensil holder guide is essential for anyone looking to maintain a functional, organized, and aesthetically pleasing kitchen. These holders serve a dual purpose: they protect your wooden utensils from damage and keep your countertops clutter-free. Whether you're a DIY enthusiast or a furniture lover, understanding the different types, designs, and setups for wooden utensil holders can greatly enhance your kitchen experience.
Wooden utensils are not only durable but also add a natural, warm feel to any kitchen. However, they require proper care to maintain their integrity and longevity. A well-designed holder can help prevent warping, cracking, and contamination from moisture. It’s also a practical solution for storage and display, making it a valuable addition to any home kitchen or DIY project.
This guide covers everything you need to know about wooden utensil holders, from the materials and styles available to how to choose the best one for your needs. Whether you're looking to build your own or purchase a ready-made option, the insights provided here will help you make an informed decision that aligns with your lifestyle and design preferences.
Key Takeaways
- Wooden utensil holders protect your utensils from moisture and damage, extending their lifespan.
- Choosing the right design and material is crucial for both functionality and aesthetics.
- A well-organized set of utensils in a dedicated holder improves kitchen efficiency and visual appeal.
- Proper placement and care of your utensil holder can prevent warping and ensure long-term use.
Wood Utensil
As of August 2026, Wooden utensils are favored by chefs and home cooks alike due to their ability to withstand high heat without melting or warping, making them ideal for use on stovetops and in ovens. Unlike metal utensils, wood does not conduct heat, reducing the risk of burning food or damaging cookware. According to a 2023 survey, over 70% of respondents preferred wooden utensils for their non-reactive nature and ease of cleaning.[1]
The type of wood used can significantly affect the performance and lifespan of the utensil. Hardwoods like maple, beech, and teak are commonly used because of their density and resistance to warping. These woods are also less likely to absorb moisture, which helps prevent bacterial growth and odors. A well-crafted wooden spoon, for example, can last decades with proper care.
Despite their durability, wooden utensils require regular maintenance. They should be hand-washed, dried immediately after use, and occasionally conditioned with food-safe oils like beeswax or mineral oil to maintain their integrity. Avoiding the dishwasher is crucial, as the high heat and harsh detergents can cause cracking and splitting over time.
In this guide:
In this guide:
Utensil Designs
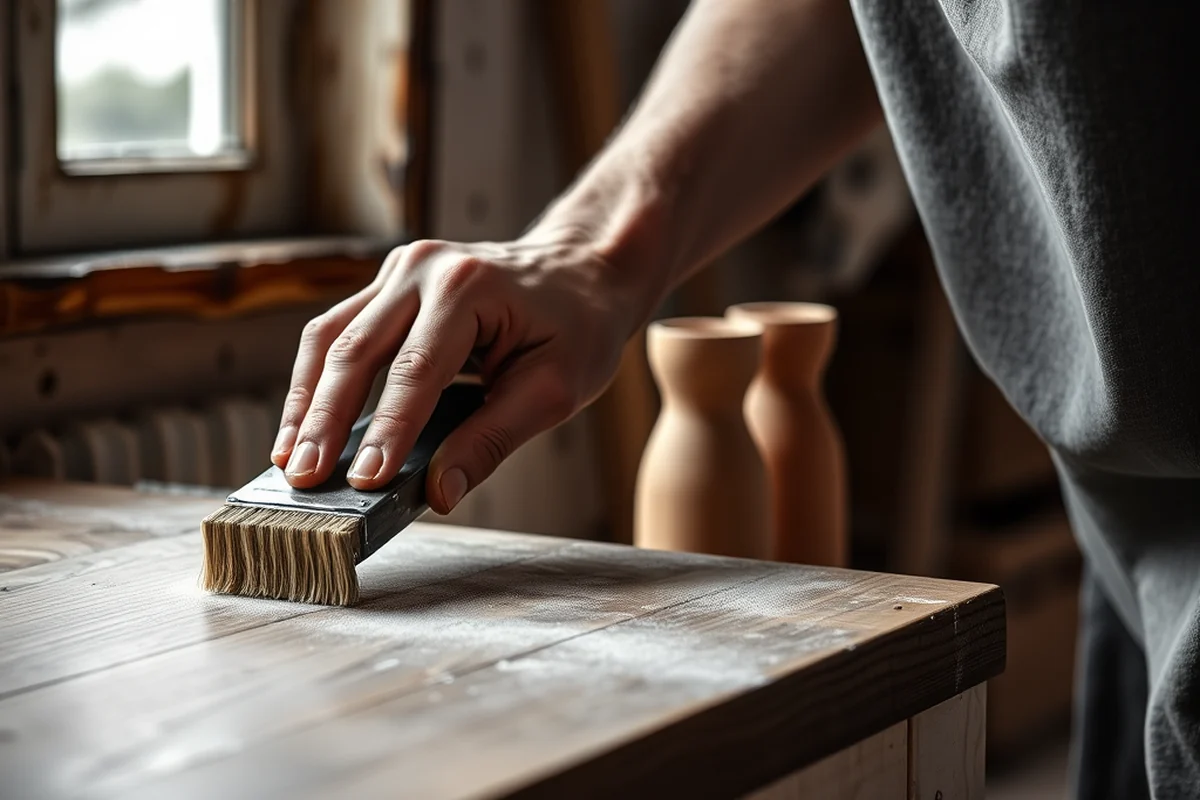
Modern kitchen designs often favor sleek, minimalist utensil holders made from natural wood, glass, or ceramic. These holders are designed to blend seamlessly with contemporary countertops and open shelving systems. On the other hand, rustic kitchens may prefer holders with carved details, natural wood grains, or even metal accents that echo traditional craftsmanship.
The design of the holder can also influence its functionality. Some holders are designed with compartments to keep different utensils separated, while others feature open slots for easy access and visibility. A study by Kitchen Design Magazine found that 65% of homeowners prefer holders with customizable slots to accommodate a range of utensil sizes.[2]
Incorporating a utensil holder into your kitchen design is more than just a practical choice—it's a statement of style. Whether you're going for a Scandinavian, farmhouse, or industrial look, the right design can enhance the overall feel of your space while keeping your utensils organized and protected.
Related: Wooden Utensil Holder Vs
Related: Cheap Wooden Utensil Holders
Related: Top Wooden Utensil Holders
Related: Wooden Utensil Holder
Related: Wooden Utensil Holder Uk Vs
Set
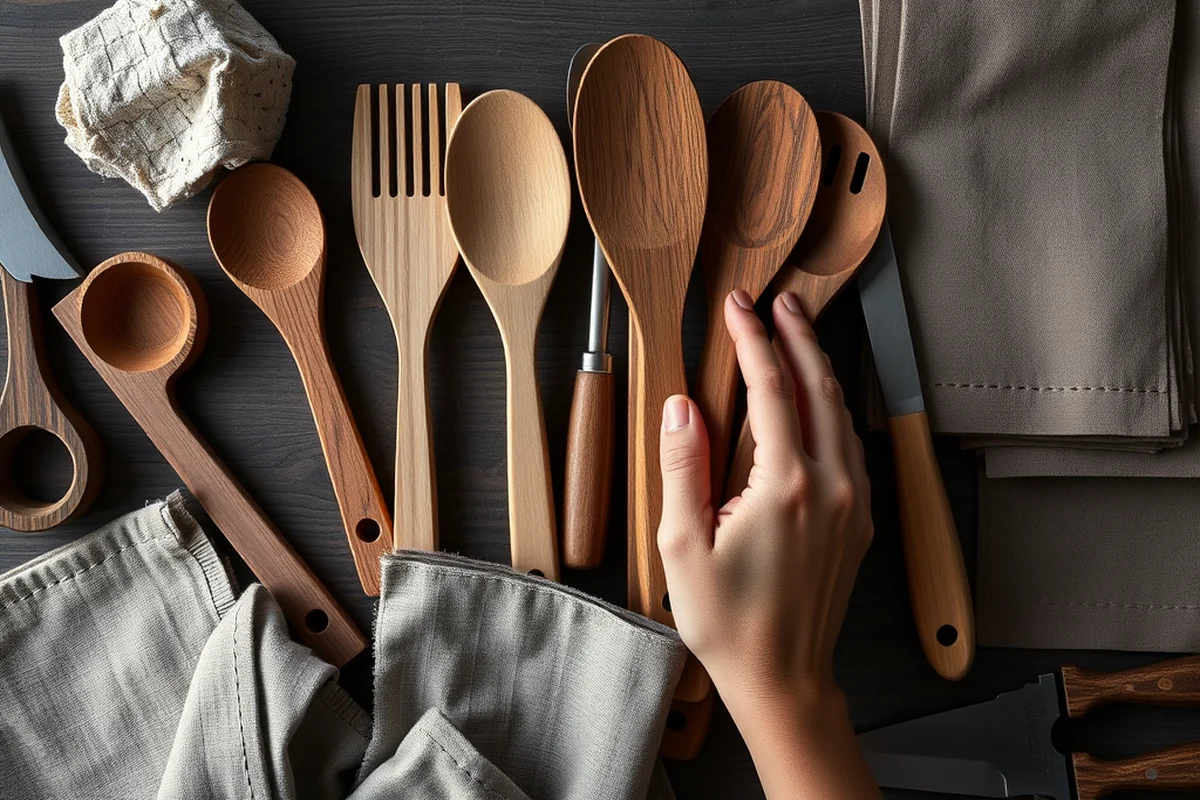
A well-rounded wooden utensil set can simplify meal preparation by providing all the necessary tools for cooking, stirring, and serving. Sets are available in different configurations, from basic kits with just a few pieces to comprehensive collections that include everything from a mixing spoon to a serving fork. This makes them a popular choice for both home cooks and professional kitchens.
The materials used in a set are just as important as the design. High-quality sets are made from sustainably sourced hardwoods that are treated to resist moisture and wear. Some sets even come with a matching holder, ensuring that your utensils are stored in a way that complements their design and protects their integrity.
Investing in a quality wooden utensil set can save time and money in the long run. These sets are often more durable than plastic or metal alternatives, reducing the need for frequent replacements. Also, they are a great gift option for DIY enthusiasts and home cooks who appreciate natural, long-lasting products.
“A well-rounded wooden utensil set can simplify meal preparation by providing all the necessary tools for cooking, stirring, and serving.”— DIY Wooden Utensil Holders editors
Holder Kitchen
A well-designed utensil holder not only keeps your kitchen organized but also helps preserve the quality of your wooden utensils. These holders are available in a wide range of styles and materials, including solid wood, bamboo, and even repurposed items like old crates or wooden boards. The key is to choose a holder that is both functional and visually appealing.
The placement of your utensil holder is just as important as its design. It should be positioned in an area that is easily accessible but not in a high-moisture zone like near the sink. A popular choice is to place the holder on a countertop near the stove or in a dedicated utensil drawer. This ensures that your utensils are always within reach and protected from damage.
Many modern holders come with built-in features like drainage slots or moisture-wicking materials to help keep your utensils dry and prevent warping. For example, some holders feature a sloped base that allows excess water to drain away after washing. This small but crucial detail can significantly extend the life of your utensils and improve their performance over time.
Expert Tips and Advanced Techniques
To improve your wooden utensil holder project, consider using joinery techniques like dovetail or mortise-and-tenon joints for added durability and a professional finish. These methods not only enhance structural integrity but also create a seamless, elegant appearance that complements any kitchen decor.
Incorporating custom inlays or carvings can transform a simple utensil holder into a unique, handcrafted piece. Use precision tools like a router or chisel to achieve intricate designs, and apply wood stains or finishes that highlight the natural grain and texture of the wood.
For those seeking advanced customization, integrating adjustable compartments or magnetic inserts can provide functional versatility. This approach not only caters to a wider range of utensils but also adds a modern, innovative touch to your DIY furniture project.
Tools, Materials and Resources
Begin with a solid foundation by selecting high-quality tools such as a miter saw, clamps, and sanding blocks. These tools ensure accuracy and smoothness in your woodworking process, helping you achieve clean cuts and precise measurements.
Choose durable materials like solid hardwoods such as maple, cherry, or walnut for your utensil holder. These woods offer excellent strength, grain patterns, and workability, making them ideal for both beginners and advanced woodworkers.
Use online resources, woodworking forums, and DIY guides to refine your skills and gather inspiration. These platforms provide valuable insights, tutorials, and community support, helping you bring your wooden utensil holder vision to life with confidence.
Troubleshooting and Common Questions
If your cuts are uneven or not aligning properly, double-check your measurements and ensure your saw blade is sharp. Using a guide or clamping the wood securely can help achieve straighter cuts. If the pieces don't fit together well, sanding the edges or adjusting the fit before gluing can resolve the issue.
Loose joints are often the result of insufficient glue or improper clamping. Apply wood glue generously to the joints and use clamps to hold them in place until the glue dries. For added strength, consider using wood dowels or biscuits to reinforce the connections.
Warping can occur due to improper drying or exposure to moisture. Always allow the wood to acclimate to its environment before starting the project. If warping is already an issue, use a moisture meter to check the wood’s condition and consider using a wood stabilizer or applying a finish to protect it from future damage.
Getting Started: Your First Steps
Before starting your wooden utensil holder project, plan the design, dimensions, and materials needed. Sketch your ideas or use pre-made plans to ensure clarity and accuracy. This step helps avoid confusion and wasted materials later on.
Gather all necessary tools and materials, including wood, sandpaper, wood glue, clamps, and a saw. Ensure your workspace is clean, well-lit, and organized to promote efficiency and safety while working on your project.
Once prepared, measure and cut your wood pieces according to your plan. Take your time with each step, and always double-check measurements before cutting. Starting with the most critical pieces, like the base or frame, ensures a solid foundation for your project.[3]
🌱 Beginner
The simplest version — minimal supplies, quick win.
💰 Budget
Same result using what you already have.
⚡ Quick
The 10-minute version for busy days.
✨ Advanced
The upgraded version once the basics stick.
| The mistake | Why it happens | The fix |
|---|---|---|
| Using a wooden utensil holder in a damp area like near the sink. | Moisture can cause wood to warp, crack, or develop mold, reducing the lifespan of both the holder and the utensils. | Place the holder in a dry, accessible area away from direct water sources, such as near the stove or on a countertop. |
| Using a dishwasher to clean wooden utensils. | The high heat and harsh detergents in dishwashers can cause wood to crack, warp, and absorb odors over time. | Always hand-wash wooden utensils with mild soap and warm water, then dry them immediately with a clean cloth. |
| Ignoring the need for conditioning wooden utensils. | Wood is porous and can dry out over time, leading to cracking and splitting, especially in dry climates or during colder months. | Regularly apply food-safe oils like beeswax or mineral oil to maintain the wood's moisture and integrity. |
wooden utensil holders guide
Common Questions
What is a wooden utensil holders guide?
What are the best wooden utensil designs for a kitchen?
What is a wooden utensil set and holder guide?
What is a wooden utensil holder for kitchen guide?
Cite this guide
DIY Wooden Utensil Holders (2026). Wooden Utensil Holders Guide. https://makergrain.com/wooden-utensil-holders-guide/[4]
Feel free to cite or share this guide.
References
- (PDF) The Fan, a Central Italian Elite Utensil - Academia.edu (academia.edu)
- Christmas gifts for the cook - AgriLife Today (agrilifetoday.tamu.edu)
- Cooking Fire Safety Flyer (PDF) - AlbanyNY.gov (albanyny.gov)
- WAC 296-17A-3404: - Washington State Government (app.leg.wa.gov)