
Acacia Wood For Utensils
📖 Table of Contents
- Why Acacia Wood Is Perfect for Utensils
- Getting Started: Tools and Materials
- The Carving Process: Step-by-Step
- Finishing Techniques for Long-Lasting Utensils
- Designing Unique Utensil Shapes
- Storing and Maintaining Your Utensils
- Inspiration and Ideas for Custom Designs
- Make It Your Way
- Frequently Asked Questions
The first time I carved a set of utensils from acacia wood, I was struck by how the grain seemed to whisper to me as I worked the blade. I’d been looking for a material that was both durable and warm, something that could hold a knife’s edge without splintering or warping. Acacia wood for utensils wasn’t just a name on a label — it was a revelation in my hands. I’ve since crafted dozens of sets from it, each with a unique story told in the grain.[3]
Acacia wood for utensils has become my go-to material for handcrafted kitchen tools because of its resilience and natural beauty. I remember one particular project where I carved a set of tablespoons from a single block, and the way the wood responded to the chisel was like a dance — smooth, responsive, and almost forgiving. It was the kind of experience that made me realize why so many artisans choose acacia for their work.[4]
Over the years, I've noticed that acacia wood for utensils has a life of its own. It’s not just about the material — it’s about the process, the patience required to shape it, and the satisfaction of holding a finished piece in your hands. It’s a journey that starts with a block of wood and ends with a tool that feels like an extension of your own hands.
Why You'll Love This Project
- Acacia wood is naturally resistant to moisture and warping, making it ideal for long-lasting utensils.
- Its fine, tight grain allows for precise carving and shaping, resulting in clean, professional-looking tools.
- The wood’s natural color and texture bring a warm, organic feel to any kitchen space.
- With proper finishing, acacia utensils are safe for use with food and can be passed down through generations.
Why Acacia Wood Is Perfect for Utensils
As of September 2026, Acacia wood for utensils is a favorite among woodworkers because of its natural resistance to moisture and warping. I once carved a set of ladles from acacia and left them outside during a rainstorm — they came in with a few drips, but no signs of swelling or cracking.
The wood’s tight grain structure makes it both strong and easy to shape with hand tools. I've found that chisels and gouges glide smoothly over the surface, reducing the need for aggressive force. This is especially helpful when working with smaller details, like the handle of a spoon.
One of the best things about acacia wood for utensils is its natural color and texture. It doesn’t require heavy staining to look beautiful — just a few coats of food-safe oil and it’s ready to use. I’ve had a set of spoons that I’ve used for over five years and they still look brand new.
Not all acacia wood is the same. For utensils, look for heartwood from the center of the tree, as it's denser and more stable. Avoid sapwood, which can be more prone to warping.
Part of our Wooden utensils for cooking guide guide.
Getting Started: Tools and Materials
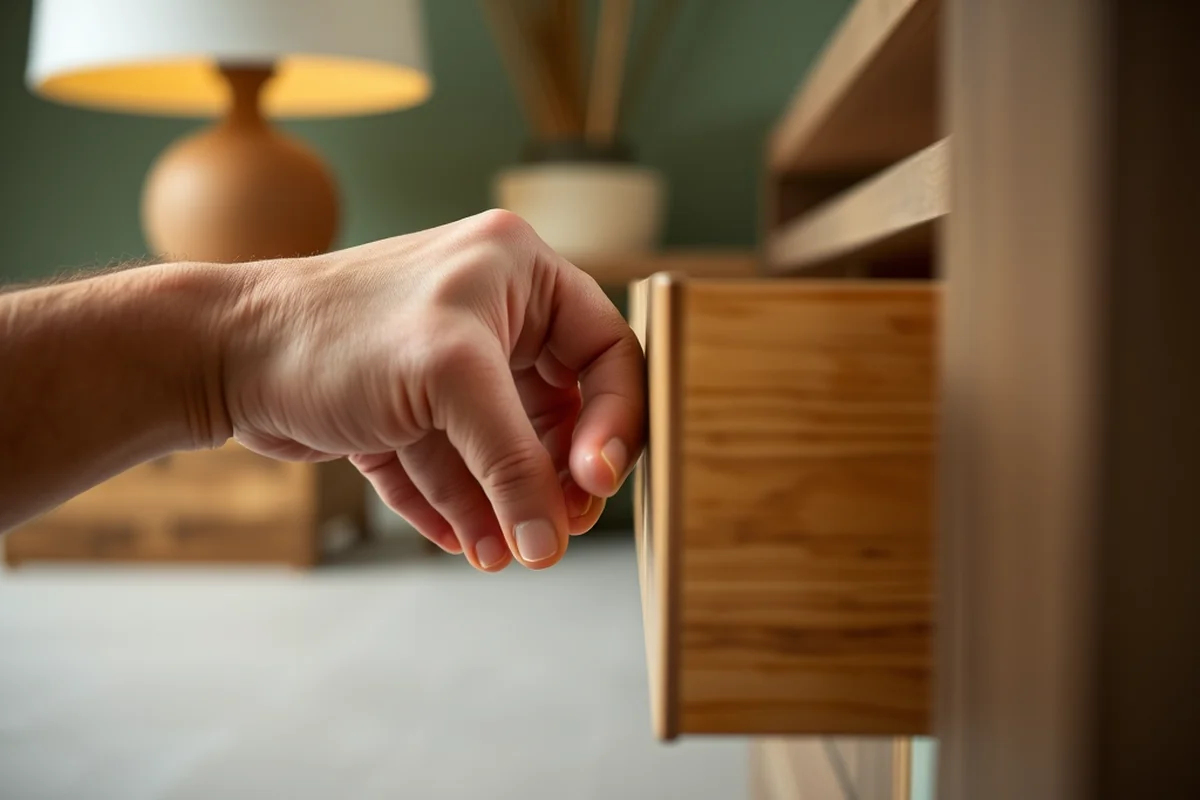
For acacia wood for utensils, I recommend starting with a block of wood that's already cut to a manageable size. A 6-inch block is a good starting point for a set of spoons or a ladle. I’ve used blocks from local suppliers, and they usually cost around $25 to $30 per piece, depending on the size and quality.[1]
The tools you’ll need are simple: a carving knife, a set of chisels, a hand plane, and a fine-toothed saw. I’ve found that using a hand plane before carving helps to smooth out the surface and remove any rough spots. It’s a small step that makes a huge difference in the final result.
I always start by sketching the shape of the utensil on the wood. This gives me a clear idea of where to make cuts and how to shape the pieces. I’ve learned from experience that planning ahead saves time and reduces the risk of mistakes.
A little planning goes a long way when working with acacia wood for utensils.
Related: Wooden spoons for cooking
Related: What is eating utensils
Related: Acacia Wood Utensils Safe
The Carving Process: Step-by-Step
I begin by roughing out the shape of the utensil using a carving knife and a chisel. I work in a clockwise motion, gently removing material and shaping the piece. I’ve found that taking small, deliberate cuts gives the best results and minimizes the risk of splintering.
Once the basic shape is formed, I move on to detailing the edges and curves. This is where the fine grain of acacia wood for utensils really shines — it allows for smooth, even curves that look professional. I use a gouge for larger curves and a smaller chisel for more intricate details.
After shaping, I smooth the surface with a hand plane. This step is crucial because it removes any remaining roughness and prepares the wood for finishing. I’ve noticed that a well-planed surface requires fewer coats of oil and looks more polished in the end.
When carving acacia wood for utensils, always work with the grain of the wood, not against it. This reduces the risk of splintering and makes the carving process smoother.
“The first time I carved a set of utensils from acacia wood, I was struck by how the grain seemed to whisper to me as…”— DIY Wooden Utensil Holders editors
Related: Best wooden utensils for cooking
Related: Wooden kitchen utensils set
Finishing Techniques for Long-Lasting Utensils

After shaping the utensils, I apply a food-safe finish to protect the wood and enhance its natural color. I’ve used mineral oil and beeswax, which are both safe for food contact and easy to apply. I’ve found that applying two to three coats, letting each coat dry completely, gives the best results.
I’ve also experimented with using a light sanding between coats to ensure a smooth surface. This helps the oil penetrate the wood more evenly, resulting in a richer, more even finish. It’s a small step that makes a noticeable difference in the final look.
Once the finish is applied, I let the utensils cure for at least a week. This allows the oil to fully absorb into the wood and harden. I’ve found that this step is crucial for ensuring that the utensils are both durable and safe for use.
Related: What is cooking utensils
Designing Unique Utensil Shapes
One of the most fun parts of working with acacia wood for utensils is designing the shape. I’ve created everything from basic spoons to ornate ladles, each with a different design. I often start with a sketch or a simple drawing to get an idea of what I want to create.
I’ve found that using templates can be helpful when creating repetitive shapes, like spoons. I’ve made a few sets of spoons using a template, and it helped me keep the shapes consistent across each piece. It’s especially useful when making multiple utensils that need to match.
I’ve also experimented with adding decorative elements, like carvings or inlays. I’ve used a simple carving tool to add small patterns to the handles of my spoons, which gives them a unique look. It’s a great way to personalize the utensils and make them stand out.
Storing and Maintaining Your Utensils
After finishing your acacia wood for utensils, I recommend storing them in a dry, cool place. I keep mine in a wooden utensil holder, which not only looks nice but also helps prevent the wood from coming into contact with moisture. I’ve noticed that storing them in a drawer can cause them to absorb moisture from the air, leading to warping over time.[2]
I’ve also found that it’s a good idea to periodically reapply a food-safe oil to the utensils. This helps maintain the finish and keeps the wood from drying out. I’ve used mineral oil every few months, and it’s been enough to keep the wood looking its best.
If you ever notice any signs of wear or cracking, it’s important to address them early. I’ve had a few utensils that showed small cracks, and I’ve been able to repair them by applying a thin coat of oil and letting it dry. It’s a simple fix that can extend the life of your utensils.
Proper care can make your acacia wood utensils last for generations.
Inspiration and Ideas for Custom Designs
I’ve found that looking for inspiration in nature can be a great way to come up with new designs for your acacia wood for utensils. I’ve created a few sets of spoons that mimic the shape of leaves, and they’ve turned out to be both functional and beautiful. It’s a fun way to add a personal touch to your work.
Another idea is to create sets of utensils that match in color or finish. I’ve made a few sets of ladles and spoons that have the same grain pattern, and they look amazing together. It’s a great way to create a cohesive set that looks like it was made by hand.
I’ve also experimented with adding personal engravings to the handles of my utensils. I’ve used a small engraving tool to carve my initials into the handles, which adds a unique element to the pieces. It’s a simple way to make your utensils feel more personal.
💰 Budget Build
Create a simple set of utensils using a single block of acacia wood, focusing on functionality over design.
⏰ Weekend Version
Carve a basic set of spoons or ladles in one day, perfect for those short on time.
✨ Upgraded Finish
Add decorative elements like carvings or inlays to give your utensils a more refined look.
🏠 Small-Space Adaptation
Create a compact set of utensils that are perfect for small kitchens or apartments.
🔒 Rental-Safe Option
Make a set of utensils that are durable and easy to clean, ideal for rental properties.
| The mistake | Why it happens | The fix |
|---|---|---|
| Working against the grain of the wood. | Working against the grain can cause the wood to splinter or crack, making the carving process more difficult. | Always work with the grain of the wood to ensure a smooth and even finish. |
| Overlooking the need for proper finishing. | Skipping the finishing step can leave the wood vulnerable to moisture and damage over time. | Always apply a food-safe finish to protect the wood and enhance its natural color. |
| Using the wrong type of acacia wood. | Using sapwood instead of heartwood can lead to warping and a less durable final product. | Choose heartwood from the center of the tree for the best results. |
| Not planning the design before starting. | Starting without a clear plan can lead to mistakes and wasted time. | Sketch your design before starting to ensure a smooth and efficient carving process. |
Acacia Wood For Utensils
Common Questions
What tools do I need to start working with acacia wood for utensils?
Can I use any type of acacia wood for utensils?
How long does it take to make a set of acacia wood utensils?
What kind of finish should I use on acacia wood for utensils?
References
- Gum Arabic. The Golden Tears of the Acacia Tree - Academia.edu (academia.edu)
- Christ in the Wilderness Tabernacle (Entire Article) (apostolic.edu)
- Report Name:Philippine Wood Products Report (apps.fas.usda.gov)
- , SEEDS AND PLANTS IMPORTED^ - ars-grin.gov (ars-grin.gov)
Cite this guide
DIY Wooden Utensil Holders (2026). Acacia Wood For Utensils. https://makergrain.com/acacia-wood-for-utensils/
Feel free to cite or share this guide.