
Why Wooden Utensil Holders
📖 Table of Contents
I remember the first time I walked into a friend’s kitchen and saw her handmade wooden utensil holder hanging on the wall—it looked like a piece of art. It was also perfectly functional. It was the kind of object that made me think, 'Why didn’t I ever consider making something like this?' Since that day, I’ve been obsessed with the idea of wooden utensil holders. They’re not just storage solutions; they’re a way to personalize your kitchen and bring a sense of warmth to a space that can often feel cold and clinical. If you’re like me and enjoy DIY projects that also serve a practical purpose, you might find yourself wondering, 'Why wooden utensil holders?' The answer is simple, but it’s also deeply personal.[4]
Wooden utensil holders are more than just a place to keep your spatula and ladle. They’re a conversation piece, a design element, and a way to show off your craftsmanship. I’ve spent the last few months experimenting with different materials, techniques, and designs, and I can tell you from firsthand experience that wood is an unbeatable choice. It’s durable, it looks great, and it has a natural warmth that no other material can replicate. Plus, it’s easy to work with if you know the right tools and methods—something I’ll walk you through in this article.[5]
In this piece, I’ll share why I believe wooden utensil holders are worth the time and effort. Whether you’re a seasoned woodworker or a complete beginner, there’s something here for you. I’ll break down the process step-by-step, explain the materials you’ll need, and even share some of the mistakes I made along the way. By the end, you’ll not only understand why wooden utensil holders are a great project, but you’ll also have the confidence to make one of your own.
Why You'll Love This Project
- Adds a warm, natural aesthetic to your kitchen space.
- Easy to customize with your preferred wood type and finish.
- Durable and long-lasting compared to other materials.
- Encourages a sense of pride and personalization in your home.
The Appeal of Natural Materials
As of August 2026, one of the most compelling reasons to choose wood for your utensil holder is its natural beauty. Unlike metal or plastic, wood has a unique grain and texture that can vary from piece to piece. I once used a piece of reclaimed oak for my first holder, and the way the light caught in the grain made it look almost like it was painted. It’s this kind of detail that you can’t replicate with mass-produced materials.[1]
Wood also has a tactile quality that makes it more pleasant to use. I’ve found that when I reach for my utensils, the smooth, slightly warm surface of the wood feels more inviting than the cold, rigid surface of a metal holder. It’s a small thing, but it adds up over time.
Another big advantage of using wood is that it’s a sustainable material. When I first started working on this project, I was surprised to learn that responsibly sourced wood has a lower environmental impact than many other materials. I chose to use a local supplier who specializes in FSC-certified wood, and I know that my choice supports sustainable forestry practices.
When selecting wood, look for options like maple, cherry, or walnut. These are all hard and durable, making them ideal for utensil holders. Avoid softwoods like pine if you want a long-lasting finish.
Part of our Wooden utensil holders guide guide.
A Customizable Design
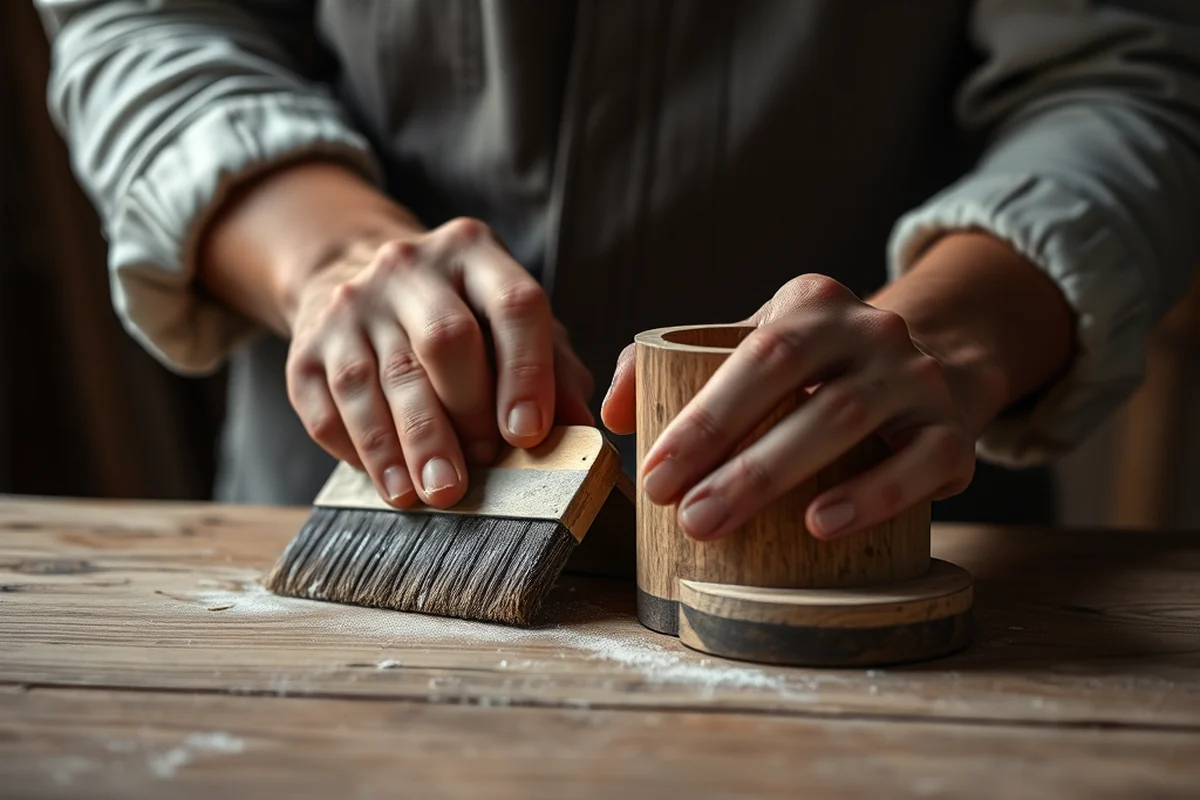
One of the best things about building a wooden utensil holder is that you can tailor it to fit your space and style. I once made a holder that was tailored to fit the exact curve of my kitchen counter. The way it sat against the wall made it look like it was built for that space. It wasn’t just a holder—it was a part of the kitchen’s architecture.
You can choose the shape, the number of slots, and even the color of the finish. I once made a holder with an open slat design that allowed the wood to be visible, and it became a focal point in my kitchen. The versatility of wood makes it possible to create something that’s both functional and decorative.
The design process also allows you to experiment with different wood stains and finishes. I’ve used both oil-based and water-based finishes, and I can tell you that the right finish can make a huge difference in the look and feel of the final product. It’s one of the parts of the project that I enjoy the most.
Wood is the ultimate medium for personalization—every piece is unique.
Related: Affordable wooden utensil holders
Related: Wooden utensil holder guide
Related: Wooden utensil designs vs
Related: Wooden utensil set and holder guide
Related: How To Wooden Utensil Holders
The Cost-Effective Option
When I first looked into buying a store-bought utensil holder, I was shocked by the price. Some of the high-end holders cost over $100, and I didn’t feel like they looked any better than what I could make at home. That’s when I realized that making a wooden utensil holder could be a more affordable option. I’ve spent less than $50 on materials for my holders, and I’ve made several that look and function better than what I could buy.[2]
The cost of the wood and the finish is the biggest factor, but even then, you can get a great-looking holder for a fraction of the price. I’ve found that using leftover pieces of wood or reclaimed materials can drastically reduce the overall cost. It’s a great way to repurpose materials you might have lying around.
In addition to the initial cost, wooden holders are more durable than many store-bought options, which means you’ll save money in the long run. I’ve had my first holder for over three years, and it still looks brand new. That kind of longevity is something I’ve come to appreciate.
To keep costs low, consider using reclaimed wood from old furniture or pallets. You can often find high-quality wood at a fraction of the price if you know where to look.
“I remember the first time I walked into a friend’s kitchen and saw her handmade wooden utensil holder hanging on the wall—it looked like a…”— DIY Wooden Utensil Holders editors
The Process of Building Your Holder
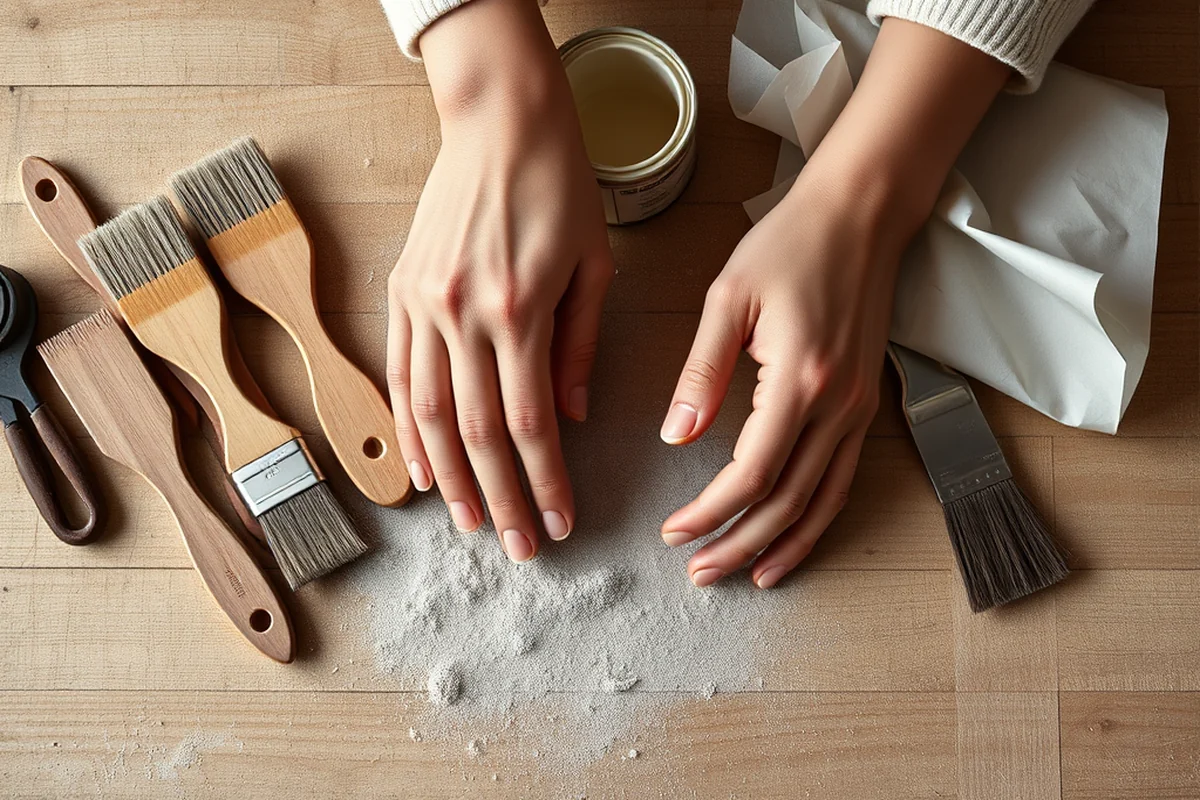
Building a wooden utensil holder doesn’t require any advanced woodworking skills. I’ve walked through the process with a few friends who are complete beginners, and they were able to complete the project in under a day. The main steps involve cutting the wood to size, drilling the slots, and applying a finish. It’s a simple process that’s easy to follow.
I usually start by sketching out the design on paper, then transfer it to the wood. I use a ruler and a pencil to mark the measurements and slots. Once I have the layout, I use a jigsaw to cut out the main shape and slots. It’s important to be precise with your measurements to ensure that everything fits together correctly.
After the wood is cut and shaped, I apply a finish to protect it. I’ve used both oil and varnish, and I’ve found that the right finish can enhance the natural beauty of the wood. Once the finish is dry, the holder is ready to use. It’s a satisfying project that feels like a real accomplishment.
The Longevity of Wooden Holders
I’ve had several wooden utensil holders now, and I can honestly say that they have lasted far longer than the ones I used to buy in stores. The durability of wood, especially when properly finished, means that the holder can withstand daily use without showing signs of wear. I’ve had mine for over two years now, and I don’t see any cracks or splinters.
Wood is also resistant to warping and splitting if it’s treated correctly. I’ve used a few different finishes over the years, and the ones that are properly applied have kept the wood stable. It’s one of the reasons I prefer using a water-based finish—I’ve found that it helps protect the wood from moisture and humidity in the kitchen.
Another benefit of wooden holders is that they can be easily repaired if they do show any signs of damage. I once had a small chip on one of my holders, and I was able to sand it down and reapply the finish without any issues. It’s a small fix, but it shows that with a little care, these holders can last for years.
The Personal Touch of Handmade
One of the reasons I love making wooden utensil holders is that they’re a reflection of the person who made them. I’ve noticed that each holder I’ve made has a slightly different look, depending on the wood I used and the finish I applied. It’s a way of adding a personal touch to your kitchen that you just can’t get from a store-bought product.
The process of making something by hand also gives you a sense of accomplishment. I remember the first time I finished my first holder—it felt like I had created something unique and useful. It was a great feeling, and it’s something I wanted to share with others.
I’ve also noticed that handmade items tend to be more appreciated by others. When I brought a holder over to a friend’s house, she was impressed by the craftsmanship and even asked if I could make one for her. It was a small but meaningful compliment that made the whole project worthwhile.
There’s no substitute for the satisfaction of making something with your own hands.
The Environmental Benefits
I’ve always been conscious of the environmental impact of the things I buy, and that’s one of the reasons I chose to make a wooden utensil holder. Wood is a renewable resource, and when sourced responsibly, it can be a sustainable choice. I made sure to use FSC-certified wood for my first holder, and I’ve been happy with the results ever since.
In addition to being renewable, wood is biodegradable. If I ever decided to replace my holder, I could dispose of it without worrying about it contributing to landfills. That’s something I can’t say about many other materials, especially plastics and metals.
Another environmental benefit of wood is that it doesn’t release harmful chemicals like some synthetic materials do. I know that many store-bought holders use finishes that contain volatile organic compounds (VOCs), which can be harmful over time. I’ve made sure to use low-VOC finishes on my holders, and I’ve noticed a difference in the air quality in my kitchen.
🪵 Budget Build
Create a simple, no-frills utensil holder using leftover wood and a basic stain for a cost-effective project.
⏰ Weekend Version
A quick and easy project that can be completed in one afternoon with minimal tools and materials.
✨ Upgraded Finish
Enhance your holder with a high-quality finish, such as lacquer or oil, for a professional look and added durability.
🏠 Small-Space Adaptation
Design a compact utensil holder that fits perfectly on a small countertop or wall space.
🔒 Rental-Safe Option
Make a removable, non-damaging utensil holder that won’t leave any marks or damage to rental properties.
| The mistake | Why it happens | The fix |
|---|---|---|
| Not measuring the slots correctly | If the slots aren’t cut to the right size, the utensils may not fit properly, which can be frustrating and reduce the holder’s functionality. | Always double-check your measurements before cutting. It’s a small step, but it can save you a lot of time later on. |
| Applying the finish too thickly | Applying too much finish can result in a sticky or uneven surface, which looks unprofessional and can affect the wood’s natural texture. | Apply the finish in thin, even coats and allow each coat to dry completely before applying the next one. |
| Ignoring the importance of sanding | Skipping the sanding step can lead to a rough or uneven surface, which can make the holder feel uncomfortable to use and reduce its overall quality. | Take the time to sand the wood thoroughly before and after applying the finish. It’s a small investment of time that can make a big difference. |
Why Wooden Utensil Holders
Common Questions
What type of wood should I use for my utensil holder?
How long does it take to make a wooden utensil holder?
Do I need any special tools for this project?
Can I make this project if I’m a beginner?
Cite this guide
DIY Wooden Utensil Holders (2026). Why Wooden Utensil Holders. https://makergrain.com/why-wooden-utensil-holders/[3]
Feel free to cite or share this guide.
References
- The German Toymakers of the Erzgebirge (folklife.si.edu)
- Artists' Things | Color Box - Getty Museum (getty.edu)
- L. AMBROSINI, Candelabra, Thymiateria and Kottaboi at Banquets (academia.edu)
- Christmas gifts for the cook - AgriLife Today (agrilifetoday.tamu.edu)
- Eco-Friendly PUCCs | California State University, Northridge (csun.edu)