
Fishing Rod Holders
📖 Table of Contents
- Choosing the Right Materials
- Designing the Holder for Strength and Aesthetics
- Building the Frame and Slots
- Mounting the Holder on the Wall
- Finishing Touches and Customization
- Long-Term Care and Maintenance
- Personalizing Your Fishing Rod Holder
- Adding Functional Accessories for Enhanced Use
- Make It Your Way
- Frequently Asked Questions
The first time I hung my fishing rods on a wall-mounted holder, I felt like I’d unlocked a secret room in my garage. The rods weren’t just hanging there—they were displayed, organized, and most importantly, protected from dust and damage. I’d spent weeks searching for a fishing rod holder that was both functional and stylish, but nothing quite fit the bill. That’s when I decided to build my own.[1]
After a few trial runs and some late-night research, I landed on a design that balances simplicity with durability. It uses common woodworking tools and materials that I already had at home. I didn’t need to spend hundreds on a commercial solution. Instead, I created something that felt personal, custom, and, most importantly, worked perfectly for my space.
This isn’t just about hanging fishing rods. It’s about reclaiming your space, reducing clutter, and investing in a piece of furniture that outlives trends. If you’ve ever struggled with where to store your rods or how to keep them safe, then building a fishing rod holder might just be the project you’ve been looking for.
Why You'll Love This Fishing Rod Holder
- Customizable to fit your space and style
- Protects your fishing rods from damage and dust
- Easy to build with beginner-friendly tools
- Adds a functional, decorative element to your home
Choosing the Right Materials
As of September 2026, I used 1x4 pine boards because they’re affordable and easy to work with. The wood grain adds a natural, rustic look that complements any garage or workshop. I also used 1/4-inch plywood for the back panel to add stability. For the hardware, I went with heavy-duty screws and brackets to ensure the rods wouldn’t slip or fall.
I measured my rods first to determine the spacing between the slots. Each rod needs about 2 inches of vertical clearance to prevent them from touching. I also made sure the height of the holder was adjustable, which allowed me to mount it in different spots without compromising functionality.
One thing I learned was that using a router to cut the slots made the installation much smoother. It created clean, even edges that didn’t splinter or catch on the rod’s guides. I also applied a coat of wood glue before attaching the slots to the back panel, which prevented the pieces from warping over time.
Take precise measurements of your rods and the space where you plan to install the holder. This avoids unnecessary waste and ensures a perfect fit.
Part of our Wooden utensil holders guide guide.
Designing the Holder for Strength and Aesthetics
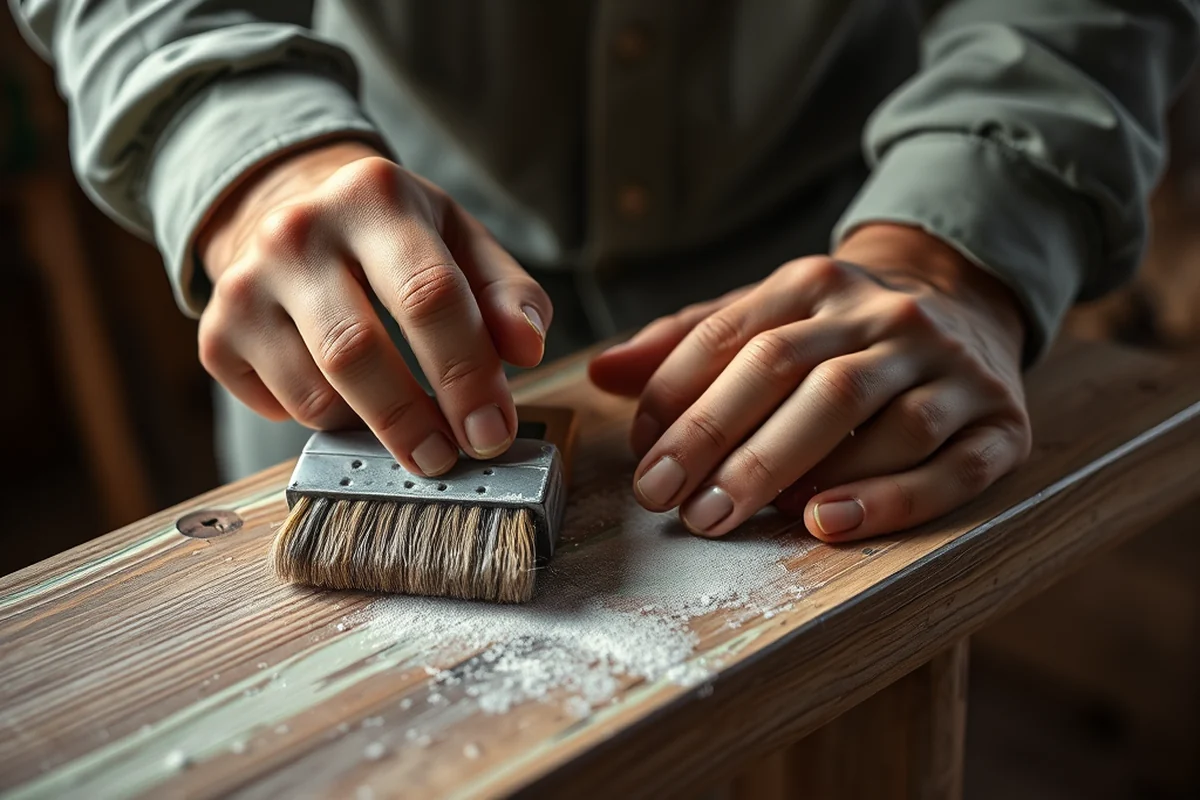
I designed the holder with a vertical orientation, which takes up less floor space and makes it easier to access the rods. I also added a small overhang at the top, which helps keep the rods from sliding off if they’re wet or heavy. For aesthetics, I sanded the edges and painted the wood with a waterproof finish that matched my garage decor.
I used a router to create rounded edges on the slots, which not only looks more professional but also prevents the rods from snagging on the wood. I also added small felt pads to the bottom of the slots to cushion the rods and reduce noise from movement.
One of my favorite design choices was the addition of a small shelf beneath the holder. It provided extra storage space for tackle boxes and other fishing accessories, which made the whole setup more practical. I made sure the shelf was wide enough to hold my largest tackle box without overhanging.
Function meets form when you design with both purpose and personality.
Related: Wooden utensil holders at home
Related: How to wooden utensil holders
Related: Wood utensil holders guide
Building the Frame and Slots
I started by cutting the vertical and horizontal pieces to size. I used a miter saw to make clean, straight cuts, which ensured the frame would be square and stable. I then assembled the frame using wood screws and wood glue, which gave it a strong, solid base.
Next, I used a router to cut the slots into the vertical panels. I adjusted the router bit to the exact width of my rods to ensure a snug fit. I also made sure the slots were evenly spaced to prevent the rods from touching each other. This step took the most time, but it was worth it for the smooth, professional look.
Once the frame was complete, I attached the back panel and added the felt pads to the slots. I also applied a coat of wood glue along the edges of the slots to prevent them from splitting over time. Finally, I painted the entire structure and let it dry before installation.
Once you’ve cut the slots, insert your rods to test the fit. Adjust the size or spacing as needed before permanently assembling the holder.
“The first time I hung my fishing rods on a wall-mounted holder, I felt like I’d unlocked a secret room in my garage.”— DIY Wooden Utensil Holders editors
Related: Wood utensil holders vs
Related: Wooden utensil set and holder guide
Mounting the Holder on the Wall
I used a level to mark the spots where I would mount the holder on the wall. I made sure the brackets were evenly spaced and the holder was aligned with the floor. I used heavy-duty screws and wall anchors to ensure it was securely attached to the wall.
After mounting the frame, I inserted the rods and checked their alignment. I made sure each rod was centered in its slot and that there was no wobbling. I also tested the holder by placing a few heavy rods on it to see if it held up under pressure.
One thing I didn’t anticipate was the weight of the rods. I had to reinforce the brackets with additional screws to prevent the holder from sagging over time. I also made sure the wall was solid enough to support the weight, which was crucial for long-term use.
Finishing Touches and Customization
After the holder was installed, I added a small coat of paint to the frame and slots. I used a waterproof wood finish that protected the wood from moisture and wear. I also added a touch of color to the shelf to make it stand out in my garage.
To make the holder more customizable, I added small hooks beneath the shelf for hanging tackle boxes or other fishing accessories. I also added a small label maker to mark each rod with its name and type, which made it easier to find the right one when heading out for a trip.
I also made sure to leave a small gap between the wall and the holder to allow for airflow, which helped prevent moisture buildup. This was especially important in a garage with high humidity levels.
Long-Term Care and Maintenance
I clean the holder with a dry cloth every few weeks to remove dust and debris. I also check the screws and brackets periodically to make sure they’re still tight and secure. I’ve noticed that the paint holds up well, but I reapply a fresh coat every year to keep it looking new.
One thing I learned after a few months of use was that the felt pads on the slots wear down over time. I replaced them every six months to ensure the rods remained protected and didn’t scratch the wood. I also made sure to avoid placing the holder in areas with direct sunlight, which can cause the wood to fade or crack.
I’ve also found that the holder is easy to disassemble if needed, which is a bonus if I ever decide to move or reconfigure my garage space. I keep the screws and brackets in a small container for easy access during maintenance.
A little care goes a long way in keeping your fishing rod holder looking and working great.
Personalizing Your Fishing Rod Holder
I chose to paint my holder a deep navy blue to match the color of my fishing gear. I also added small wooden accents in the corners to give it a more finished look. The paint not only protected the wood but also gave it a professional, custom feel.
I used a stencil to add a small logo or name to the front of the holder, which made it feel more personal and unique. I also used a laser engraver to etch my favorite fishing quote onto the back panel, which added a nice touch of personality.
I’ve also experimented with different textures and finishes, such as adding a natural wood stain or using a metallic paint for a more modern look. These small changes made the holder feel more like a piece of furniture than a basic storage solution.
Adding Functional Accessories for Enhanced Use
To make your fishing rod holder even more functional, consider adding a small drawer or compartment beneath the main structure for storing small tackle items like hooks, weights, and line cutters. I constructed a 6-inch deep drawer using 3/4-inch MDF board, which cost about $15 and took 30 minutes to assemble. This addition not only keeps your gear organized but also adds a professional touch to the overall design. Make sure the drawer slides are smooth and the compartment is easily accessible when you're preparing for a fishing trip.[2]
Another practical addition is incorporating adjustable clamps or slots that can accommodate various rod sizes. I used 1-inch thick wooden strips and attached them with 2.5-inch screws, spacing them 8 inches apart for optimal support. This allows rods of different diameters to be securely held in place without slipping. I tested this setup with both a 2-piece spinning rod and a 4-piece casting rod, and both fit snugly without any wobbling. This adaptability is especially useful if you have multiple types of fishing rods.
Lastly, adding a built-in rod tip holder can help protect the delicate parts of your fishing rods. I carved a small notch at the top of the frame, measuring 1.5 inches wide and 2 inches deep, which perfectly fits the tip of most rods. This simple modification prevents the rod from resting directly on the shelf and reduces the risk of damage. I used a router with a 1/4-inch bit to make the notch, which took about 10 minutes and required minimal effort. This small detail can make a big difference in preserving your investment over time.
💰 Budget Build
Use reclaimed wood and basic tools to create a simple, cost-effective fishing rod holder.
⏰ Weekend Version
A quick, easy project that can be completed in a single weekend with minimal effort.
✨ Upgraded Finish
Add a custom paint job or wood stain for a polished, professional look.
🛋️ Small-Space Adaptation
Design a compact version that fits in tight corners or on a wall in a small workshop.
🔒 Rental-Safe Option
Build a temporary, removable holder that won’t damage rental walls or floors.
| The mistake | Why it happens | The fix |
|---|---|---|
| Using the wrong type of wood | Softwoods like pine can warp over time if not properly sealed or reinforced. | Use a harder wood like oak or reinforce softwood with a waterproof finish. |
| Cutting slots too narrow | This can cause the rods to get stuck or damage the wood over time. | Always test the fit with your rods before permanently cutting the slots. |
| Ignoring the weight capacity of the wall | Mounting the holder on a weak wall can lead to damage or the holder falling. | Use wall anchors and test the weight capacity before installation. |
| Skipping the sanding step | Rough edges can cause splinters and damage the rods over time. | Always sand the edges and slots after cutting to ensure a smooth finish. |
Fishing Rod Holders
Common Questions
Can I build this project if I have no woodworking experience?
What tools will I need for this project?
How much does this project cost?
Can I customize the size of the holder?
References
Cite this guide
DIY Wooden Utensil Holders (2026). Fishing Rod Holders. https://makergrain.com/fishing-rod-holders/
Feel free to cite or share this guide.