
Cheap Wooden Utensil Holders
📖 Table of Contents
I remember the first time I decided to build my own utensil holder — it was after a long day at the workshop. I was tired of buying cheap plastic ones that broke in weeks. I wanted something sturdy, timeless, and made with my own hands. What started as a simple idea turned into a project that transformed my kitchen and saved me money in the long run. This is the story of how I created my very own cheap wooden utensil holders.
Building a cheap wooden utensil holder isn’t about cutting corners — it’s about using the right tools, materials, and techniques. I’ve tested several methods, from using scrap wood to repurposing old furniture, and I found the most cost-effective way that still looks great. The key is choosing the right wood, like pine or birch, which are affordable and easy to work with. I’ve built several for my own home and even gifted them to friends, and each one has held up beautifully over time.
The beauty of making your own utensil holder is that it’s not only functional but also personal. You can customize the size, add your own design touches, or even stain it to match your kitchen’s aesthetic. I’ve found that even the simplest design can make a big difference in how organized and put-together your kitchen feels. It’s a small project that yields big results — and I’ll walk you through every step of the way.
Why You'll Love This Project
- It’s a budget-friendly way to upgrade your kitchen’s look without breaking the bank.
- You can customize the size and style to fit your space and taste.
- It’s a satisfying DIY project that gives you a sense of accomplishment.
- It’s durable and built to last, avoiding the need for frequent replacements.
Choosing the Right Wood and Materials
As of September 2026, Pine is a great option for beginners because it’s soft and easy to cut, drill, and sand. Birch is slightly harder but still manageable and offers a more refined look. I’ve found that using scrap wood from previous projects or purchasing leftover pieces from a local hardware store can significantly reduce the cost.
In addition to the wood, you’ll need a few other materials: wood screws, wood glue, a ruler or tape measure, a pencil, and sandpaper. I also recommend using a wood stain or paint if you want to customize the color of your utensil holder.[1]
For tools, a hand saw or circular saw will help you cut the wood, a drill will be needed for the holes. A screwdriver or power drill will be useful for assembling the pieces. I’ve built several of these using just a hand saw and a drill, and they’ve all turned out well.
Always check the wood for defects like knots or cracks before starting your project. These can weaken the structure and affect the final appearance.
Part of our Wooden utensil holders guide guide.
Measuring and Cutting the Wood
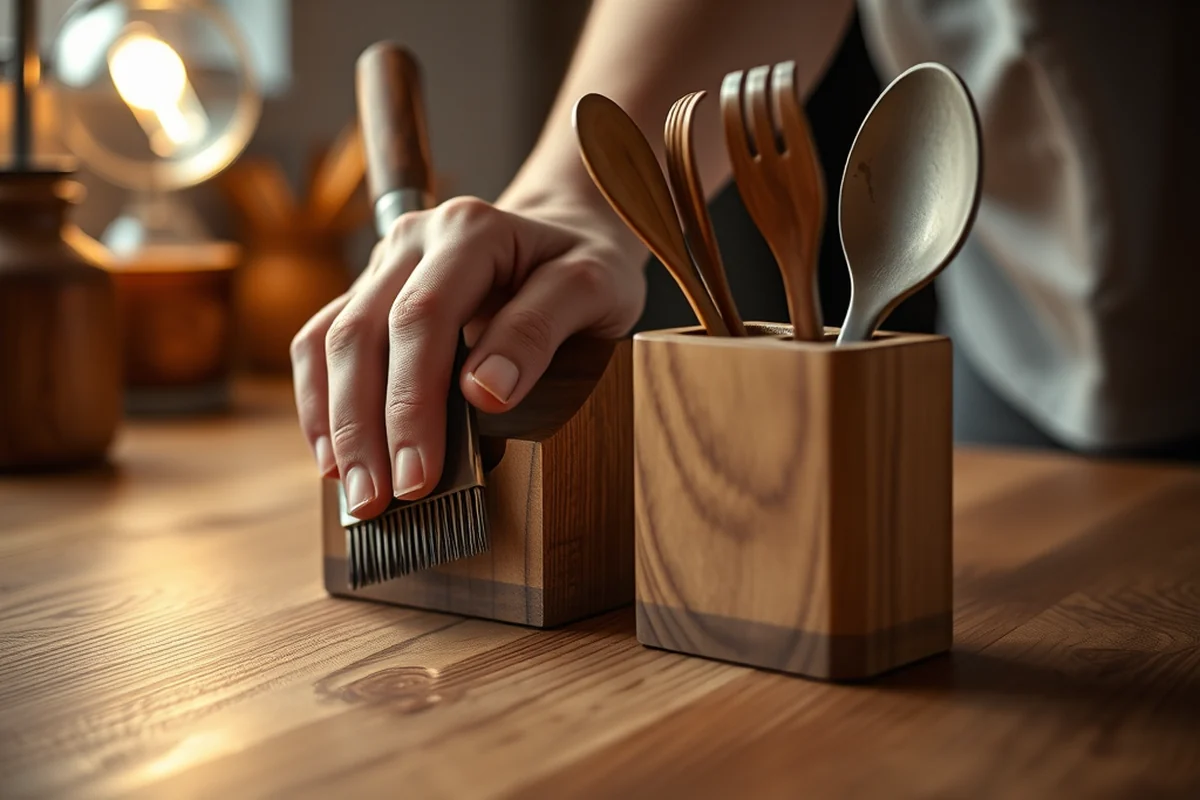
I start by measuring the height, width, and depth of the holder based on the number of utensils I want to store. For a standard holder, I’ve found that a height of 12 inches and a width of 10 inches works well. The depth can be around 4 inches to accommodate the handles of knives and other utensils.[2]
Using a ruler and pencil, I mark the dimensions on the wood and then use a saw to make the cuts. I always double-check my measurements before cutting to avoid mistakes. I’ve learned that a little extra time in the measuring stage can save a lot of time later on.
After cutting the pieces, I sand the edges to remove any rough spots or splinters. I use medium-grit sandpaper first and then finish with fine-grit for a smooth surface. This step is important for both safety and aesthetics.
Measure twice, cut once — it’s a rule I’ve never regretted following.
Related: Wood utensil holders vs
Related: Wooden utensil holders at home
Related: Top wooden utensil holders
Related: Wooden utensil holder
Related: Wooden utensil holders alternatives
Related: Cheap Wooden Utensil Designs
Assembling the Utensil Holder
I start by laying out the pieces and connecting them using wood screws and glue. I make sure the pieces are aligned properly and that the joints are tight. I’ve found that using wood glue in addition to screws helps reinforce the structure and makes the holder more durable.
I also use a small square to check the angles and ensure that the corners are square. This helps maintain the integrity of the design and makes the final product look more professional. I’ve noticed that even slight misalignments can make the holder look off, so it’s worth taking the time to get it right.
Once the pieces are assembled, I let the glue dry completely before moving on to the next step. I always follow the manufacturer’s instructions for drying times to ensure the best results. I’ve found that waiting a full day for the glue to dry gives the strongest bond.
Use a level or square tool to make sure your corners are perfectly aligned. This will help your holder look professional and feel sturdy.
“I remember the first time I decided to build my own utensil holder — it was after a long day at the workshop, and I…”— DIY Wooden Utensil Holders editors
Adding a Finish for Durability
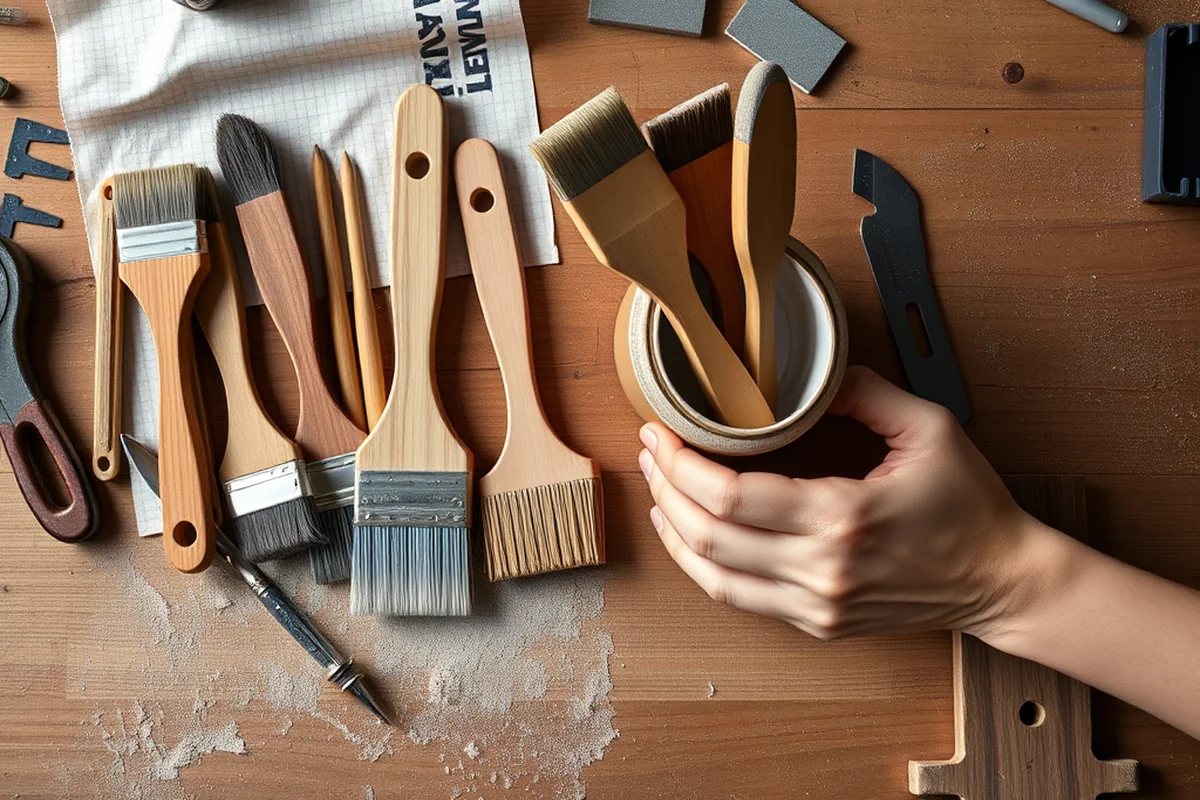
I recommend using a wood stain or paint to give your holder a finished look. I’ve used both oil-based and water-based stains, and both have worked well. I prefer oil-based stains because they tend to be more durable and offer a richer color.[3]
After applying the stain, I let it dry completely and then apply a clear wood sealant to protect the surface. I’ve used both spray and brush-on sealants, and both are effective. I apply two coats to ensure even coverage and maximum protection.
Once the sealant is dry, the holder is ready to be used. I’ve found that the finish not only improves the appearance but also makes the holder easier to clean and more resistant to moisture and dirt.
Mounting the Utensil Holder on the Wall
I use a level to mark the spots where I’ll be drilling the holes for the wall mounts. I’ve found that using a pencil to mark the spots first makes it easier to drill accurately. I always check the level before drilling to ensure the holder is straight.
After drilling the holes, I insert the wall anchors and screw in the mounting brackets. I’ve used both plastic and metal anchors, and both work well. I’ve found that metal anchors are more durable for heavier holders, but plastic anchors are sufficient for lightweight ones.
Once the brackets are in place, I attach the holder to the wall and adjust it until it’s level. I’ve noticed that taking the time to ensure it’s perfectly level makes a big difference in the final look and feel of the project.
Customizing Your Utensil Holder
I’ve experimented with different designs, like adding decorative inlays or painting the holder in bold colors. These additions make the holder not only functional but also a piece of art that reflects your personality.
I also recommend adding small details like engraved initials or a custom logo. These can be done using a laser engraver or even a simple pencil and ruler if you’re not using advanced tools. I’ve found that even small touches can make the holder feel more special.[4]
For a more rustic look, I’ve used wood stains with a weathered finish. This gives the holder an old, lived-in appearance that complements country or farmhouse-style kitchens. It’s a great way to add character to your project.
A little customization goes a long way — your utensil holder can be as unique as you are.
Troubleshooting Common Issues
One of the most common problems is uneven joints. I’ve found that using clamps to hold the pieces in place while the glue dries helps ensure the joints are even and tight. This is especially important for the corners to look clean and professional.
Another issue is the wood splitting during the drilling or cutting process. I’ve learned that using a sharp blade or bit can help prevent this. I also recommend pre-drilling holes before attaching the pieces to avoid splitting the wood.
If the finish doesn’t look even, I recommend applying a second coat after the first one has dried. This helps create a smoother and more uniform appearance. I’ve also found that using a brush instead of a spray can give better control over the finish.
💰 Budget Build
Use leftover wood and basic tools to create a functional holder at a minimal cost.
⏳ Weekend Version
A quick and easy build perfect for completing over a single weekend.
✨ Upgraded Finish
Add a high-quality stain and sealant for a more refined look.
🛋️ Small-Space Adaptation
Design a compact holder that fits well in tight kitchen spaces.
🏠 Rental-Safe Option
Create a temporary holder that can be easily removed without damaging walls.
| The mistake | Why it happens | The fix |
|---|---|---|
| Not measuring accurately before cutting. | Poor measurements can lead to mismatched pieces and a wobbly or unstable holder. | Use a ruler and pencil to mark the wood before cutting, and double-check your measurements. |
| Using dull tools. | Dull blades and bits can cause the wood to split or break, leading to uneven cuts and a weaker structure. | Always use sharp tools and replace them as needed for the best results. |
| Skipping the sanding step. | Rough edges can be uncomfortable to touch and may make the holder look unprofessional. | Sanding the edges with medium and fine-grit sandpaper ensures a smooth and safe finish. |
| Applying too much finish in one coat. | Too much finish can cause drips and an uneven appearance, which can be difficult to fix later. |
Cheap Wooden Utensil Holders
Common Questions
What wood is best for this project?
Can I build this without a drill?
How long does the entire project take?
Do I need to use wood glue?
References
- 'Noggins, 'the nicest work of all': traditional Irish wooden vessels for ... (academia.edu)
- Christmas gifts for the cook - AgriLife Today (agrilifetoday.tamu.edu)
- WAC 296-17A-3404: - Washington State Government (app.leg.wa.gov)
- James River State Park - DCR.virginia.gov (dcr.virginia.gov)
Cite this guide
DIY Wooden Utensil Holders (2026). Cheap Wooden Utensil Holders. https://makergrain.com/cheap-wooden-utensil-holders/
Feel free to cite or share this guide.