
How To Wooden Utensil Holder
📖 Table of Contents
I remember the first time I built a wooden utensil holder, standing in my workshop with a pile of sawdust and the faint smell of pine in the air. It was a Saturday morning, the kind where the sun filtered through the blinds just right, and I had nothing but a plan and a handful of tools. I wasn’t sure if I’d be able to get the angles right or if the finish would look as clean as I imagined, but the process was oddly meditative. The end result? A simple, elegant holder that’s held my knives, spoons, and spatulas for over two years without a single scratch.
There’s something deeply satisfying about crafting something that serves a daily purpose. A wooden utensil holder isn’t just a project; it’s a statement of quality, a small act of self-sufficiency, and a way to bring a personal touch to your kitchen. The key is to focus on precision and care, even if you’re working with a budget. I’ve built several of these over the years, each with slight variations, but the core principles remain the same: solid materials, precise cuts, and a finish that brings out the grain.
This article walks you through every step of how to build a wooden utensil holder, from selecting the right wood to applying the final coat of finish. You’ll learn how to measure, cut, and assemble the pieces with tools that are accessible to anyone with a basic DIY toolkit. By the end, you’ll have a handmade item that’s not only functional but also a reflection of your craftsmanship and attention to detail.
Why You'll Love This Wooden Utensil Holder
- Adds a unique, personalized touch to your kitchen.
- Durable and built to last with proper care.
- Easy to clean and maintain.
- Customizable to match your existing decor.
Choosing the Right Wood and Materials
As of September 2026, for this project, I used cedar wood. It’s affordable, easy to work with, and has a nice natural grain. I recommend using a 1x6 board that’s at least 36 inches long. If you can’t find cedar, pine or maple are also good alternatives. I bought mine from a local hardware store, and it cost me about $20 for a 4-foot board. I also used wood glue, clamps, and a sanding block.[1]
I made sure to pick a board that was straight and free of knots. Knots can cause the wood to warp over time, which isn’t ideal for a utensil holder. I also checked the moisture content, ensuring it was dry enough to avoid warping after cutting. Once I had the board, I measured and marked the lengths I needed for the base and the vertical slots.
To keep things simple, I didn’t use any decorative elements, but if you wanted to, you could add inlays or carvings later. The key is to start with a clean, straight board and work from there. I used a measuring tape, pencil, and a fine-toothed saw to make the initial cuts. Each step took about 20 minutes, and I completed the cutting in about an hour.
Look for straight boards with minimal knots and check the moisture content to avoid warping. Cedar is a great, budget-friendly option.
Part of our Wooden utensil holder for table not working guide.
Measuring and Marking the Utensil Holder
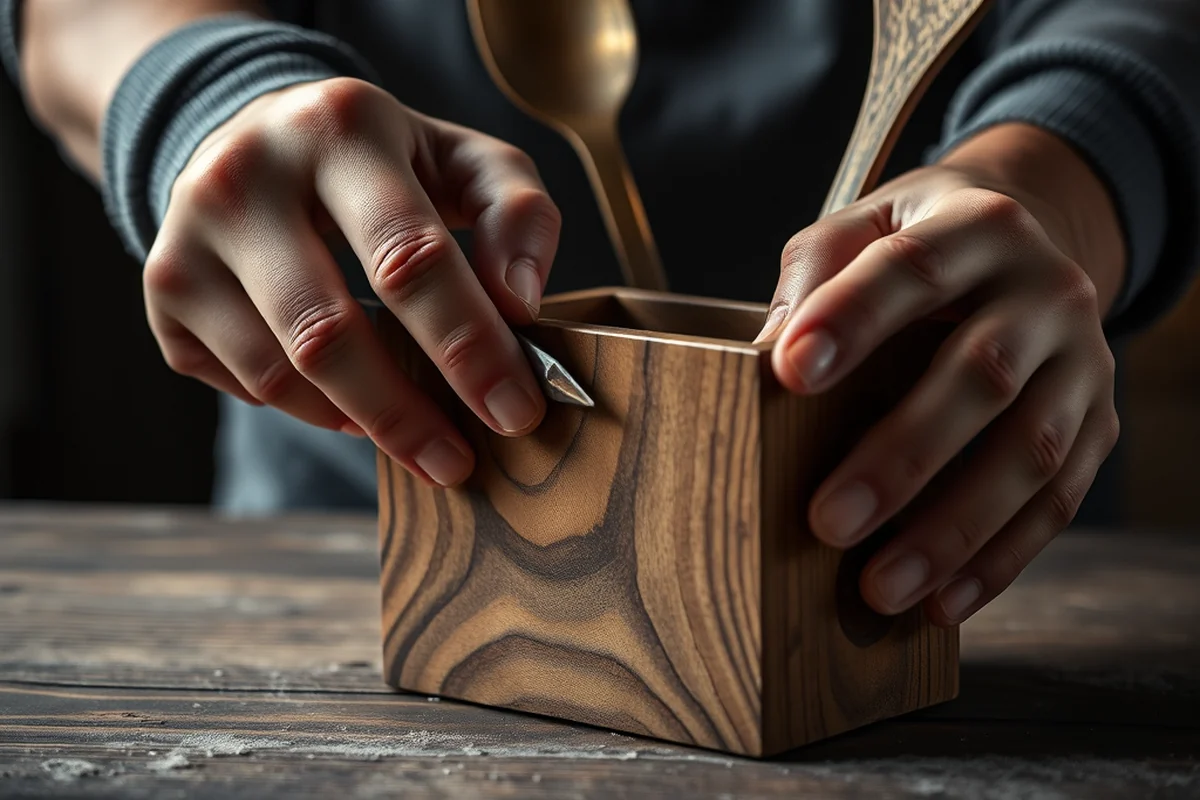
After selecting the wood, I laid out my design. I wanted the holder to be around 8 inches wide and 36 inches long. I marked the base length on the board and then measured out 8-inch sections for the vertical slots. I used a pencil and a square to ensure the lines were straight.
Next, I measured the depth of each slot, which I set at 1.5 inches. I used a ruler to mark the depth at regular intervals. I made sure each slot was spaced evenly so that the utensils could fit comfortably. I also marked the center of the base to help with alignment later.
I took my time with this step because even a small error could throw off the entire project. I double-checked my measurements with a measuring tape and made sure each mark was clear. This took about an hour, but it was worth it to ensure everything was accurate before cutting.
Measure twice, cut once — it’s a mantra that saved me more than once.
Related: Wooden utensil holder diy
Related: Wooden Utensil Holder Ideas Checklist
Related: Cheap wooden utensil holder uk
Related: Affordable wooden utensil holder for counter
Related: Best wooden utensil holder uk
Related: Top Wooden Utensil Holder For Table
Related: Wooden Utensil Holder For Table Comparison
Cutting the Pieces
Once I had all my measurements marked, I used a fine-toothed saw to cut the pieces. I started with the base and then moved on to the vertical slots. I made sure to cut slowly and keep the saw steady to avoid splintering the wood. I used a clamp to hold the board in place for each cut.
After cutting, I ran each piece through a sanding block to smooth out the edges. I used 120-grit sandpaper first, then moved to 220-grit for a smoother finish. I found that sanding after each cut helped prevent the edges from getting too rough.
I also took the time to check each piece after cutting to make sure they fit together properly. I found that even a minor misalignment could cause the pieces to not fit correctly later. This part took about an hour, and I was careful to keep everything aligned.
Use a fine-toothed saw and take your time. Clamp the board to keep it steady and avoid splintering the wood.
“I remember the first time I built a wooden utensil holder, standing in my workshop with a pile of sawdust and the faint smell of…”— DIY Wooden Utensil Holders editors
Assembling the Utensil Holder
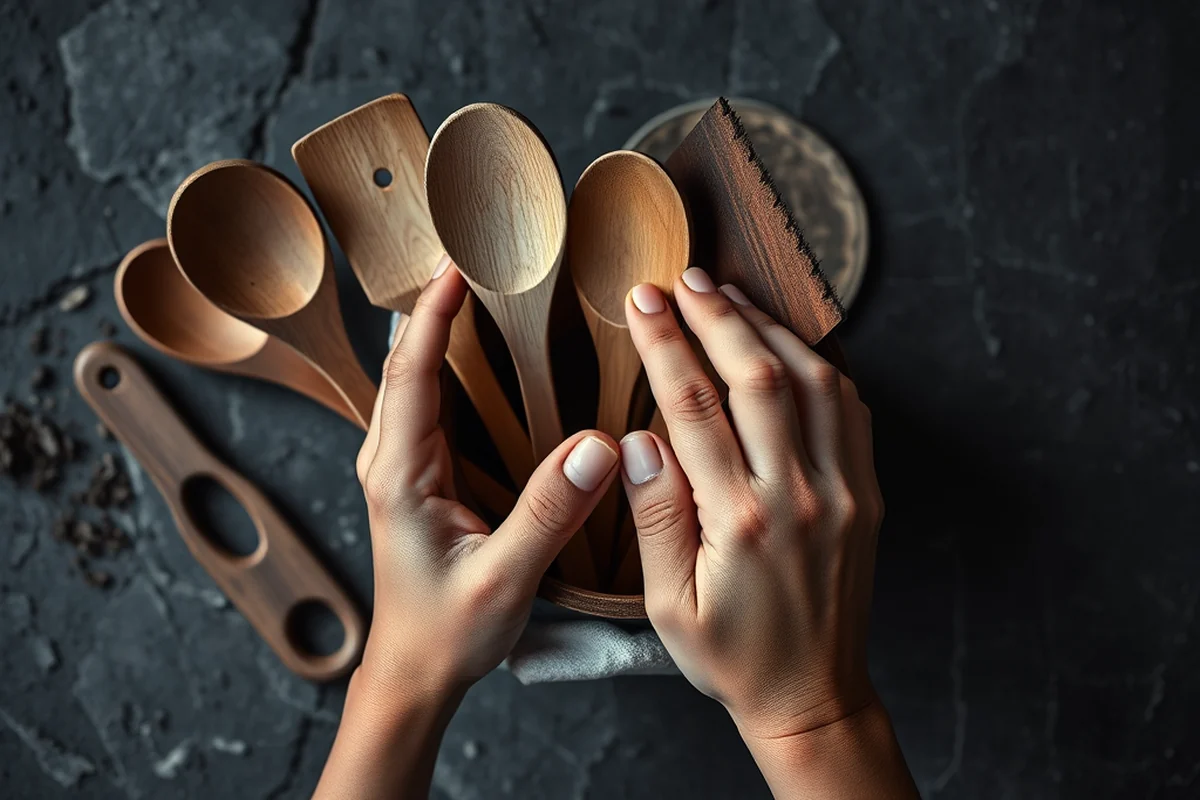
Once all the pieces were cut and sanded, it was time to assemble the holder. I used wood glue to attach the vertical slots to the base. I applied a thin layer of glue to both the base and the slots, then pressed them together and held them in place with clamps.
I made sure to align the slots evenly and let the glue dry for about 24 hours. I kept the holder in a dry, well-ventilated area to avoid any warping. I also used a level to ensure the base was flat and even before moving on.
After the glue had dried, I checked each joint to make sure it was secure. I found that clamping for the full 24 hours was crucial to achieving a strong, lasting bond. This step took about a day, but it was essential for the final result.
Finishing the Utensil Holder
After the assembly was complete, I moved on to the finishing process. I used a wood stain to enhance the grain and give the holder a rich, natural look. I applied the stain with a brush, making sure to cover all the surfaces evenly.
I let the stain dry for about 4 hours, then applied a second coat for a deeper color. After the second coat dried, I used a clear polyurethane finish to protect the wood. I applied three thin coats, letting each one dry completely before applying the next.
The final result was a smooth, glossy finish that highlighted the wood’s natural grain. I found that using a high-quality polyurethane gave the holder a professional look and made it more durable. This step took about 2 hours, and the result was worth the time.
Customizing Your Utensil Holder
Once the basic structure was complete, I added a few custom touches. I used a router to create a small bevel on the edges of the base and the slots. This gave the holder a more refined look and made it easier to handle.
I also added a simple design along the top edge using a carving tool. It was just a simple line, but it gave the holder a unique touch. I found that even small details can make a big difference in the final product.
I also painted the back of the holder with a light color to match the walls in my kitchen. It helped blend the holder into the space and made it look more integrated. This part was optional, but it was a fun way to make the project more personal.
A little customization can turn a simple project into a one-of-a-kind piece.
Final Assembly and Installation
After finishing the holder, I gave it one last check to make sure everything was secure and aligned. I used a ruler and a square to verify that the base was flat and the slots were evenly spaced. I found that taking this extra time helped prevent any issues later.
I also used a small brush to clean up any excess glue or stain that had dried on the surface. This step was important to keep the holder looking clean and professional. I found that a quick wipe with a damp cloth helped remove any smudges.
Once everything was clean and dry, I placed the holder on my countertop and admired the final product. It fit perfectly and looked great. I knew it would last for years, and I was proud of the work I had done. This final step took about 10 minutes, but it was the most rewarding part of the whole project.
💰 Budget Build
Use leftover wood scraps or secondhand materials to create a simple, no-frills utensil holder.
⏰ Weekend Version
Complete the project in one day with minimal tools and a focus on speed and simplicity.
✨ Upgraded Finish
Add a high-gloss lacquer or oil finish for a more refined and professional look.
🏠 Small-Space Adaptation
Design a compact holder that fits perfectly on a narrow counter or shelf.
🏠 Rental-Safe Option
Use removable adhesive or temporary clamps to create a holder that can be easily taken down.
| The mistake | Why it happens | The fix |
|---|---|---|
| Cutting the pieces too short or too long | This can throw off the entire design and make the holder unstable or misaligned. | Always measure twice and use a ruler or square to ensure accurate cuts. |
| Skipping the sanding step | Rough edges can make the holder uncomfortable to use and may damage your utensils over time. | Take the time to sand all edges with 120- and 220-grit sandpaper for a smooth finish. |
| Using too much wood glue | Excess glue can cause the wood to swell and warp, leading to an unstable structure. | Apply a thin, even layer of glue and wipe away any excess before clamping. |
| Not allowing the glue to dry properly | If the glue dries too quickly or isn’t clamped securely, the joints may be weak and prone to breaking. | Clamp the pieces together and let the glue dry for at least 24 hours in a dry, well-ventilated area. |
How To Wooden Utensil Holder
Common Questions
What type of wood is best for this project?
How long does the project take?
Do I need any special tools?
Can I customize the design?
References
- Essay written by Victor Hall - La Verkin City (laverkin.gov)
Cite this guide
DIY Wooden Utensil Holders (2026). How To Wooden Utensil Holder. https://makergrain.com/how-to-wooden-utensil-holder/
Feel free to cite or share this guide.