
Wooden Utensil Holder Diy
📖 Table of Contents
I remember the first time I built a wooden utensil holder for my kitchen. It wasn’t just a functional addition to my countertop — it was a small but meaningful way to bring a touch of warmth and craftsmanship into my daily routine. The process was straightforward, but the result was something I’d use every day, and it still stands proudly in my kitchen more than five years later. A wooden utensil holder DIY is a project that feels both rewarding and practical, and I’m here to walk you through every step.
When I first started looking into DIY projects, I was overwhelmed by the sheer number of options. But the wooden utensil holder stood out as a simple, elegant project that didn’t require advanced tools or a lot of time. It’s perfect for beginners who want to dip their toes into woodworking without getting too deep too fast. And the best part? Once it’s built, it doesn’t just hold your utensils — it holds a sense of pride in your own hands.
This wooden utensil holder DIY project is more than just a way to keep your kitchen organized. It’s a chance to create something that reflects your personality and style, using materials that are both durable and beautiful. Whether you’re a seasoned woodworker or a complete beginner, this project is a great way to get started, and I’m here to guide you through every step with clarity and confidence.
Why You'll Love This Wooden Utensil Holder DIY
- Adds a personal, handmade touch to your kitchen decor
- Provides a durable and organized storage solution for utensils
- Encourages a sense of accomplishment and creativity
- Can be customized to match your kitchen’s style and color scheme
Choosing the Right Wood and Materials
As of September 2026, when I started this project, I went with maple because it’s a hardwood that polishes well and holds up to daily use. I bought a 2x4 board and a 1x6 board from the local hardware store, which gave me enough material for the base and the slots for the utensils. I also picked up a few sanding blocks and clamps — the essentials for this project.
The cost was around $40, which included the wood, screws, and a few other small items like wood glue and a finish. I made sure to choose wood that was straight and free of knots to avoid any issues during the cutting or shaping process. If I had chosen a softer wood like pine, I might have needed to reinforce it with extra support, which would have added both time and cost.[1]
Choosing the right tools is just as important as the wood. I used a miter saw for precise cuts and a hand drill for attaching the base to the slots. If you don’t have access to a miter saw, a circular saw or even a hand saw can work if you're careful. The key is to take your time and make clean cuts for a finished look.
Hardwoods like maple and oak are ideal because they’re durable and resistant to warping. Avoid softwoods unless you plan to reinforce them with additional bracing.
Part of our Wooden utensil holder for table not working guide.
Measuring and Cutting the Wood
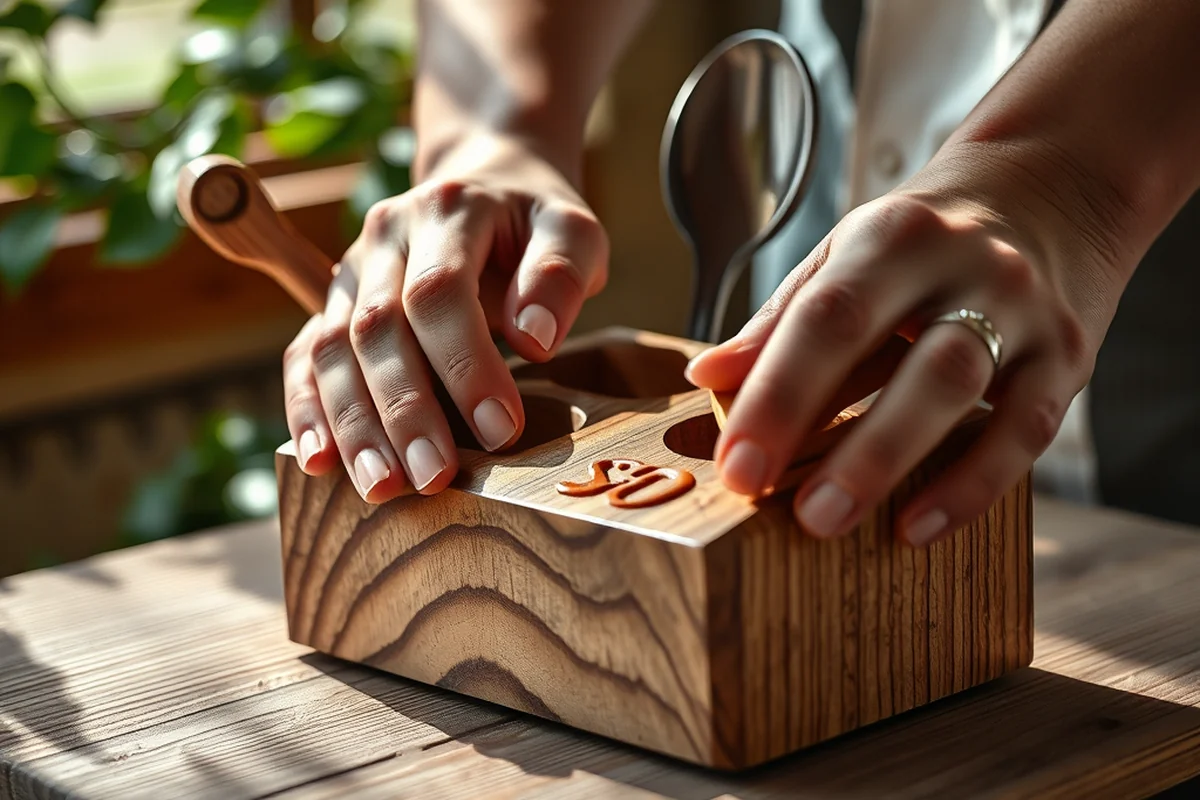
I started by measuring the base, which I wanted to be about 12 inches wide and 6 inches deep. I marked the dimensions on the 2x4 board and used my miter saw to cut it to size. I repeated this for the vertical slots that would hold the utensils, making sure they were evenly spaced and aligned.[2]
I used a ruler and a square to ensure that all my cuts were straight and square. I found that using a pencil to mark the measurements before cutting helped me avoid mistakes and made the process much smoother. If I had skipped this step, I might have ended up with misaligned slots and a less stable structure.
After cutting, I ran each piece through the sanding blocks to remove any rough edges. Sanding not only makes the wood easier to work with but also ensures that the final product looks smooth and professional. I sanded each piece twice — once with 120-grit sandpaper and again with 220-grit — to get a nice, even finish.[3]
Precision in cutting ensures a sturdy and professional-looking utensil holder.
Related: How to wooden utensil holder
Related: Cheap wooden utensil holder uk
Related: Affordable wooden utensil holder for counter
Related: Best wooden utensil holder uk
Related: Best wooden utensil holder for drawer
Related: Best Wooden Utensil Holder Diy
Related: Wooden Utensil Holder Ideas Checklist
Related: Affordable Wooden Utensil Holder Uk
Assembling the Utensil Holder
I started by attaching the vertical slots to the base using wood glue and screws. I used a clamp to hold each slot in place while the glue dried, which took about 15 minutes. I made sure to align the slots evenly and spaced them about 3 inches apart to accommodate different utensils.[4]
Once all the slots were attached, I checked the structure for stability. I gently pushed on the sides to see if it felt secure. If I had skipped the clamping step, the glue might not have set properly, and the slots could have shifted out of place. Clamping is a small step that makes a big difference in the final result.
After assembling, I sanded the entire structure again to ensure that all the joints were smooth and there were no splinters. This step is crucial because rough edges can be uncomfortable to touch and can compromise the overall look of your utensil holder.
Clamping each piece while the glue dries ensures that everything stays in place and aligned, resulting in a more professional and stable structure.
“I remember the first time I built a wooden utensil holder for my kitchen.”— DIY Wooden Utensil Holders editors
Finishing the Utensil Holder
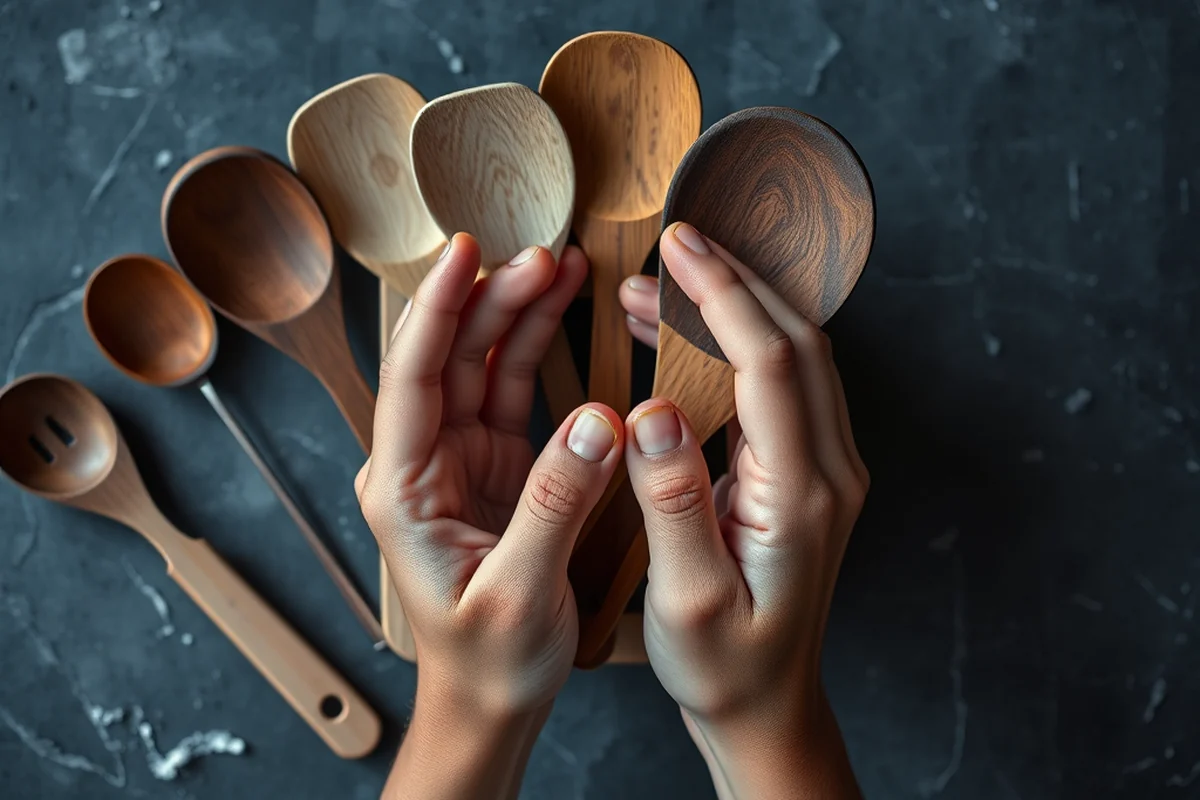
I decided to go with a natural wood stain to bring out the grain in the maple. I applied the first coat with a brush, making sure to cover all the surfaces evenly. I let it dry for a few hours before applying a second coat for a more even finish.
After the stain was dry, I used a clear wood sealer to protect the surface and make it more resistant to moisture. I applied two thin coats of sealer, letting each one dry completely before applying the next. This step is especially important if you plan to use the utensil holder near a sink or in a humid area.
Once the sealer was dry, I wiped down the entire structure with a clean cloth to remove any dust or residue. The final result was a beautiful, finished utensil holder that looked great in my kitchen and was ready to use.
Adding a Custom Touch
I wanted to add a small engraving of my initials on the back of the utensil holder to make it truly one of a kind. I used a small engraving tool and carefully carved the letters into the wood. It took a bit of time, but it was worth it for the personal touch.
If you don’t have an engraving tool, you can use a stencil and paint to add a custom design. I found that using a fine brush and a small amount of paint gave a clean and professional look. This step is optional but a great way to add some personality to your project.
I also considered adding a decorative border to the base using a different color of stain. This would have given the utensil holder a more distinct look, especially if I wanted it to match a specific kitchen theme. However, I stuck with the natural finish for a more minimalist appearance.
Mounting and Using the Utensil Holder
I attached the utensil holder to the wall using a few screws and a small bracket. This helped keep it secure and made it easier to access the utensils. I made sure to use the right size screws and anchors to avoid damaging the wall or the wood.
If you're not mounting it on the wall, placing it on a countertop or shelf is also a great option. I tested both methods and found that mounting it on the wall saved counter space and kept the utensils organized. However, if I had chosen a countertop placement, I would have needed to ensure that the surface was stable and level.
After mounting, I placed my favorite utensils into the slots and made sure they fit snugly. I found that adjusting the spacing slightly helped accommodate different sizes of utensils. This was a small but important detail that improved the overall functionality of the holder.
A well-mounted utensil holder keeps your kitchen organized and your tools within reach.
Tips for Maintaining Your Utensil Holder
I made a point to clean the utensil holder regularly with a damp cloth to avoid any buildup of dust or residue. If the wood ever started to look dull, I would apply a fresh coat of sealer to restore its sheen and protect it from moisture.
I also made sure not to place the utensil holder in an area with high humidity, like near the stove or in a bathroom. This helped prevent warping or cracking over time. If I had placed it in a high-moisture area, I might have had to apply a more water-resistant finish.
Occasionally, I would check the screws and clamps to ensure everything was still secure, especially after moving or cleaning. This small maintenance step helped keep the structure stable and prevent any unexpected issues down the line.
💰 Budget Build
Use cheaper wood like pine and skip the finish for a simple, no-frills utensil holder that still looks great.
⏳ Weekend Version
Build your utensil holder in a single day with pre-cut wood and minimal sanding for a quick but satisfying project.
✨ Upgraded Finish
Apply a decorative paint or stain and add inlays for a more stylish and customized utensil holder.
🏠 Small-Space Adaptation
Create a compact version of the utensil holder for smaller kitchens or use it on a narrow shelf.
🚪 Rental-Safe Option
Use a temporary adhesive or avoid drilling holes to make the utensil holder portable and rental-friendly.
| The mistake | Why it happens | The fix |
|---|---|---|
| Skipping the sanding step | Skipping sanding can lead to splinters and an uneven finish, which can make the utensil holder less comfortable and less attractive. | Always sand each piece thoroughly before assembling and finishing the project. |
| Using the wrong type of wood | Using a softer wood without reinforcement can cause the structure to become unstable over time, especially with regular use. | Choose a hardwood like maple or oak for better durability, or reinforce softer wood with additional bracing. |
| Not securing the slots properly | If the slots aren’t securely attached to the base, the utensil holder may become wobbly or fall apart over time. | Use wood glue and screws, and clamp each piece while the glue dries to ensure a strong bond. |
| Overlooking the finish | Failing to apply a finish can cause the wood to warp or crack, especially in high-moisture areas like near a sink or stove. | Always apply a wood sealer or stain to protect the wood and enhance its durability. |
Wooden Utensil Holder Diy
Common Questions
Do I need any special tools to build this utensil holder?
Can I use softwood like pine for this project?
How long does it take to build this project?
Is this project suitable for beginners?
References
- ATCP 70.16 - Wisconsin Legislative Documents (docs.legis.wisconsin.gov)
- Do Something Fantastic, Cut the Plastic: A Plastic Free July Event (longmontcolorado.gov)
- A Step-Saving Kitchen · Kitchen and Farmhouse Design Plans (nal.usda.gov)
- Fire Prevention 52: Keeping Safe in the Kitchen (nps.gov)
Cite this guide
DIY Wooden Utensil Holders (2026). Wooden Utensil Holder Diy. https://makergrain.com/wooden-utensil-holder-diy/
Feel free to cite or share this guide.