
Coffee And Mug Holder
📖 Table of Contents
I remember the first time I walked into a friend's kitchen and saw their custom-built coffee and mug holder. It was a simple, rustic piece of wood mounted on the wall, yet it felt like a piece of art. It held five mugs neatly, with a small compartment for a coffee maker, and a tiny drawer for sugar and creamer. It wasn’t just functional—it brought warmth to the room. That’s when I realized the power of a well-crafted coffee and mug holder. It’s more than just storage; it’s a statement. Whether you’re an early riser who sips coffee at dawn or someone who works late into the night, having a designated spot for your mugs and coffee essentials can change your daily routine for the better.[4]
Building your own coffee and mug holder is a surprisingly straightforward DIY project that doesn’t require a lot of tools or time. I’ve done it myself in a single weekend, using just a few basic materials and some simple woodworking techniques. The result? A sturdy, personalized piece of furniture that looks great in any home. Plus, it’s a great way to repurpose old wood or leftover materials from other projects. I’ve found that the most rewarding part of this project isn’t just the final product, but the process of creating something that’s uniquely yours.
A coffee and mug holder can also be a great gift for someone who loves coffee as much as you do. I once gave one to my brother, and he still uses it every day. It’s a small, thoughtful gesture that shows you care. Whether you’re building it for yourself, your partner, or a friend, the result is a functional and beautiful addition to any kitchen or living space. It’s a project that’s easy to customize, and the possibilities are endless—whether you prefer a minimalist design or something more ornate, there’s a version that will suit your style.
Why You'll Love This Coffee and Mug Holder
- It adds a personalized, handmade touch to your home decor.
- It keeps your coffee and mugs organized and within reach.
- It’s a great way to repurpose old wood or leftover materials.
- It’s a quick, affordable, and rewarding DIY project.
Choosing the Right Materials
As of September 2026, I used a 2x4 board for the main frame and 1x4 boards for the shelves. The wood should be cut to your desired dimensions—mine were 18 inches tall and 30 inches wide. I sanded each piece thoroughly to remove any splinters or rough edges before assembling. Using a clamp and a wood glue, I attached the shelves to the frame, making sure they were level and evenly spaced.[1]
I chose a natural finish to keep the wood’s grain visible, but if you prefer, you can paint it or stain it to match your kitchen decor. I used a wood stain that I had left over from a previous project, which gave the holder a warm, rustic look. I applied two coats of polyurethane for added protection against moisture and wear.
For the drawer or compartment that holds your sugar, creamer, or coffee pods, I used a small wooden box I found at a secondhand store. It added a nice touch of variety and saved me from having to build an extra piece. I secured it to the base with screws and wood glue to ensure it stayed in place.
If you have leftover wood from other projects, use it for your coffee and mug holder. Not only is it cost-effective, but it also gives your project a unique, personalized feel. I used a piece of old furniture I had stripped down, which gave the holder a vintage look.
Part of our Top wooden kitchen utensils and holder guide.
Measuring and Cutting the Wood
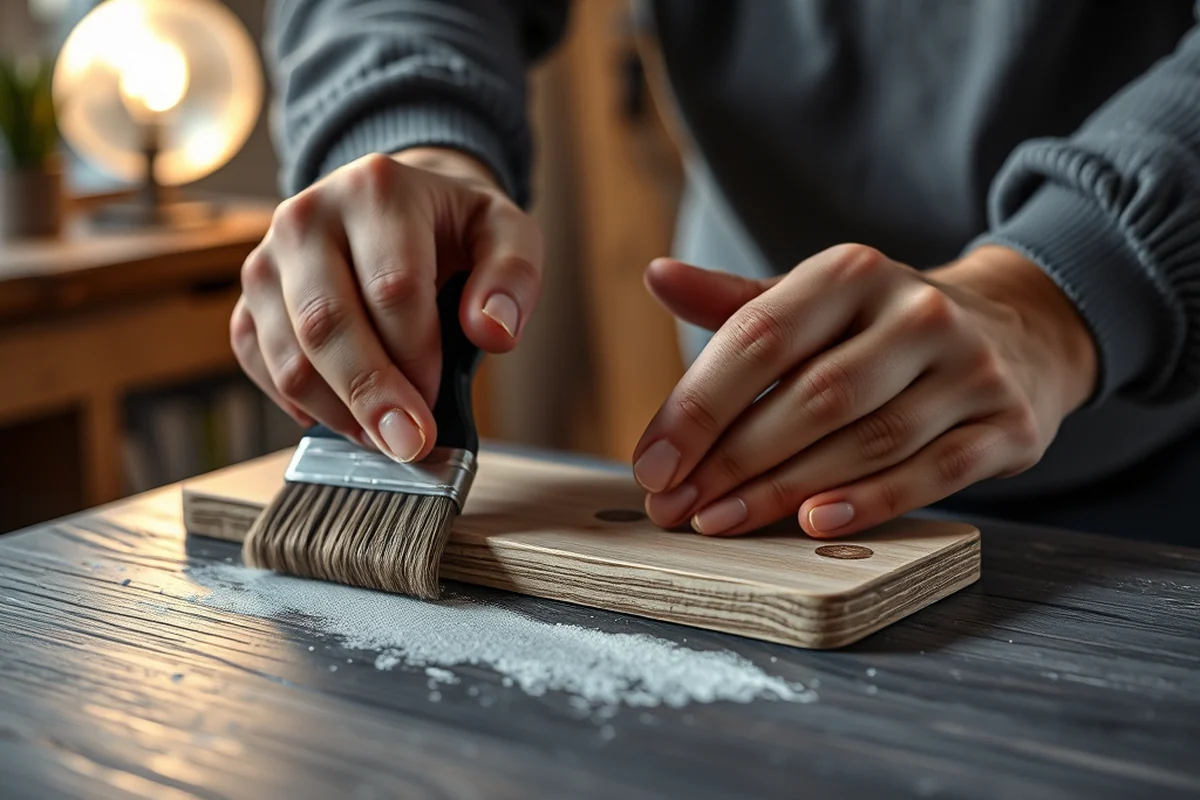
I laid out my measurements on the wood using a pencil and a ruler. For the main frame, I cut two pieces of 2x4 wood at 30 inches in length and two at 18 inches in height. I used a miter saw for straight cuts and a jigsaw for any curved or angled pieces. After cutting, I used a sanding block to smooth out any rough edges.[2]
I double-checked the dimensions with a tape measure before assembling the frame. If the pieces didn’t fit together perfectly, I made small adjustments by sanding or trimming. I found that taking the time to measure carefully made the assembly process much smoother and more efficient.
Once the pieces were cut and sanded, I stacked them in order of assembly and labeled them with small markers. This helped me keep track of which piece was which during the building process. I stored them in a dry place until I was ready to start assembly.
Measure twice, cut once—this old adage saved me from a lot of headaches.
Related: How to wooden utensil and holder
Related: What is silicone kitchen utensils
Related: What is kitchen utensils and equipment
Related: Affordable wooden kitchen utensils with holder
Related: What Is Wine Holder
Assembling the Frame
I laid out the two 30-inch pieces of 2x4 wood on a flat surface and used wood glue to attach the 18-inch pieces at the ends to form a rectangle. I used clamps to hold the pieces in place while the glue dried. I made sure that the corners were square and the frame was even on all sides.[3]
Once the frame was assembled, I attached the shelves. I spaced them evenly, about 4 inches apart, to hold a variety of mug sizes. I used wood glue and screws for added stability. I found that using screws in addition to glue provided a more secure hold, especially for the heavier shelves.
I let the glue dry completely before moving on to the next step. This gave the frame time to set and ensured that the pieces were firmly attached. Once the glue was dry, I checked each joint for stability and made any necessary adjustments.
While wood glue is sufficient on its own, adding screws can provide extra stability, especially for the shelves that will hold heavier mugs. I used small screws that I had left over from a previous project, which made the assembly process quicker and easier.
“I remember the first time I walked into a friend's kitchen and saw their custom-built coffee and mug holder.”— DIY Wooden Utensil Holders editors
Related: What is a cutlery holder
Adding the Drawer or Compartment

I found a small wooden box that fit perfectly behind the main frame. I used a few pieces of scrap wood to create a backing that would hold the box in place. I attached the backing to the frame with screws and wood glue, making sure it was level and secure.
I placed the box inside the backing and adjusted the position so that it was centered and aligned with the frame. I used a small amount of wood glue to hold the box in place temporarily while I attached the backing. Once the glue dried, I added some decorative trim to the back of the box for a finished look.
I made sure that the drawer or compartment was easily accessible and didn’t interfere with the placement of mugs or the overall design of the holder. It’s a great addition that adds both functionality and style to the project.
Finishing the Holder
I applied a wood stain that I had leftover from a previous project. I used a brush to apply the stain evenly, making sure to cover all surfaces. I let it dry completely before applying a second coat for a deeper color.
After the stain had dried, I applied two coats of polyurethane to protect the wood from moisture and wear. I used a brush for the first coat and a cloth for the second, making sure to wipe away any excess and avoid streaks or bubbles.
Once the polyurethane had dried, I inspected the holder for any imperfections or rough spots. I sanded it lightly with fine-grit sandpaper and then applied a final coat of polyurethane for added shine. The finished product looked great and felt sturdy to the touch.
Mounting the Holder on the Wall
I used a level to make sure the holder was perfectly aligned on the wall. I marked the spots where the screws would go and drilled pilot holes into the wall for added stability. I used wall anchors to ensure that the screws were secure, especially if the wall was made of drywall.
I attached the holder to the wall using screws and a screwdriver. I made sure that the frame was level and the edges were flush with the wall. I used a small amount of wood glue to hold the frame in place while the screws were being tightened.
I tested the holder by placing a few mugs on the shelves and checking for any wobbling or instability. Once I was satisfied with the fit, I added a final coat of polyurethane to protect the wood and give it a finished look.
A level holder is key—this step ensures that your project looks professional and lasts for years.
Customizing Your Holder
I added a few decorative pieces to the frame, including a small wooden handle on the drawer and some carved details on the shelves. I used a router to create a small groove along the edges of the frame, which gave it a more finished look.
I also added a small shelf on the front of the holder to display my favorite mugs or decorative items. I used a few small screws to attach the shelf and made sure it was level with the rest of the frame.
I painted the trim in a darker color to make the holder stand out more. I used a small brush to apply the paint evenly and let it dry completely before adding a second coat. The finished product looked great and felt like a real piece of furniture.
💰 Budget Build
Use scrap wood and avoid costly finishes to create a simple, functional coffee and mug holder without breaking the bank.
⏰ Weekend Version
Finish the project in a single day by skipping some of the finer details and focusing on the essentials.
✨ Upgraded Finish
Add decorative elements like carved details or a custom paint job for a more ornate and polished look.
🏠 Small-Space Adaptation
Create a compact version of the holder that fits perfectly on a small kitchen counter or in a narrow hallway.
🔒 Rental-Safe Option
Build a temporary holder using removable materials like adhesive hooks or lightweight wood that can be easily taken down when needed.
| The mistake | Why it happens | The fix |
|---|---|---|
| Not measuring the wood accurately before cutting. | This can lead to uneven joints and a poorly constructed frame. | Measure twice and cut once to avoid mistakes and ensure a smooth assembly. |
| Skipping the sanding step after cutting the wood. | Rough edges can cause splinters and make the project less comfortable to use. | Always sand the wood thoroughly after cutting to remove any splinters or rough spots. |
| Using too much wood glue when assembling the frame. | Excess glue can create a messy look and make the frame feel less stable. | Apply wood glue sparingly and let it dry completely before adding screws for added stability. |
| Not securing the drawer or compartment properly. | A loose drawer or compartment can fall out or become unstable over time. | Use screws and wood glue to secure the drawer or compartment to the frame for a more stable hold. |
Coffee And Mug Holder
Common Questions
What tools do I need to build a coffee and mug holder?
Can I build this project if I have no woodworking experience?
How long does it take to build a coffee and mug holder?
What type of wood should I use for the project?
Cite this guide
DIY Wooden Utensil Holders (2026). Coffee And Mug Holder. https://makergrain.com/coffee-and-mug-holder/
Feel free to cite or share this guide.
References
- Research - UC Davis Coffee Center (coffeecenter.ucdavis.edu)
- Coffee's Impact on Health and Well-Being - PMC (pmc.ncbi.nlm.nih.gov)
- Associations of habitual coffee intake with testosterone and ... (link.springer.com)
- Habitual coffee intake shapes the gut microbiome and modifies host ... (nature.com)