
How To Wooden Utensil And Holder
📖 Table of Contents
- Choosing the Right Wood and Materials
- Cutting and Assembling the Frame
- Adding Shelves and Customizing the Design
- Finishing Touches and Applying the Finish
- Mounting and Installing the Holder
- Tips for Longevity and Maintenance
- Customizing the Design for Different Spaces
- Make It Your Way
- Frequently Asked Questions
There’s something oddly satisfying about the click of a hammer hitting a nail, the scent of freshly cut wood. The way a piece of furniture comes together over the course of a weekend. For me, building a wooden utensil holder was one of those moments when DIY went from a hobby to a habit. It started with a simple need: I wanted a place to keep my spatula, tongs, and ladle organized, and I didn’t want to spend $50 on a store-bought version. So, I grabbed some scrap wood, a few tools, and got to work. The result was a functional, beautiful holder that I still use every day.
I still remember the first time I completed the project. It wasn’t perfect—there were a few wobbles in the joints and I had to sand down a few edges—but it worked. More than that, it felt personal. Every scratch, every cut, and every finish was a reflection of my own hand. That’s the magic of building something by hand. It’s not just about utility; it’s about creating something that feels uniquely yours. If you’re looking for a way to bring a bit of handmade charm into your kitchen or workshop, a wooden utensil holder is a great place to start.
The process of building this holder was surprisingly straightforward, and I was shocked by how few tools I really needed. With the right materials and a bit of patience, even a beginner can pull this off. The real beauty of the project lies in the details: the way the wood feels in your hands, the sound it makes when you hammer the nails. The satisfaction of seeing your creation take shape. If you’re ready to trade store-bought for handcrafted, read on. I’ll walk you through every step and share the tips that made this project a success.
Why You'll Love This Handmade Utensil Holder
- It adds a personal, rustic touch to your kitchen or workshop
- It’s far more durable than most store-bought alternatives
- It’s a great way to repurpose scrap wood and avoid waste
- It’s a satisfying project that gives you a sense of accomplishment
Choosing the Right Wood and Materials
As of September 2026, I chose oak because it’s strong, holds screws well, and has a warm, natural look. You can also go with maple, birch, or even a budget-friendly MDF board if you're looking to save costs. I recommend looking for wood that’s already been sanded and is free of knots for a smoother finish. If you can’t find pre-cut wood, a local hardware store or lumber yard should be able to help with that.
For the materials, I used a 1x6 board (roughly 3.5 inches thick) for the main body of the holder, a 1x2 board for the shelves, and 1x4 boards for the vertical supports. I also used wood screws, wood glue, and wood filler for any imperfections. The total cost was around $40, which included the wood, screws, and some sanding tools.
I found that using a wood that’s already been treated or sanded makes the project much easier. You don’t have to worry about knots or rough edges, and you can focus on assembling the structure and adding the finish. If you can’t find pre-treated wood, look for scrap pieces from a local store or online marketplace. It’s a great way to save money and reduce waste.
If you don’t have access to a miter saw, a hand saw with a fine blade will work just as well. I used a combination square and a marking knife to make sure my cuts were straight and accurate. This helped me avoid any wobbly joints later on.
Part of our Top wooden kitchen utensils and holder guide.
Cutting and Assembling the Frame
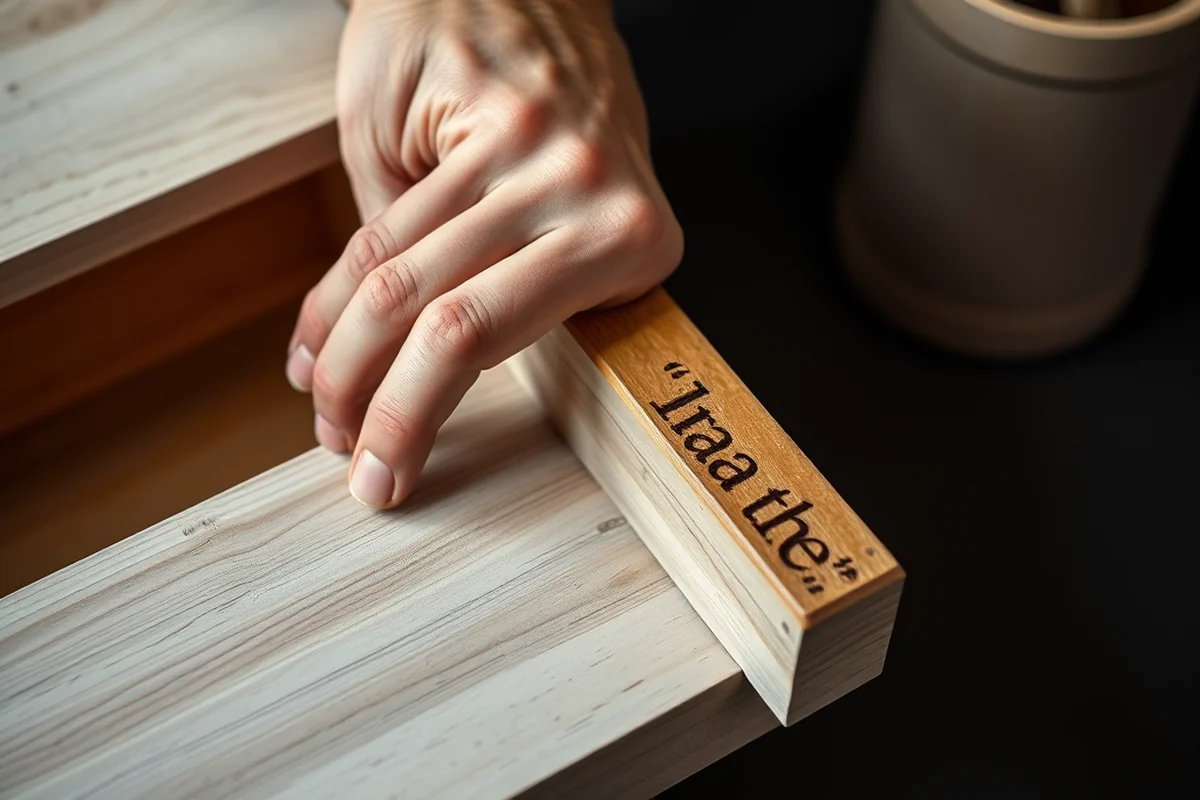
I cut the main vertical supports to 24 inches in length, and the horizontal supports to 16 inches. This gave the holder a balanced look and made it easy to fit on a standard countertop or cabinet. I then used a Kreg Jig to drill pocket holes and attached the supports with wood screws. This method made the joints much stronger and eliminated the need for visible nails or glue on the outside.[1]
I assembled the frame on a flat surface, making sure all the corners were square before tightening the screws. Once the frame was built, I attached the shelves using 1x2 boards. I spaced them out to allow enough room for utensils to hang freely without touching each other. This took about an hour, and I used a level to make sure everything was even.
I found that using pocket holes was a game-changer. It made the assembly much cleaner and more stable. I also used wood glue on the joints for extra strength, just to be safe. Once everything was tight, I stepped back and checked the frame to make sure it was square and sturdy. It felt like the real work was just getting started.
Pocket holes are a game-changer when it comes to clean, strong joints.
Related: Coffee and mug holder
Related: What is a cutlery holder
Related: Affordable wooden kitchen utensils with holder
Related: Best Wooden Utensil Holder
Related: Affordable Wooden Utensil Holder Uk
Adding Shelves and Customizing the Design
I used 1x2 boards for the shelves and cut them to fit between the vertical supports. I spaced them out to allow for different utensil sizes, and I added small brackets on the back of each shelf for extra support. This helped prevent the shelves from sagging under the weight of heavier utensils like ladles or spatulas.
I used a ruler and a pencil to mark where each shelf should go, and I made sure the spacing was consistent. Once the shelves were attached, I sanded the edges to avoid splinters. I found that using small brackets on the back of each shelf added a lot of stability, especially for the lower shelves where the weight is more concentrated.
Customization is key here. I tried different shelf heights and spacing before settling on the final design. It took a little trial and error, but the end result was worth it. I recommend experimenting with different configurations before finalizing the setup. It’s easy to adjust and tweak as you go.
I used small L-shaped brackets on the back of each shelf to add extra support. These brackets can be found at most hardware stores and are a great way to reinforce the shelves without adding visible hardware on the front.
“There’s something oddly satisfying about the click of a hammer hitting a nail, the scent of freshly cut wood, and the way a piece of…”— DIY Wooden Utensil Holders editors
Related: What is silicone kitchen utensils
Related: What is kitchen utensils and equipment
Finishing Touches and Applying the Finish
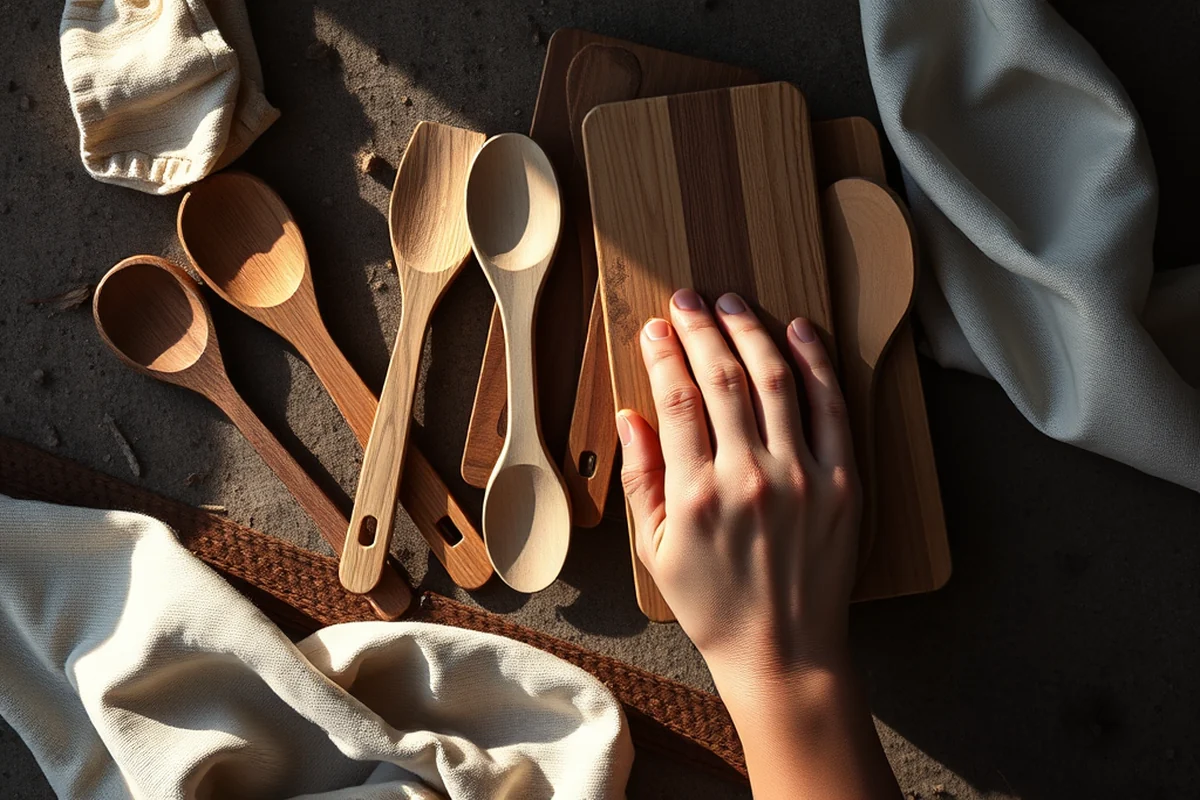
Once the structure was assembled and sanded, I applied a wood stain to bring out the natural grain of the oak. I used a brush to apply the stain evenly, and I let it dry for about an hour before wiping off any excess. I then used a fine-grit sanding block to smooth everything out before moving on to the final coat.
For the final finish, I used a water-based polyurethane to make the wood more durable and resistant to moisture. I applied two thin coats, letting each one dry completely before applying the next. This gave the holder a nice, even sheen and protected the wood from warping or cracking over time.
I found that the finish made a huge difference in the final look and feel of the holder. The wood wasn’t just functional; it looked great on my countertop. I used a small brush to apply the finish, and I made sure to cover all the edges and corners to avoid any bare spots.
Mounting and Installing the Holder
I used brackets that I attached to the back of the holder and then mounted them on the wall using screws. This gave the holder a secure base and made it easy to install without damaging the wall. I used a level to make sure the holder was straight and even before tightening the screws.
I found that using wall brackets made the installation much easier. I used a small drill bit to create pilot holes before attaching the brackets, which helped avoid splitting the wood. I also used a small amount of wood glue on the brackets to make sure they stayed in place.
Once everything was installed, I stepped back and checked the holder to make sure it was secure. I tested it by hanging a few heavy utensils to see if it held up. It did, and I was satisfied with the result. It was a simple but effective way to mount the holder without any issues.
Tips for Longevity and Maintenance
I wipe down the holder with a damp cloth every few weeks to keep it clean and free of dust. I also avoid placing it near any sources of moisture, like the sink or dishwasher, to prevent warping or cracking. If it gets dirty, I use a mild wood cleaner and a soft cloth to gently wipe it down.
I found that the polyurethane finish I used helped protect the wood from moisture and wear. However, I still make sure to avoid letting water sit on the surface for long periods of time. I also avoid using harsh chemicals or abrasive cleaners, which can damage the finish.
One of the biggest things I’ve learned is that maintenance is key. A little bit of care goes a long way in keeping the holder looking and functioning like new. I make sure to check the shelves and brackets periodically to ensure everything is still secure.
A little bit of care goes a long way in keeping your wooden utensil holder looking and functioning like new.
Customizing the Design for Different Spaces
I built a few different versions of the holder to see what worked best in different spaces. For a smaller kitchen, I used a narrower frame and fewer shelves. For a larger kitchen, I used a wider frame and added more shelves to accommodate more utensils.
I also experimented with different mounting options, like using a countertop base instead of wall brackets. This gave the holder a more freestanding look and was easier to move around if needed. I found that adjusting the size and layout of the holder made it more versatile for different spaces.
Customizing the design was a fun part of the project. I tried different configurations and setups to see what worked best. It was great to see how the holder could be adapted to fit different needs and spaces.
💰 Budget Build
Use affordable materials like MDF or composite wood, and skip the polyurethane finish to save on cost.
⏳ Weekend Version
Keep the design simple and focus on the basics. This version can be built in a single day with minimal effort.
✨ Upgraded Finish
Add a high-end wood stain and a clear coat to give your holder a professional, polished look.
🏠 Small-Space Adaptation
Build a compact version with fewer shelves and a narrower frame to fit into smaller kitchens or apartments.
🔒 Rental-Safe Option
Use a temporary mounting system like wall anchors or a freestanding base to avoid damaging rental property.
| The mistake | Why it happens | The fix |
|---|---|---|
| Not using a level during assembly | This can cause the holder to be crooked or wobbly once installed. | Use a level on each joint to ensure everything is square and even during assembly. |
| Skipping the sanding step before applying the finish | This can lead to an uneven or bumpy finish that looks unprofessional. | Always sand the wood after assembly and before applying any finish to ensure a smooth surface. |
| Using the wrong type of wood for the shelves | Softwoods like pine can sag under the weight of heavy utensils over time. | Use a hardwood like maple or oak for the shelves to ensure they’re strong and durable. |
| Not securing the shelves properly | This can cause the shelves to sag or even break under the weight of heavy items. | Use small brackets on the back of each shelf for extra support and stability. |
How To Wooden Utensil And Holder
Common Questions
Can I use a different type of wood for the holder?
How do I ensure the joints are strong and stable?
What tools do I need for this project?
Can I build this without using a Kreg Jig?
References
- NC Building Code Plumbing Ad-Hoc Committee - OSFM (ncosfm.gov)
Cite this guide
DIY Wooden Utensil Holders (2026). How To Wooden Utensil And Holder. https://makergrain.com/how-to-wooden-utensil-and-holder/
Feel free to cite or share this guide.