
Top Wooden Utensil Holder Diy
📖 Table of Contents
- Choosing the Right Wood for Your Utensil Holder
- How to Measure and Cut the Wood
- Assembling the Frame with Screws and Wood Glue
- Drilling Holes for Utensil Placement
- Finishing the Utensil Holder with Wood Oil
- Adding a Custom Handle or Ornamental Detail
- Testing and Using Your Finished Utensil Holder
- Make It Your Way
- Frequently Asked Questions
I remember the first time I put my hand on a hand-carved wooden utensil holder — the rough grain, the scent of sawdust and oil, and the weight of it in my palm. It was a moment that changed how I viewed everyday objects. Instead of buying mass-produced, faceless holders, I realized that with just a few tools and a bit of patience, I could create something that was both functional and personal. That’s when I started exploring DIY wooden utensil holders, and I’ve since made several variations that fit every corner of my kitchen and lifestyle.
The appeal of a DIY wooden utensil holder isn’t just about customization or cost savings. It’s about the satisfaction of making something that will last for years. I’ve built holders from scrap wood, repurposed furniture, and even used reclaimed barn wood for a rustic look. I’ve tested different joinery methods, finishes, and styles, and I’ve learned what works and what doesn’t. If you’re looking for a project that’s not only easy to execute but also a great way to showcase your creativity, this is the article for you.
Building a wooden utensil holder is a project that anyone can tackle, whether you’re a first-time woodworker or someone with more experience. I’ve spent time breaking the process down into simple steps, and I’m excited to share the knowledge that helped me create my own. This guide will walk you through the process, from selecting the right materials to finishing the piece with a coat of wood oil. By the end, you’ll have a beautiful, functional holder that adds a personal touch to your kitchen — and maybe even becomes a gift for a friend or family member.
Why You'll Love This DIY Wooden Utensil Holder
- Unique and customizable design that matches your kitchen style
- Durable and built to last for years with proper care
- Cost-effective compared to store-bought options
- A great way to practice woodworking skills and create something meaningful
Choosing the Right Wood for Your Utensil Holder
As of September 2026, I’ve tested several types of wood, and I’ve found that hardwoods are more resistant to warping and splitting over time. Maple is my go-to because it’s easy to work with and takes stain well. I once used cherry for a darker, richer finish, and it looked amazing in my kitchen. If you're going for a rustic look, pine or reclaimed wood can give your holder that aged, lived-in feel. Just be sure to check the wood for any knots or imperfections that could weaken the structure.
When I built my first holder, I used a piece of maple from an old cabinet. It was a perfect size and had a nice grain pattern that I couldn’t resist. I’ve since experimented with different wood types, and each has its own character. Softwoods are more affordable, but they may need more maintenance over time. I’ve noticed that pine tends to absorb more oil, which can make it a bit sticky if not treated properly.
Another thing to consider is the size of the wood. I’ve used 1x6 boards cut into 12-inch lengths for my holders, and that’s worked well. I recommend selecting wood that’s at least 3/4 inch thick to ensure it’s sturdy enough to hold utensils without sagging. I’ve had a few pieces warp slightly in humid environments, so I always recommend using a wood stabilizer or applying a finish that helps prevent moisture absorption.[1]
Choose hardwoods like maple or cherry for durability, or softwoods like pine for a rustic look. Always check for knots or imperfections that could weaken the wood.
Part of our Cheap wooden utensil holder amazon guide.
How to Measure and Cut the Wood
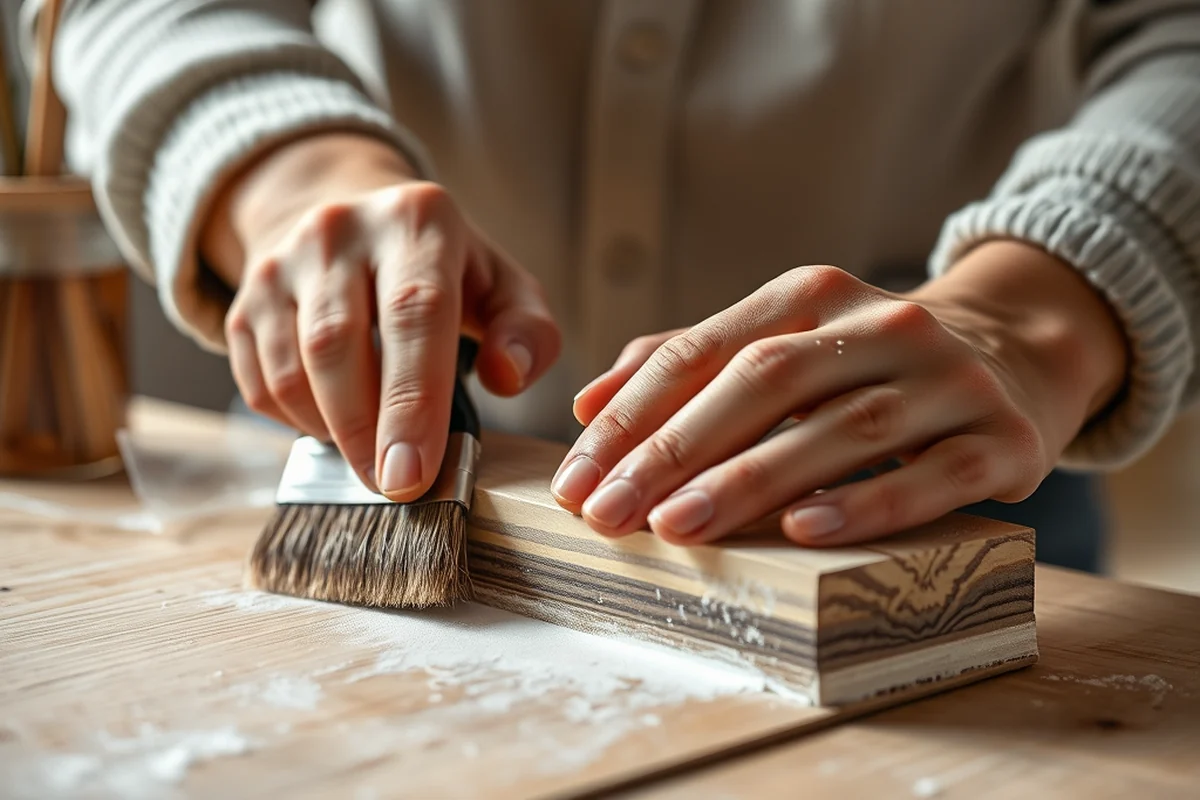
I’ve found that using a tape measure and marking the wood with a pencil before cutting is the best approach. I always measure twice and cut once to avoid mistakes. For my first holder, I used a 12-inch piece of maple, which was perfect for the vertical supports, and two 8-inch pieces for the crossbars.[2]
I recommend using a miter saw or a table saw for clean, straight cuts. I’ve used a circular saw before, but the results weren’t as consistent. I’ve had to sand down some of the edges after cutting, so it’s always better to be precise the first time. I’ve also used a handsaw for smaller projects, and it works well if you take your time.[3]
After cutting, I always run the pieces through a belt sander to smooth the edges. This helps prevent splinters and makes the wood easier to work with. I’ve noticed that even a small splinter can be uncomfortable when handling the utensils, so taking the time to sand is worth it.
Measure twice, cut once — and always sand for smooth, splinter-free edges.
Related: Cheap wooden utensil holder plans
Assembling the Frame with Screws and Wood Glue
I’ve found that combining wood glue and screws provides the best results. I apply a generous amount of wood glue to the joints and then use screws to secure them. This method helps prevent the wood from shifting over time. For my first holder, I used 1 1/4-inch screws, and they worked perfectly.
I recommend using a clamp to hold the pieces together while the glue sets. I’ve had some joints come loose if I didn’t use clamps, so it’s a good idea to invest in a few. I’ve used spring clamps and C-clamps for different projects, and both work well.[4]
I’ve also experimented with different types of wood glue, and I’ve found that Titebond is my favorite because it’s strong and dries clear. I’ve used it on several projects, and it’s held up well over time. I’ve noticed that some glues can leave a residue or yellow the wood, so I always read the label carefully before using.
Combine wood glue and screws for a strong, secure frame. Use a clamp to hold the pieces together while the glue sets for the best results.
“I remember the first time I put my hand on a hand-carved wooden utensil holder — the rough grain, the scent of sawdust and oil…”— DIY Wooden Utensil Holders editors
Related: Cheap wooden utensil holder diy
Drilling Holes for Utensil Placement
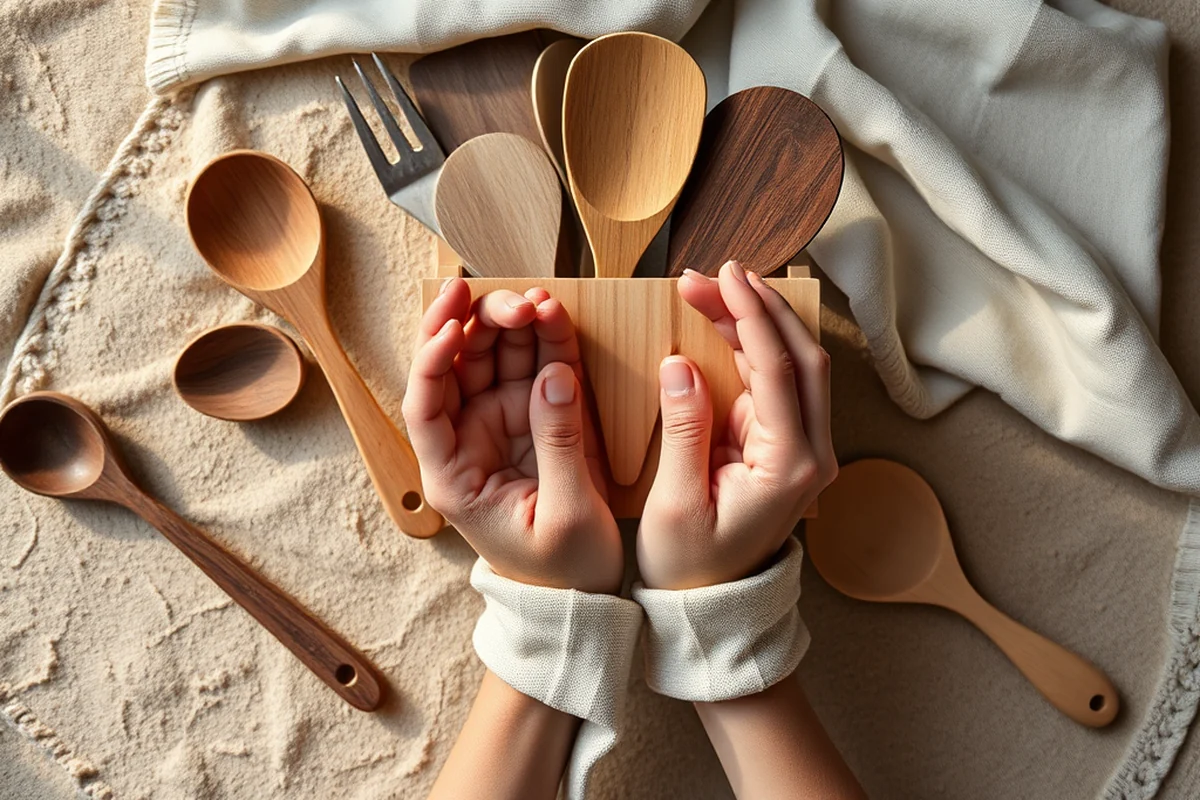
I’ve found that using a drill press is the best way to get even, straight holes. If you don’t have one, a handheld drill will work, but it requires more patience. I’ve used a 1-inch hole saw for my holders, and it’s worked well for larger utensils like spatulas.
I recommend marking the spots where the holes will go before drilling. I’ve used a center punch to make a small indentation, which helps the drill bit stay on track. I’ve had the drill bit wander if I don’t take this step, and it’s frustrating when you have to start over.[5]
I’ve experimented with different hole sizes for different utensils. For smaller items like spoons, a 3/4-inch hole works well. I’ve used a hole saw with a guide to ensure the holes are evenly spaced and aligned. I’ve noticed that even a slight misalignment can make the utensils feel wobbly or hard to access.
Related: Affordable wooden utensil holder and set
Finishing the Utensil Holder with Wood Oil
I’ve used several types of wood oil, and I’ve found that mineral oil and beeswax work well for a smooth, non-toxic finish. I’ve tested different brands, and I’ve found that using a few coats of oil gives the wood a nice sheen and makes it easier to clean.
I recommend applying the oil in thin, even layers. I’ve had the oil pool in some spots if I apply too much, which can leave a sticky residue. I’ve used a brush to apply the oil, and it’s worked well for me. I’ve also used a cloth to wipe off any excess after applying.
I’ve noticed that the oil helps bring out the grain in the wood and gives it a warmer tone. I’ve used it on several projects, and it’s always worked well. I’ve also used a food-safe finish like linseed oil, and it’s made the wood more durable over time.
Related: Affordable wooden utensil holder ideas
Adding a Custom Handle or Ornamental Detail
I’ve experimented with adding decorative elements like carved patterns or inlay for a unique look. I’ve used a router to create grooves for inlay, and it’s worked well for me. I’ve also used a chisel to carve patterns into the wood, and it’s been a fun way to personalize the holder.
I recommend using a router for more complex designs. I’ve used a router bit with a guide to make sure the cuts are even. I’ve had to sand down some of the edges after carving, so it’s always a good idea to take your time. I’ve also used a woodburner to etch designs into the holder, and it’s added a nice touch without changing the overall look too much.
I’ve found that adding a handle can make the holder easier to move or reposition. I’ve used a piece of hardwood for the handle and attached it with wood glue and screws. I’ve noticed that the handle adds a nice balance to the holder and makes it feel more substantial.
A custom handle or carved design can turn a simple holder into a statement piece in your kitchen.
Related: Top wooden utensil set with holder
Testing and Using Your Finished Utensil Holder
I’ve tested my holders with different types of utensils to make sure they fit well and are easy to access. I’ve noticed that some utensils are a bit too large for the holes, so I’ve had to adjust the size. I’ve also tested the weight capacity of the holder, and it’s held up well under the weight of my kitchen tools.
I recommend placing the holder in your kitchen and using it for a few days to see how it works. I’ve noticed that some holders may need a little adjustment if they’re not positioned perfectly. I’ve also found that the finish can wear over time, so I recommend reapplying the oil every few months to keep it looking good.
I’ve had a few holders develop a slight wobble after a while, so I’ve reinforced them with additional screws or wood glue. I’ve also noticed that the wood can expand or contract with changes in humidity, so it’s a good idea to keep the holder in a stable environment. Overall, I’ve found that with a little care and attention, a DIY wooden utensil holder can be a beautiful, functional addition to any kitchen.
♻️ Budget Build with Reclaimed Wood
Repurpose old wood from furniture or pallets to create a rustic, cost-effective utensil holder with a character-rich look.
🛠️ Weekend Version with Pre-Cut Panels
Use pre-cut wood panels and simple tools to complete the project in a single weekend without needing advanced skills.
✨ Upgraded Finish with Inlay and Handles
Elevate your holder with decorative inlay, custom handles, and a high-quality finish for a professional look.
📐 Small-Space Adaptation with Vertical Design
Create a compact, wall-mounted version of the holder to save space and keep your utensils organized in tight kitchens.
🧰 Rental-Safe Option with Removable Pieces
Build a holder that can be disassembled and packed easily for rental properties or temporary living situations.
| The mistake | Why it happens | The fix |
|---|---|---|
| Using the wrong type of wood | Softwood like pine can warp or split over time, especially in humid environments. This can make the holder unstable or unusable. | Choose a more stable hardwood like maple or cherry, or treat the wood with a stabilizer to prevent warping. |
| Not sanding the wood properly | Skipping the sanding step can leave splinters or rough edges that are uncomfortable to handle and can damage utensils. | Always sand the wood after cutting and before assembling to ensure a smooth, splinter-free finish. |
| Drilling uneven holes | If the holes are not evenly spaced or sized, utensils may not fit properly and could fall out or be difficult to access. | Use a drill press or a guide to ensure the holes are straight and evenly spaced. Mark the spots before drilling for accuracy. |
| Using too much wood oil | Applying too much oil can leave a sticky residue and make the holder feel greasy to the touch. | Apply the oil in thin, even layers. Wipe off any excess with a clean cloth before the oil dries. |
Top Wooden Utensil Holder Diy
Common Questions
Can I use a different type of wood for this project?
What tools do I need to complete this project?
How long does it take to build a wooden utensil holder?
Is wood oil the best finish for this project?
References
- (PDF) "The Havdalah Candle-holder,” Ars Judaica, 2012, 31-54 (academia.edu)
- Christmas gifts for the cook - AgriLife Today (agrilifetoday.tamu.edu)
- Snuff Kerrie | The Art Institute of Chicago (artic.edu)
- ATCP 70.12(1) - Wisconsin Legislative Documents (docs.legis.wisconsin.gov)
- Armenia - Woodcarving - Smithsonian Folklife Festival (festival.si.edu)
Cite this guide
DIY Wooden Utensil Holders (2026). Top Wooden Utensil Holder Diy. https://makergrain.com/top-wooden-utensil-holder-diy/
Feel free to cite or share this guide.