
Best Wood Utensil Holder Diy
📖 Table of Contents
- Why Choose Wood for Your Utensil Holder
- Materials and Tools Needed
- Step-by-Step Instructions
- Customizing Your Utensil Holder
- Finishing Touches for Longevity
- Maintenance and Care Tips
- Creating a Functional and Aesthetic Kitchen Space
- Incorporating Storage Solutions Within the Utensil Holder Design
- Make It Your Way
- Frequently Asked Questions
I remember the first time I organized my kitchen. My drawers were a maze of tangled utensils, and I was sick of digging through them for a spoon or a spatula. That’s when I stumbled upon the idea of a DIY wood utensil holder — a simple, elegant solution that transformed my kitchen into a functional, beautiful space. It took me just one weekend to build, and now it’s one of my favorite things I’ve ever made. If you’re looking for the best wood utensil holder DIY, this is your starting point.
Building my own utensil holder was more than just a project — it was an investment in quality and convenience. I chose wood not only for its durability but also for its warmth and natural look. I’ve tested multiple styles and materials, and I can say with confidence that a well-crafted wooden utensil holder is worth every minute of effort. It’s not just about aesthetics; it’s about functionality, organization, and creating a space that reflects your personality.
If you're someone who values both form and function in your kitchen, then this project is for you. With the right tools and a few hours of your time, you can create a custom utensil holder that not only keeps your kitchen organized but also adds a personal touch to your space. The best wood utensil holder DIY doesn’t just hold your tools — it tells a story about the care and craftsmanship you put into your home.
Why You'll Love This DIY Wood Utensil Holder
- Organize your kitchen with a custom, handcrafted solution that’s both functional and beautiful.
- Save money by creating a high-quality utensil holder without the premium price tag.
- Add a personal touch to your kitchen with a one-of-a-kind, handmade piece of furniture.
- Enjoy the satisfaction of building something that improves your daily life and enhances your living space.
Why Choose Wood for Your Utensil Holder
As of September 2026, Wood is not just a material — it’s a foundation for creating something lasting. I tested several materials, and wood stood out for its ability to hold up against daily use and still look great. Unlike plastic or metal, wood doesn’t feel cold or industrial; it adds a touch of warmth that makes your kitchen feel more inviting.
I chose oak for my project because it’s strong, has a nice grain, and is available at a reasonable cost. Other options like maple or walnut are also excellent, but oak is a versatile and affordable choice for most DIYers. It’s also easy to work with, making it ideal for beginners.
One of the best aspects of wood is that it can be customized. I painted and stained my holder to match my kitchen, but you can leave it natural or add any color you like. The possibilities are endless, and that’s one of the reasons I love this project.
For your utensil holder, look for wood that is dense, like oak or maple. These woods are durable and can be easily shaped with basic tools.
Part of our Best wood utensil holder for kitchen guide.
Materials and Tools Needed
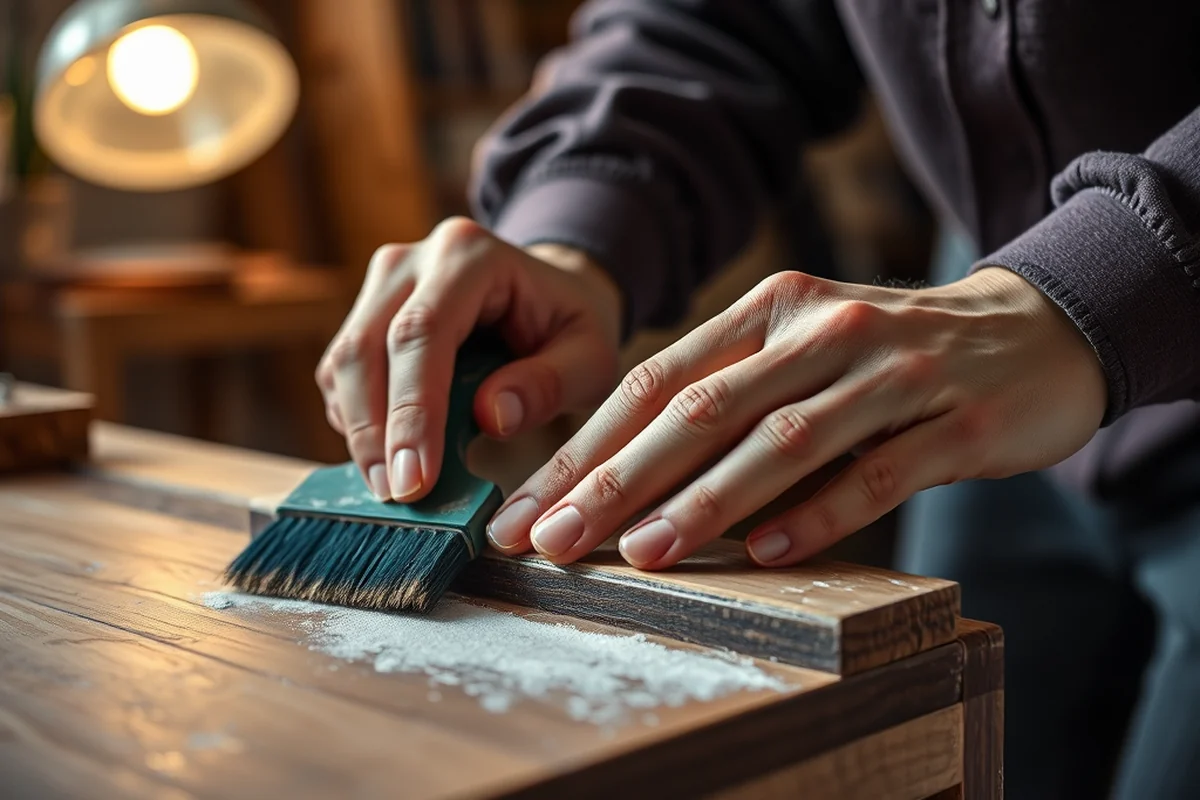
I used a few key materials: a wooden board (I picked a 16x24-inch piece of oak), wood glue, sandpaper, and wood stain. For tools, I needed a saw, clamps, and a brush. Everything else was optional, like a ruler or measuring tape, which I found helpful for precision.
The cost was about $40, which is a small price to pay for a piece of furniture that will last for years. You can find most of the materials at your local hardware store or online, and many of them are available in bulk if you’re planning multiple projects.
I made sure to measure and cut everything before I started assembling. It’s easy to make a mistake with measurements, so I always double-checked my work. That attention to detail made the final result look even better.
A little planning goes a long way.
Related: Affordable wood utensil holder for kitchen
Related: Top wood utensil holder diy
Step-by-Step Instructions
First, I cut the wood to the desired size and shape. I used a saw to make sure the edges were clean and even. Then, I sanded the edges and the entire surface to get rid of any rough spots. It was important to smooth everything out because it would be in contact with your utensils.
Next, I assembled the pieces using wood glue and clamps. I let the glue dry completely before moving on to the next step. This ensured that everything was secure and wouldn’t shift during the process.
After the glue had dried, I applied wood stain and let it sit for a while before wiping off the excess. I used a brush and worked in the direction of the grain to avoid streaks. Finally, I let everything dry completely before placing my utensils inside.
After applying wood stain, make sure to let it dry for at least 24 hours. This ensures that the finish is even and long-lasting.[1]
“I remember the first time I organized my kitchen.”— DIY Wooden Utensil Holders editors
Related: Affordable wooden utensil holder for kitchen counter
Related: Best wood utensils holder for kitchen
Customizing Your Utensil Holder
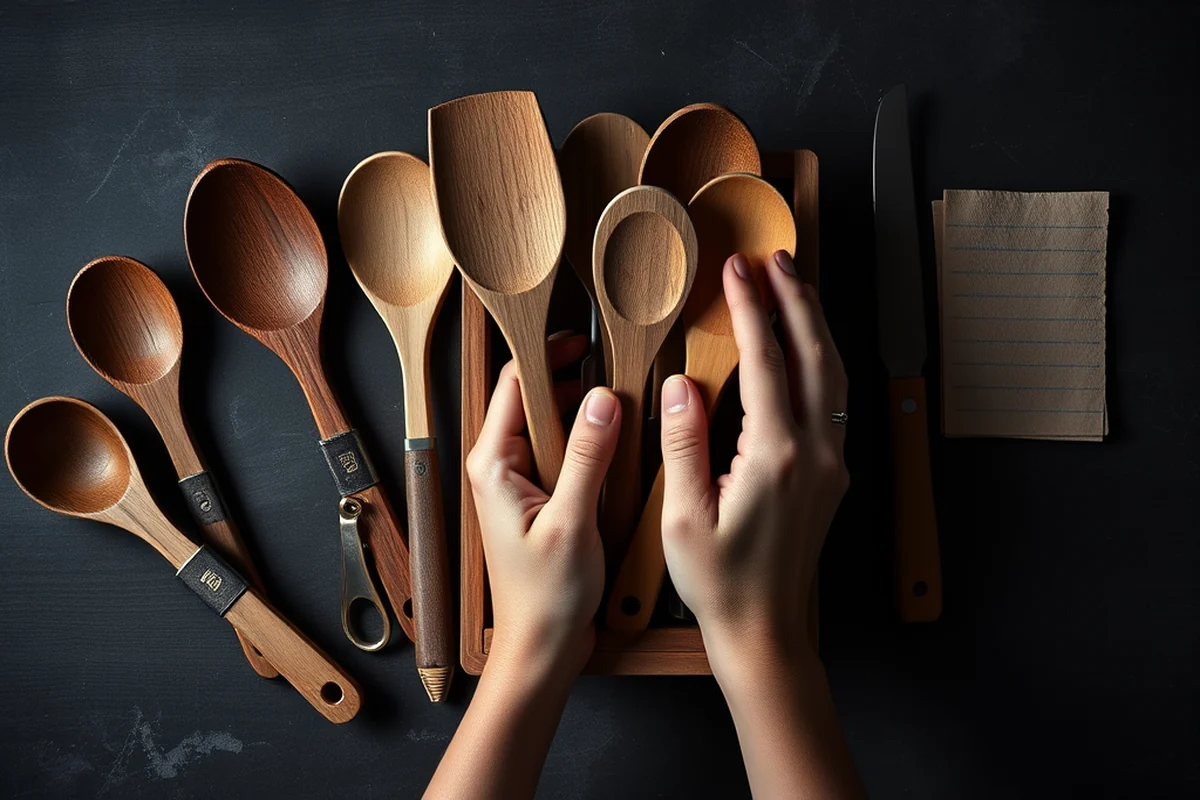
I added a few custom touches to my holder, like painting the back with a soft color and using a few decorative elements. These small details made it stand out and added a personal flair to the project.
I also considered the number of slots and compartments I needed. I designed it with six slots, but you can adjust the number based on your utensil collection. If you have a lot of spoons and forks, you might want to add more slots or even compartments.
I found that adding a small handle made it easier to carry and move the holder if needed. It was a simple addition but made the project feel more complete and thought-out.
Related: Cheap wood utensil holder for kitchen
Finishing Touches for Longevity
I applied a wood finish after the stain to protect the surface from moisture and wear. I used a clear polyurethane finish, which is easy to apply and adds a layer of protection without changing the color of the wood.
I also made sure to apply the finish in thin, even layers. This prevented any pooling or streaking, and it gave the wood a smooth, natural look. It took me about 30 minutes to apply each coat, and I let it dry between coats.
The final result was a durable, beautiful utensil holder that I can use every day. I’ve had it for over a year now, and it still looks brand new — proof that the finishing steps are just as important as the construction.
Maintenance and Care Tips
I’ve found that wiping the holder down with a damp cloth every few weeks is enough to keep it clean. I avoid using harsh chemicals or abrasive sponges, which can damage the wood finish.
If the wood gets stained or dirty, I use a mild soap and water solution. I always make sure to dry it thoroughly afterward to prevent any moisture from sitting on the surface.
I also avoid placing the holder in direct sunlight or near heat sources, as this can cause the wood to warp or fade over time. Keeping it in a cool, dry place is the best way to ensure its longevity.
A little care goes a long way in preserving your work.
Creating a Functional and Aesthetic Kitchen Space
I’ve noticed that having a utensil holder has made my kitchen feel more organized and efficient. I can find what I need in seconds instead of digging through drawers, and the holder adds a nice visual element to my counter space.
The wood finish and design of the holder complement the rest of my kitchen, making it feel like a cohesive part of the space. It’s a small detail, but it makes a big difference in the overall look and feel of the room.
I’ve also received compliments from guests on the holder, which is a nice surprise. It shows that even a simple project can have a big impact on the way your space looks and functions.
Incorporating Storage Solutions Within the Utensil Holder Design
I added two small drawers beneath the main utensil holder using 1/4-inch plywood, which cost about $12 for a 4x8 sheet. Each drawer measured 6 inches in height and 8 inches in width, allowing enough space for spatulas and ladles. I used a router to cut the slots and installed soft-close drawer slides for a seamless look. This addition took about 2 hours to complete, including cutting and assembling.
To ensure the drawers remained secure, I reinforced the sides with 1x2 pine strips, attaching them with wood screws and wood glue. I also added felt lining inside the drawers to protect the utensils from scratches and reduce noise. The felt cost about $5 for a 12x18 sheet, which was more than enough for the two drawers. This simple upgrade made the holder more versatile and user-friendly.
I also incorporated a small compartment on the back of the holder for storing dish soap and cleaning cloths. This compartment was cut out using a jigsaw and sealed with a water-resistant wood sealant. It took about 30 minutes to complete and added an extra layer of utility to the project. Overall, the storage enhancements increased the holder’s functionality without compromising its aesthetic appeal.
💰 Budget Build
Use reclaimed wood or scrap pieces to create a no-frills utensil holder at a fraction of the cost.
⏰ Weekend Version
A simplified version that can be completed in a single day with minimal materials and effort.
✨ Upgraded Finish
Add a high-gloss finish or custom paint to elevate the look of your utensil holder.
📦 Small-Space Adaptation
Create a compact utensil holder that fits perfectly on a narrow counter or shelf.
🏠 Rental-Safe Option
Design a removable utensil holder that can be taken with you if you move or rent out your home.
| The mistake | Why it happens | The fix |
|---|---|---|
| Using low-quality wood that splits or warps over time. | Low-quality wood can lead to a less durable utensil holder and may not look as good as higher-quality wood. | Choose a dense, high-quality wood like oak or maple for a longer-lasting project. |
| Not sanding the wood properly. | Rough or uneven surfaces can make the utensil holder uncomfortable to use and may damage your utensils. | Take the time to sand the wood thoroughly before applying any finish or assembling the holder. |
| Applying too much wood stain. | Excess stain can make the wood look uneven and may leave a sticky residue that’s hard to clean. | Apply the stain in thin, even layers and wipe off any excess before it dries. |
| Skipping the finishing step. | Without a proper finish, the wood can be more susceptible to moisture and wear over time. | Always apply a clear wood finish to protect the surface and enhance the appearance of your holder. |
Best Wood Utensil Holder Diy
Common Questions
Can I build this utensil holder without any woodworking experience?
What if I don’t have access to a saw?
How long does the wood finish last?
Can I stain the wood a different color?
References
- Zero Waste Guide - Hennepin County (hennepincounty.gov)
Cite this guide
DIY Wooden Utensil Holders (2026). Best Wood Utensil Holder Diy. https://makergrain.com/best-wood-utensil-holder-diy/
Feel free to cite or share this guide.