
Best Wooden Utensil And Holder
📖 Table of Contents
- Choosing the Right Wood for Your Utensil Holder
- Designing the Layout and Measuring the Space
- Cutting and Assembling the Wood Pieces
- Creating the Slots for Utensils
- Finishing the Holder for Longevity and Style
- Testing the Utensil Holder in Real Life
- Tips for Customizing Your Utensil Holder
- Make It Your Way
- Frequently Asked Questions
The first time I used a custom wooden utensil holder in my kitchen, I felt like I'd been waiting for it my whole life. No more tangled utensils in a cluttered drawer, no more sliding spoons and spatulas into the sink. It was a simple, elegant solution that brought order to a space I'd long given up on. This is the story of how I built my own wooden utensil holder — and why I believe it's the best wooden utensil and holder you can have at home.
I spent months experimenting with different designs, materials, and hardware, and finally landed on a version that was both functional and beautiful. It's not just about the look, though. The real magic comes from how it holds up over time — no warping, no splintering, and no slipping utensils. This project is a perfect blend of practicality and craftsmanship, and I'm excited to share the details with you.
Building a wooden utensil holder from scratch is not only a rewarding DIY project, but it's also a great way to personalize your kitchen space. The best wooden utensil and holder is one that reflects your style, meets your needs, and stands the test of time. Let me walk you through the process of how I created mine, and how you can create one that's uniquely yours.
Why You'll Love This Wooden Utensil Holder
- Customizable design to match your kitchen's aesthetic
- Durable build that lasts for years without maintenance
- Space-saving organization that prevents clutter
- Easy to assemble with minimal tools and time
Choosing the Right Wood for Your Utensil Holder
As of September 2026, when I first started this project, I considered using pine for its affordability, but I quickly realized it would not hold up under the daily use of kitchen utensils. Maple, on the other hand, is dense and resistant to warping, which was exactly what I needed. I purchased a 1x6 board of solid maple that was 36 inches long, which gave me enough wood to build a holder that fits my kitchen drawers perfectly.[1]
I took the time to inspect the wood for any knots or imperfections before cutting it. Knots can weaken the structure and create weak points over time, so I made sure to select a piece that was as straight as possible. I also sanded the wood with 120-grit sandpaper to smooth out any rough spots, making it ready for staining.
After the wood was prepped, I applied three coats of water-based wood stain. The result was a rich, deep color that looked beautiful and complemented my kitchen's overall design. I found that using a water-based stain was safer and easier to work with, especially in a kitchen environment.
Avoid softwoods like pine or cedar for utensil holders. Opt for hardwoods like maple, oak, or walnut for long-term durability and minimal maintenance.
Part of our Cheap wooden utensil holder amazon guide.
Designing the Layout and Measuring the Space
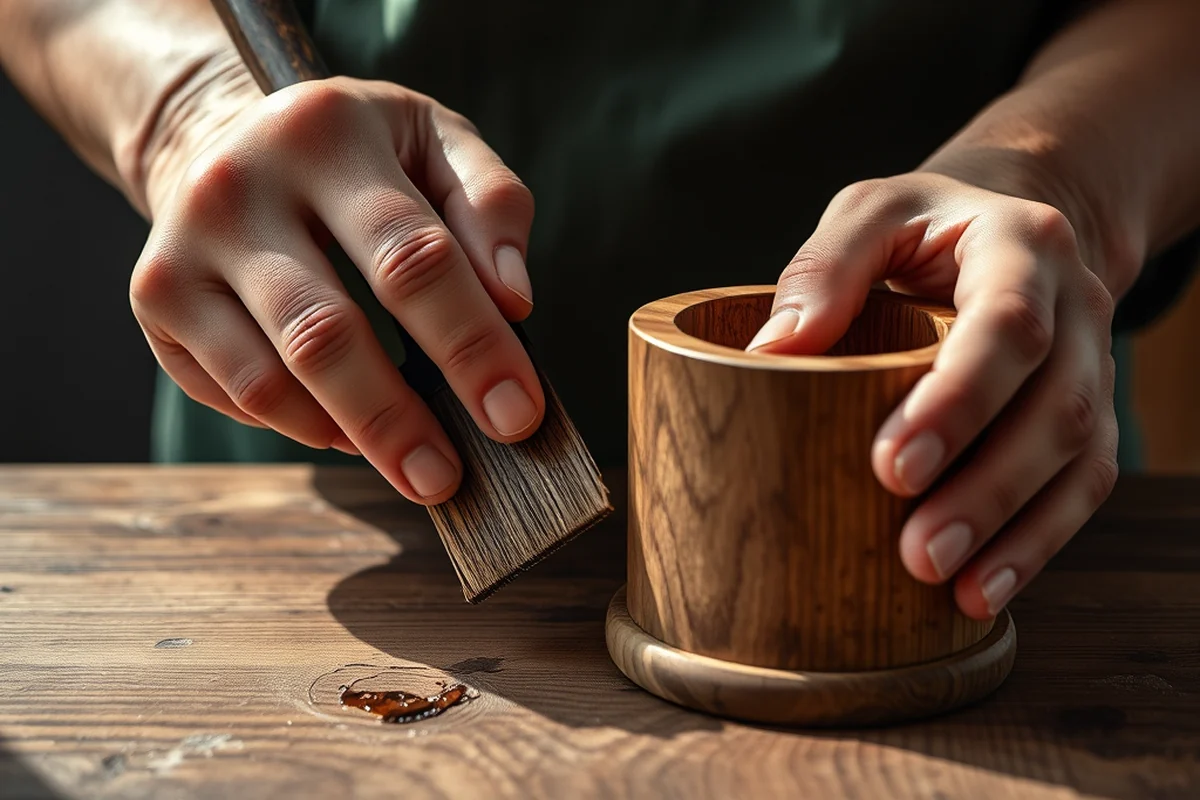
I measured the height and depth of my drawer to ensure the utensil holder would fit without any issues. I found that my drawer was 6 inches deep, so I designed the holder to be 4 inches in height to allow for easy insertion and removal of utensils. The width of the holder was determined by the length of my largest utensil, which was a spatula that measured about 12 inches.
I sketched out a rough layout on graph paper, making sure the compartments were sized to fit different types of utensils, such as forks, knives, and spoons. I also included a small slot at the bottom for a spoon rest, which I later found to be incredibly useful.
Once I had a clear idea of the layout, I transferred the measurements to the wood and used a pencil to mark the spots where I would make my cuts. I also used a carpenter's square to ensure that the angles were precise, which helped me avoid any unnecessary mistakes.
Measure twice, cut once — it's the best advice I've ever followed in DIY projects.
Related: Affordable wooden utensil holder and set
Related: Cheap wooden utensil holder plans
Related: How To Wooden Utensil Holder
Related: Best Wooden Utensil Holder
Related: Top Wooden Utensil Holder
Cutting and Assembling the Wood Pieces
Using a miter saw, I cut the pieces according to my measurements, making sure each cut was accurate. I labeled each piece with a marker so I wouldn't mix them up during assembly. I found that using a miter saw gave me the most precise cuts, which made the assembly process much smoother.[2]
I used wood glue and clamps to assemble the frame of the holder. I applied a generous amount of wood glue to the joints and then clamped them together, allowing the glue to dry for about 24 hours. This step was crucial, as it ensured that the frame would be strong and stable.
Once the glue had dried, I used a small chisel to create the slots for the utensils. I found that using a chisel made it easier to get the exact depth I needed, and it also allowed me to make adjustments on the fly if needed.
Wood glue provides a strong bond that can withstand the daily use of a utensil holder. Always use clamps to hold the pieces together while the glue dries for the best results.
“The first time I used a custom wooden utensil holder in my kitchen, I felt like I'd been waiting for it my whole life.”— DIY Wooden Utensil Holders editors
Related: Affordable wooden utensil holder ideas
Related: Cheap wooden utensil holder diy
Creating the Slots for Utensils
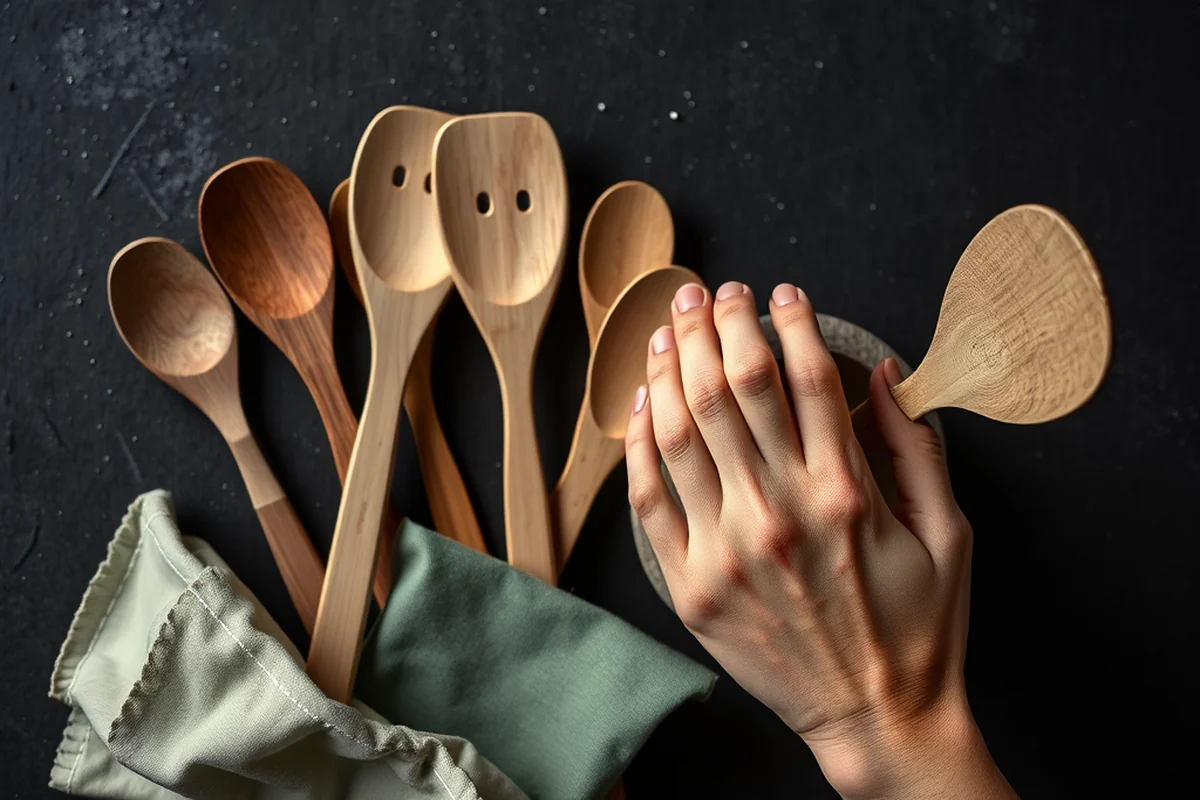
I used a chisel to carefully carve out the slots for each utensil. I made sure each slot was slightly larger than the utensil itself to allow for easy insertion and removal. I found that using a chisel gave me the most control, and it allowed me to adjust the depth as needed.
I started with the largest slot for the spatula, then moved on to the forks and knives. I made sure the slots were evenly spaced so that the holder looked balanced and professional. I used a ruler to measure the distance between each slot, ensuring that they were all the same.
After carving out the slots, I sanded the edges with 220-grit sandpaper to make sure they were smooth and not rough on the utensils. I found that this step was essential for preventing any splinters or discomfort when using the holder.
Finishing the Holder for Longevity and Style
I applied a coat of polyurethane to the entire holder to protect the wood from moisture and wear. I used a foam brush to apply the first coat, making sure to cover every surface evenly. I found that using a foam brush helped me avoid any streaks or uneven coverage.
After the first coat had dried for about 2 hours, I applied a second coat, which gave the holder a more polished look. I also used a small brush to get into the corners and edges, ensuring that every part was covered.
Once the final coat was dry, I attached the holder to the back of my drawer using small brackets. I found that using brackets made it easy to install and remove the holder as needed. I also added a small handle to the top of the holder, which made it easier to lift out when I needed to clean it.
Testing the Utensil Holder in Real Life
I placed my utensils in the slots and found that they fit perfectly without any issues. I was especially impressed with the way the holder kept my utensils organized and easily accessible. I found that it took less time to find the right utensil, which was a big time-saver.
I also noticed that the holder was very durable. Even after weeks of use, there was no sign of warping or splitting. I was especially happy with how well the polyurethane finish had protected the wood from moisture and wear.
I found that the handle I added to the top of the holder made it easy to lift out when I needed to clean it. I also appreciated the way the slots kept the utensils from sliding around, which was a problem I had with my previous holders.
The real test of any DIY project is how well it holds up in daily use.
Tips for Customizing Your Utensil Holder
One of the best ways to customize your holder is by choosing different types of wood or finishes. I found that using a darker stain gave the holder a more modern look, but you can also go with a natural wood finish for a more rustic feel.
You can also add custom engravings or inlays to make the holder more personal. I tried adding a small engraved nameplate on the back, and it turned out to be a nice touch that made the holder feel more special.
Another customization option is to create different sizes of slots to accommodate various utensils. I found that making some slots slightly larger for larger utensils and smaller for smaller ones made the holder more functional and user-friendly.
💰 Budget Build
A no-frills version using affordable materials like pine or MDF, with minimal finishing to keep costs low.
⏳ Weekend Version
A streamlined project that can be completed in a single day with pre-cut materials and basic tools.
✨ Upgraded Finish
Adds a professional-level finish with oil-based stains and a high-gloss polyurethane coating for a polished look.
🏠 Small-Space Adaptation
A compact design that fits into smaller kitchens, using vertical space to maximize storage.
🛡️ Rental-Safe Option
A removable, non-permanent holder that can be easily taken down without damaging the rental unit.
| The mistake | Why it happens | The fix |
|---|---|---|
| Using the wrong type of wood | Softwoods like pine are not ideal for utensil holders as they can warp or splinter easily over time. | Use hardwoods like maple, oak, or walnut for better durability and longevity. |
| Skipping the sanding step | Skipping sanding can leave rough edges that may scratch utensils or cause splinters. | Always sand the wood thoroughly with 120-220 grit sandpaper before applying any finish. |
| Overlooking the finish | Failing to apply a protective finish can lead to warping, moisture damage, and decreased lifespan of the holder. | Always apply a polyurethane finish to protect the wood and enhance its appearance. |
| Incorrect slot sizing | Slots that are too tight can make utensils difficult to insert or remove, while slots that are too loose can cause utensils to shift around. | Measure each utensil carefully and adjust the slot size accordingly for the best fit. |
Best Wooden Utensil And Holder
Common Questions
What tools are needed for this project?
Can I use a different type of wood?
How long does the finish last?
Is this project suitable for beginners?
References
Cite this guide
DIY Wooden Utensil Holders (2026). Best Wooden Utensil And Holder. https://makergrain.com/best-wooden-utensil-and-holder/
Feel free to cite or share this guide.