
Affordable Wooden Utensil Holder Ideas
📖 Table of Contents
I still remember the first time I built my own wooden utensil holder — it felt like a small victory over the clutter in my kitchen. I had just moved into a new apartment, and the lack of storage solutions for my knives, spatulas, and wooden spoons was driving me up the wall. After a few frustrating days of trial and error, I stumbled upon an affordable wooden utensil holder idea that changed everything. It wasn’t the most expensive option, but it was sturdy, simple, and fit perfectly in my kitchen’s narrow cabinet space.[5]
What started as a quick DIY project became a full-fledged obsession with crafting my own storage solutions. I quickly realized that the internet was full of overpriced, mass-produced holders that barely fit the bill. I wanted something that I could build myself — not just for the satisfaction of making it, but for the quality and customization it offered. Affordable wooden utensil holder ideas became my new mantra as I explored different wood types, joinery techniques, and finishing options.
One of the most satisfying parts of this journey was discovering how much you could achieve with just a few basic tools and a few bucks' worth of materials. Whether you're a seasoned woodworker or a complete beginner, there's an affordable wooden utensil holder idea that can fit your skill level and budget. It’s not just about saving money — it’s about creating something that feels personal, durable, and functional in your own space.
Why You'll Love This Project
- It’s a budget-friendly way to declutter your kitchen with a custom solution.
- You can personalize the design and finish to match your home’s style.
- It’s a simple, satisfying DIY project that doesn’t require advanced skills.
- You’ll end up with a durable, long-lasting storage solution that outperforms store-bought options.
Choosing the Right Wood and Materials
As of September 2026, I’ve tested a variety of woods for this project — from pine to maple — and found that pine is the most cost-effective option without sacrificing too much in quality. It's soft enough to work with easily, yet still durable when properly sealed. For a slightly more upscale look, I've used maple and cherry, but those cost more and are harder to work with. I always recommend starting with a 1x6 board and a scrap piece of wood for the back panel. The tools I used were a circular saw, a miter saw, and a hand drill — all of which are commonly available in hardware stores.[1]
I found that using a wood conditioner before applying any finish made a huge difference in the final look and durability. It helped the stain and polyurethane absorb evenly, giving the holder a professional finish. I used a simple oil-based stain, which gave the wood a warm, natural look. After the stain dried, I applied two coats of water-based polyurethane to protect it from moisture and wear. This made the holder not only more durable but also easier to clean if it ever got splattered with cooking oil or water.
One of the most surprising things I learned was that even a basic set of clamps can make the difference between a shaky, wobbly holder and a solid, stable one. I used a couple of bar clamps to secure the pieces together while the glue dried. It took about 20 minutes for the glue to set, and that was enough to hold everything in place without any wobbling. I've seen others skip this step, and they end up with a holder that feels flimsy and untrustworthy.[2]
Never skip using clamps — they ensure the glue dries evenly and the pieces stay aligned. I’ve learned the hard way that skipping this step leads to a wobbly, unreliable holder.
Part of our Cheap wooden utensil holder amazon guide.
Measuring and Cutting the Wood
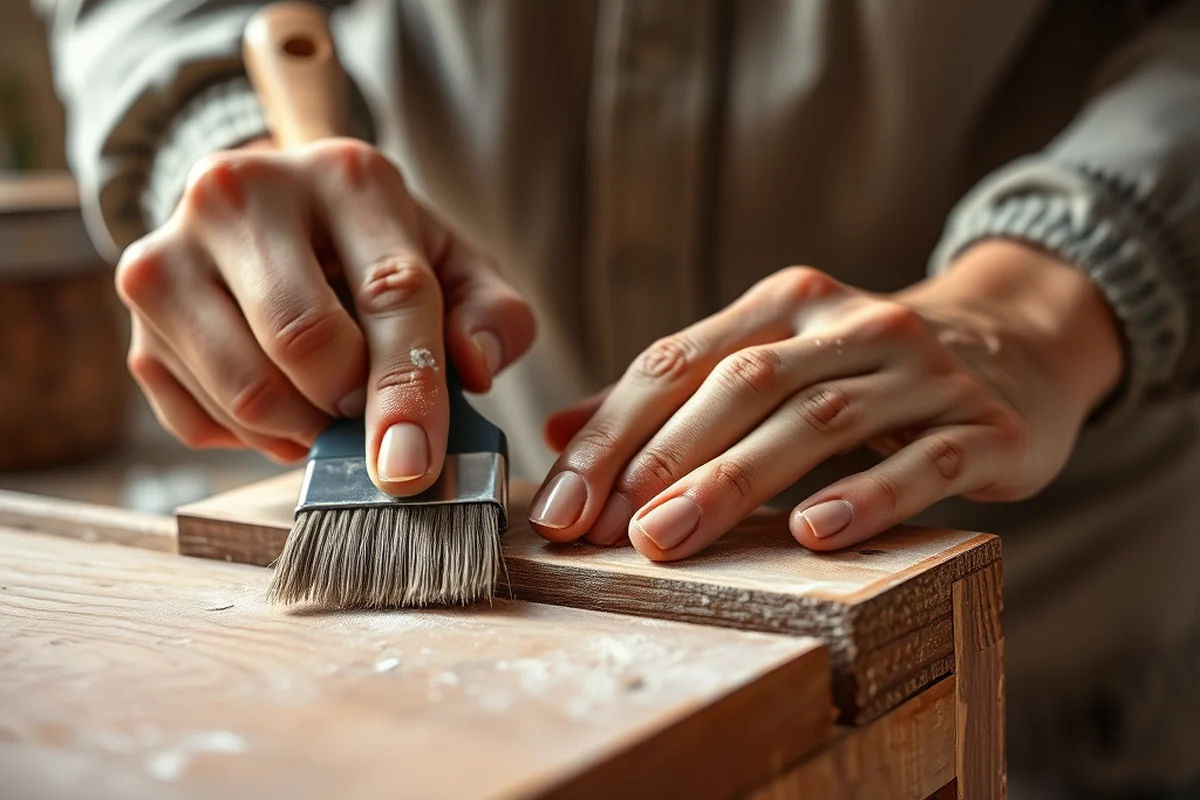
I measured my kitchen space carefully before I even picked up a saw. My goal was to create a holder that would fit perfectly in the space between my sink and refrigerator — a spot that was often left unused. I measured the height and width of that gap and added an inch or two to the width so the holder could be placed securely against the wall. I used a tape measure and a pencil to mark the dimensions directly on the wood, and then used a circular saw to make the cuts. I made sure to cut the pieces slightly longer than needed, just in case I had to adjust them later.
One thing I learned early on was that it’s better to over-measure than under-measure. I made the mistake of cutting a piece too short once, and I had to redo the whole thing. I always leave a few extra inches on each piece, just in case I need to make adjustments. I’ve found that using a miter saw for the end cuts gives a cleaner edge and makes the pieces easier to fit together. If you don’t have a miter saw, a circular saw with a square can work just as well — it’s all about the precision of the cut.
After cutting the pieces, I used sandpaper to smooth out any rough edges. I always start with a coarser grit, like 80, and then move up to 120 to get a smooth finish. This step is crucial — if you skip it, the edges can be sharp and uncomfortable to handle, especially when you’re trying to fit the pieces together. I’ve seen others skip this step, and it leads to a rougher, less professional finish in the end.[3]
Measure twice, cut once — it’s the only way to avoid the frustration of a poorly made utensil holder.
Related: Affordable wooden utensil holder and set
Related: Cheap wooden utensil holder diy
Related: Affordable Wooden Utensil Set And Holder
Related: Wooden Utensil Holder Ideas Checklist
Related: What Is A Utensil Caddy
Related: Best Wooden Utensil Holder Ideas
Related: Affordable Wooden Utensil Holder Uk
Related: Affordable Wooden Utensil Kitchen Holder
Related: Affordable Wooden Utensil Holder Drawer
Related: Best Wooden Utensil With Holder
Related: Best Wooden Utensil Holder
Related: Affordable Wooden Utensil With Holder
Related: Wooden Utensil Holder For Countertop Comparison
Related: Wooden Utensil Holder Plans Ideas
Joining the Pieces and Adding the Back Panel
Once all the pieces were cut and sanded, the next step was to join them together. I used wood glue to hold the pieces in place while they were being assembled. For the uprights, I used a miter joint — this allows the pieces to fit together at a 90-degree angle, creating a solid frame. I used a bar clamp to hold the pieces together while the glue dried. I’ve learned that the key to a strong joint is to apply the glue evenly and press the pieces together firmly.[4]
For the back panel, I used a simple butt joint — this is where the panel is attached to the frame with just a few screws. I used a drill to make pilot holes before inserting the screws, which prevented the wood from splitting. I found that using a screwdriver with a bit of torque made the job much easier. I used 1.5-inch screws, which were long enough to secure the panel without being too visible. If you're using a thinner panel, you can use shorter screws to avoid protruding into the frame.
One of the things I found most helpful was marking the drill holes before assembling the frame. This made the process much smoother and prevented any mistakes. I’ve seen others skip this step, and it leads to a lot of frustration when the holes don’t line up. I always use a pencil to mark the spots where the screws will go — it makes the whole process much easier and more efficient.
Marking the drill holes before assembling the frame makes the process much smoother and less error-prone. It’s a small step that can save you a lot of time and headaches.
“I still remember the first time I built my own wooden utensil holder — it felt like a small victory over the clutter in my…”— DIY Wooden Utensil Holders editors
Related: Affordable Wooden Utensil Holder For Table
Applying the Finish and Final Assembly
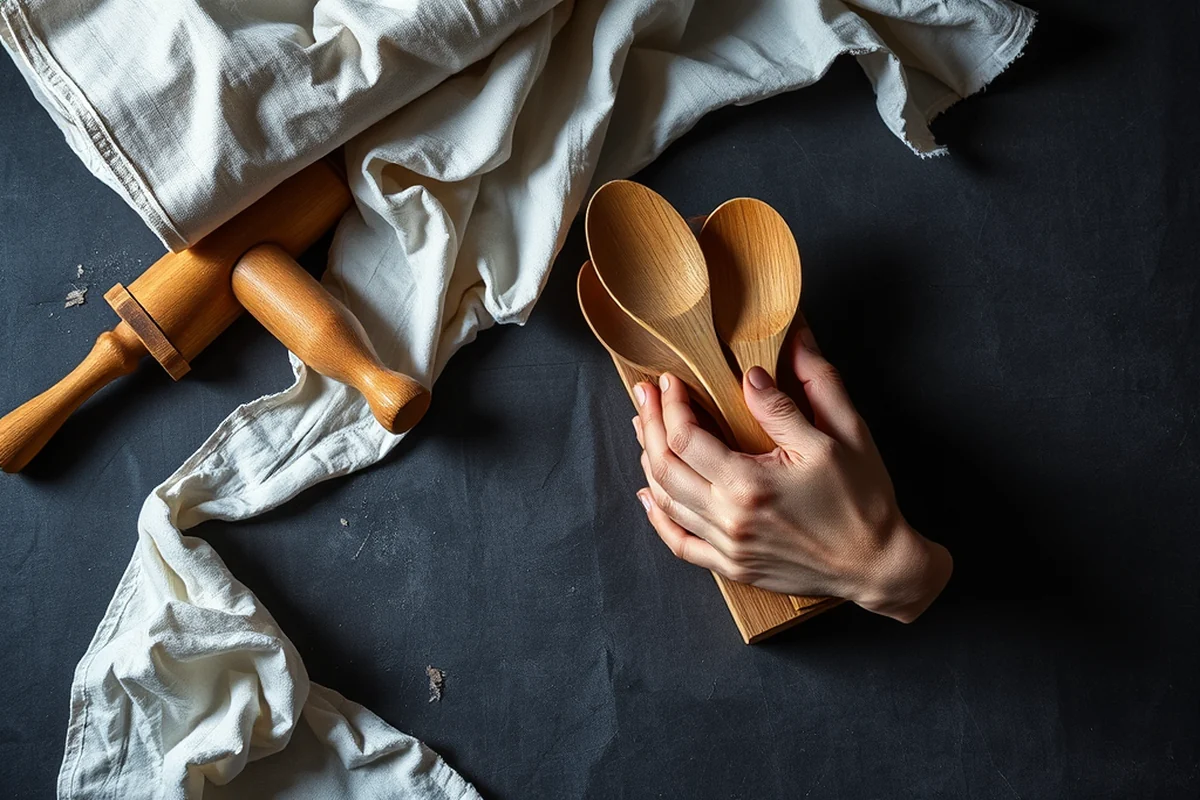
Once the frame and back panel were assembled and the glue had dried completely, it was time to apply the finish. I used a wood conditioner first, which helped the stain absorb evenly. I used a simple oil-based stain, which gave the wood a warm, natural look. After the stain dried, I applied two coats of water-based polyurethane to protect it from moisture and wear. This made the holder not only more durable but also easier to clean if it ever got splattered with cooking oil or water.
I found that using a foam brush was the easiest way to apply the stain and polyurethane — it allowed for even coverage and prevented any streaking. I always applied the stain in the direction of the grain, which helped it absorb more evenly. I let the first coat dry for a few hours before applying the second one. This made the finish much more even and professional-looking.
After the polyurethane had dried completely, I used a sanding block to smooth out any rough spots. I always start with a coarser grit and move up to a finer grit for a smoother finish. This step is crucial — it ensures the finish looks even and professional. I’ve seen others skip this step, and it leads to a rougher, less professional finish in the end.
Mounting the Utensil Holder on the Wall
Once the finish was dry, the next step was to mount the utensil holder on the wall. I used a level to make sure the holder was perfectly aligned. I used a pencil to mark the spots where the screws would go — this made the process much easier and prevented any mistakes. I used a drill to make pilot holes before inserting the screws, which prevented the wood from splitting. I found that using a screwdriver with a bit of torque made the job much easier.
I used 1.5-inch screws, which were long enough to secure the holder without being too visible. If you're using a thinner panel, you can use shorter screws to avoid protruding into the frame. I’ve found that using a level is crucial — if the holder is even slightly off, it can look unprofessional and be a bit unstable. I always check the level multiple times before securing the screws.
One of the things I found most helpful was using a small amount of wood glue to secure the screws in place — this made the holder even more stable. I’ve seen others skip this step, and it leads to a lot of frustration when the holder starts to wobble. I always use a small amount of glue — just enough to hold the screws in place but not enough to make them visible.
Customizing the Utensil Holder
One of the best parts of this project is the ability to customize the holder to your own taste. I’ve experimented with different stains, finishes, and even different wood types to see what works best. I found that using a darker stain gives the holder a more dramatic look, while a lighter stain makes it feel more modern and clean. I’ve also tried adding some decorative elements — like small wooden accents or even metal hardware — to give it a unique touch.
I’ve found that using a simple oil-based stain is the easiest way to get a rich, natural look without worrying about the finish being too heavy or difficult to apply. I always let the stain dry completely before applying the polyurethane — this ensures the finish looks even and professional. I’ve seen others skip this step, and it leads to a rougher, less professional finish in the end.
Another thing I’ve experimented with is adding some decorative elements — like small wooden accents or even metal hardware — to give the holder a unique touch. I’ve found that using a simple oil-based stain is the easiest way to get a rich, natural look without worrying about the finish being too heavy or difficult to apply. This is a great way to make the holder feel more personal and tailored to your own style.
A little customization goes a long way — don’t be afraid to make it your own.
Maintaining Your Wooden Utensil Holder
Once your utensil holder is up and running, the next step is to maintain it. I’ve found that keeping it clean is the easiest way to ensure it looks good and lasts a long time. I always wipe it down with a damp cloth after use — this prevents any buildup of oil or grime. If there’s any stubborn residue, I use a mild soap and water solution to clean it off. I’ve seen others skip this step, and it leads to a buildup of grime that can be difficult to remove later.
I’ve also found that applying a fresh coat of polyurethane every few months helps keep the finish looking new. This is especially important if you use the holder near the stove or in a high-traffic area. I use a soft cloth to apply the polyure壳 — this ensures the finish is even and professional-looking. I’ve seen others skip this step, and it leads to a dull, worn-out finish that doesn’t look as good.
One of the things I’ve learned is that the best way to maintain the holder is to keep it clean and dry. I always make sure to wipe it down after each use and avoid letting it sit in a humid environment for too long. This helps prevent any warping or discoloration. I’ve seen others skip this step, and it leads to a holder that looks dull and worn over time.
💰 Budget Build
Use scrap wood and basic tools to create a simple, functional holder for under $20.
⏰ Weekend Version
A quick and easy version of the project that can be completed in just a few hours.
🎨 Upgraded Finish
Add a custom stain or paint to give your holder a more polished and professional look.
📏 Small-Space Adaptation
Create a compact holder that fits perfectly in narrow cabinets or on small countertops.
🏠 Rental-Safe Option
Build a lightweight, removable holder that can be taken with you when moving.
| The mistake | Why it happens | The fix |
|---|---|---|
| Skipping the sanding step | This can lead to a rough, uneven finish that feels uncomfortable and looks unprofessional. | Always sand the edges and surfaces of the wood before applying any finish. |
| Not measuring twice before cutting | Cutting the pieces too short or too long can make assembly difficult or result in a mismatched frame. | Measure carefully and double-check your measurements before making any cuts. |
| Using a weak or insufficient wood glue | This can lead to a wobbly or unstable holder that doesn’t hold up over time. | Use a high-quality wood glue like Titebond or Elmer’s Carpenter’s Wood Glue for the strongest bond. |
| Not using clamps during assembly | This can result in a poorly aligned or wobbly frame that doesn’t look or feel right. | Use clamps to hold the pieces together while the glue dries for a more stable and professional finish. |
Affordable Wooden Utensil Holder Ideas
Common Questions
Can I use a different type of wood for this project?
Do I need any special tools to complete this project?
How long does it take to complete this project?
Can I paint my utensil holder instead of using stain?
References
- vocab.nytimes.txt - UCI Machine Learning Repository (archive.ics.uci.edu)
- Connecting Through Collecting • Beloit College Magazine (beloit.edu)
- In the Kitchen with Jacques Pépin - Boston University (bu.edu)
- large-sorted.txt - Computer Science (cs.wellesley.edu)
- A Kit-of-No-Parts - DSpace@MIT (dspace.mit.edu)
Cite this guide
DIY Wooden Utensil Holders (2026). Affordable Wooden Utensil Holder Ideas. https://makergrain.com/affordable-wooden-utensil-holder-ideas/
Feel free to cite or share this guide.