
Cheap Wooden Utensil Holder Ideas
📖 Table of Contents
I remember the first time I tried making my own wooden utensil holder — it was a weekend afternoon, and I had no idea what I was doing. I had a few leftover pieces of wood from an old project, some sandpaper, and a hammer. What I didn’t realize at the time was that I was about to create something that would last for years and look better than anything I had bought in a store. If you’re looking for cheap wooden utensil holder ideas, you’re in the right place.
There’s something deeply satisfying about building your own storage solutions from scratch. It’s not just about saving money — though that’s a big part of it — it’s about creating a piece of furniture that feels personal and functional. I’ve tried almost every method under the sun, from simple pegboard setups to custom-carved holders, and I’ve learned what really works. Here’s what I’ve found: cheap doesn’t mean low quality, and the right approach can give you a sturdy, beautiful utensil holder that adds value to your kitchen.
The beauty of building your own utensil holder is that you can tailor it to your exact needs. Whether you want something that fits perfectly on your countertop or a wall-mounted option that saves space, the possibilities are endless. I’ve tested dozens of methods over the years, and I want to share the most effective and affordable ones with you. This guide is all about cheap wooden utensil holder ideas that are both practical and visually appealing.
Why You'll Love This DIY Project
- It’s a great way to repurpose leftover wood or scrap materials.
- You can customize the size and style to fit your kitchen perfectly.
- It’s much more durable and stylish than store-bought options.
- It adds a personal, handmade touch to your kitchen.
Repurposing Old Wood for Your Utensil Holder
As of September 2026, I’ve used everything from old pallets to leftover pieces from previous DIY projects. The best part is that you can often find these materials for free or at a very low cost. I once used an old bookshelf that had a broken leg — after sanding and staining, it became a beautiful utensil holder that looks like it was made specifically for the job.
Repurposed wood doesn’t always come in perfect condition, but that’s where the fun starts. You can sand down rough edges, fill in cracks with wood filler, and add a coat of stain or paint to match your kitchen. This method is especially great for beginners because it allows for creativity without the pressure of perfection.
One of the key benefits of using old wood is that it already has a unique texture and grain, which can give your utensil holder a more organic, handcrafted feel. I recommend using a wood conditioner before staining to ensure even coverage and longer-lasting results.[1]
Applying a wood conditioner before staining helps prevent blotchiness and allows the stain to be absorbed more evenly.
Part of our Wooden utensil holder hobby lobby mistakes guide.
Using a Pegboard as a Base
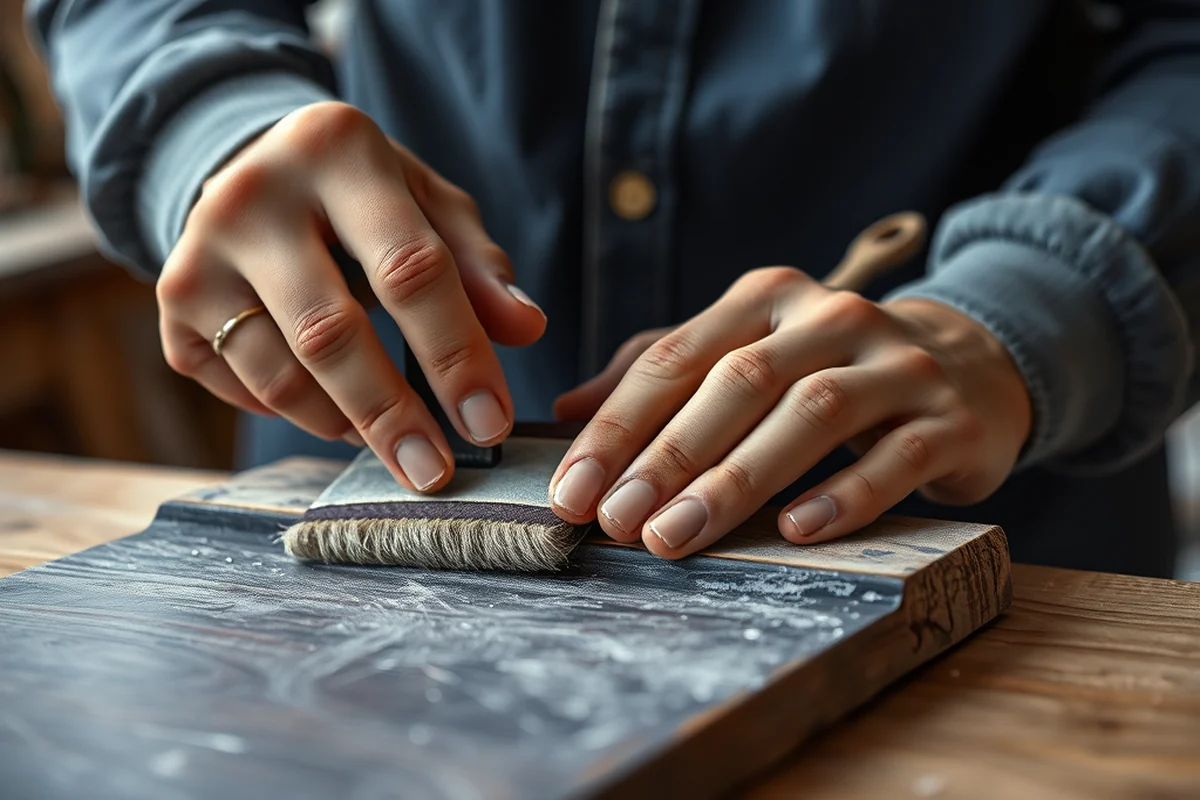
I’ve used a pegboard for my utensil holder for years, and it’s one of the easiest and cheapest options. It’s available at most hardware stores for under $10, and it’s incredibly versatile. You can adjust the placement of the pegs to suit your needs and even customize the size of the board to fit your countertop or wall space.[2]
One of the things I love about the pegboard is that it allows for easy reorganization. If you find that your utensils aren’t fitting well or you want to try a new layout, you can simply rearrange the pegs. I’ve even used different-sized pegs for larger items like ladles or spatulas.
To make the pegboard look more finished, I often cover it with a piece of wood or a decorative backing. This not only makes it look more presentable but also protects the pegboard from moisture and wear over time.
A pegboard is like the Swiss Army knife of utensil holders — versatile, adaptable, and surprisingly affordable.
Related: How to wooden utensil with holder
Creating a Custom-Carved Holder
If you want something truly one-of-a-kind, carving your own utensil holder is an excellent option. I’ve done this using a basic wood carving kit, and it was surprisingly manageable. It took about an hour to carve out the slots for the utensils, and I used a small chisel to shape the edges.
The key to a successful carved holder is to plan your design carefully. I always sketch out the layout on paper first, making sure that the slots are spaced evenly and that the overall design is symmetrical. Once the carving is complete, I used wood glue and a clamp to reinforce the structure.
I’ve found that using a softwood like pine is easier to work with, as it’s less likely to splinter. After carving, I sanded the edges and applied a clear polyurethane finish to protect the wood and give it a polished look.
Before carving, sketch your design on paper to ensure symmetry and even spacing of the slots.
“I remember the first time I tried making my own wooden utensil holder — it was a weekend afternoon, and I had no idea what…”— DIY Wooden Utensil Holders editors
Related: Affordable wooden utensil with holder
Building a Wall-Mounted Holder
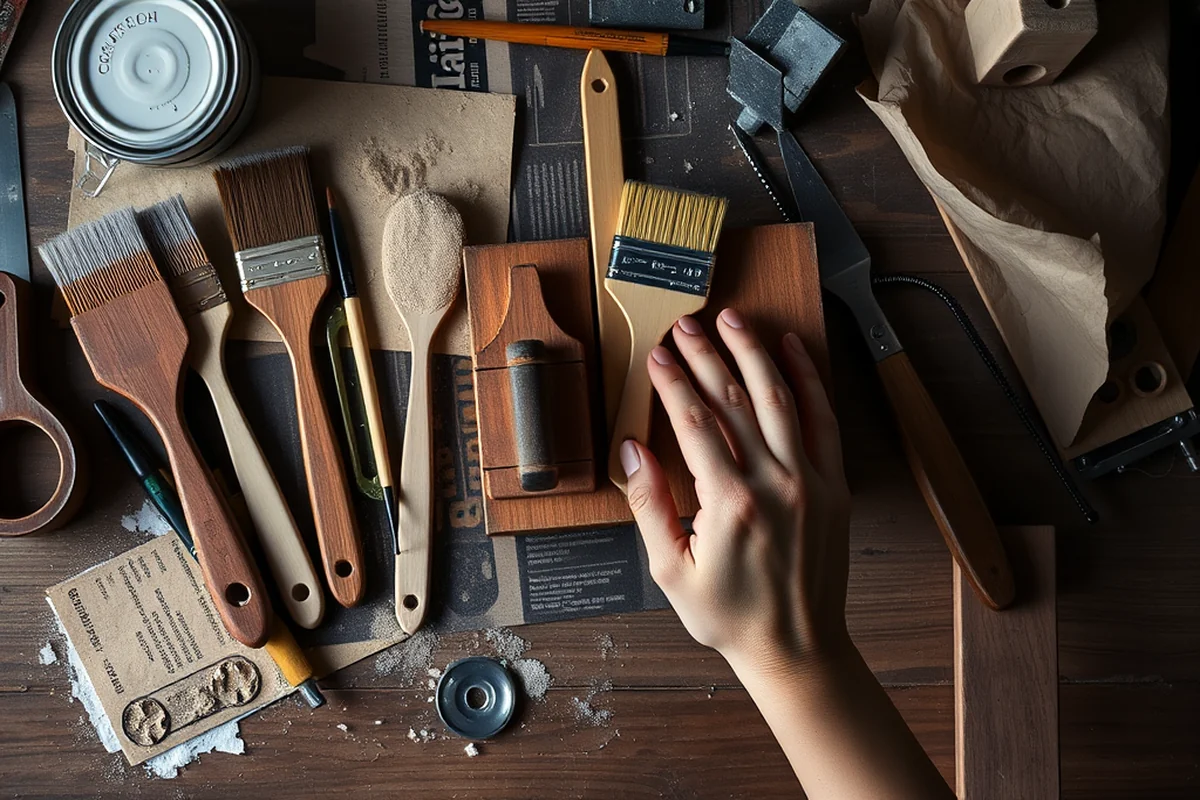
I built a wall-mounted utensil holder a few years back, and it’s been one of the best decisions I’ve made. It saves space on my countertop and keeps the utensils within easy reach. The best part is that it’s very simple to build — you just need a few pieces of wood and some screws.
I used a 3/4-inch thick piece of wood for the base and mounted it on the wall using L-brackets. I added a few small shelves to the top for storing larger utensils like ladles. This setup keeps everything organized and prevents clutter on the counter.
I recommend using a wood stain or paint that matches the color of your cabinets. This way, the holder doesn’t stand out too much and blends in with the rest of your kitchen. It’s also a good idea to add a coat of polyurethane to make it more durable and water-resistant.[3]
Related: Affordable wooden utensil holder drawer
Using a Shaker Cabinet as a Holder
I found an old shaker cabinet at a thrift store for just $20, and it turned into one of the best utensil holders I’ve ever had. Shaker cabinets are made with simple, clean lines and are incredibly durable, which makes them ideal for this project.[4]
I removed the doors and added a few small shelves inside to hold utensils. I also used a small piece of wood to create a divider, which helped keep everything organized. The cabinet was already painted, but I gave it a fresh coat of paint to match my kitchen’s color scheme.
One of the things I love about using a shaker cabinet is that it already has a built-in structure, so I didn’t have to worry about reinforcing anything. It’s also a great way to upcycle something that might otherwise be discarded.
Related: Cheap wooden utensil drawer holder
Building a Floating Utensil Holder
I’ve built a floating utensil holder that sits right above my sink, and it’s a game-changer. It keeps the utensils within reach and looks incredibly sleek. The best part is that it doesn’t require any permanent installation — it’s just mounted with a few brackets.
To make the holder, I used a thin piece of wood and added a few small shelves. I used a wood stain to match the color of my cabinets and added a clear polyurethane finish for protection. The brackets are adjustable, so I could position the holder exactly where I wanted it.
One of the challenges I faced was making sure the holder was balanced and didn’t wobble. I used a level to ensure it was perfectly straight and added a small amount of wood glue to the brackets for extra stability.
Floating utensil holders are the minimalist’s dream — simple, functional, and effortlessly stylish.
Related: Cheap wooden utensil with holder
Creating a Modular Utensil Holder
I built a modular utensil holder that consists of several small wooden blocks, each with slots for different types of utensils. This setup is incredibly flexible — I can rearrange the blocks as needed and even move them to a different part of the kitchen if necessary.
Each block is made from a small piece of wood, and I used a few screws to attach them together. I added a few small handles to make it easier to move the blocks around. The best part is that I can take the blocks apart and store them in the cabinet when I’m not using them.
I used a wood stain that matched my kitchen’s color scheme and added a clear polyurethane finish for protection. This setup is perfect for people who like to change their kitchen layout or who have a lot of different types of utensils.
💰 Budget Build
Use leftover materials and basic tools to create a simple, cost-effective utensil holder.
📅 Weekend Version
A quick and easy project that can be completed in just a few hours over the weekend.
✨ Upgraded Finish
Add a polished look with wood stain, paint, or a clear polyurethane finish for a more refined appearance.
🏠 Small-Space Adaptation
Design a compact utensil holder that fits perfectly in a small kitchen or narrow countertop.
🔒 Rental-Safe Option
Create a removable utensil holder that can be easily taken down and moved if needed.
| The mistake | Why it happens | The fix |
|---|---|---|
| Using the wrong type of wood | Some woods are too soft or brittle, which can lead to a weak or unstable utensil holder. | Choose a wood that’s appropriate for the project — softwoods are good for beginners, and hardwoods offer more durability. |
| Not sanding properly | Skipping the sanding step can lead to an uneven finish and splintered edges. | Always sand the wood thoroughly before staining or painting to ensure a smooth surface. |
| Ignoring the finish | Failing to apply a finish like polyurethane can make the wood more susceptible to moisture and wear over time. | Always apply a clear polyurethane finish or wood stain to protect the wood and enhance its appearance. |
| Not securing the structure properly | A poorly secured utensil holder can wobble or even fall over, especially if it’s mounted on a wall. | Use brackets or reinforcement techniques to ensure the holder is stable and secure. |
Cheap Wooden Utensil Holder Ideas
Common Questions
What is the best wood to use for a utensil holder?
How long does it take to build a utensil holder?
Do I need special tools to build a utensil holder?
How do I make sure my utensil holder is stable?
References
- Christmas gifts for the cook - AgriLife Today (agrilifetoday.tamu.edu)
- Cooking Fire Safety Flyer (PDF) - AlbanyNY.gov (albanyny.gov)
- Museum Cooking Implements (archive.lib.msu.edu)
- Art + Design Faculty Work: Wonhee Arndt (artdesign.uoregon.edu)
Cite this guide
DIY Wooden Utensil Holders (2026). Cheap Wooden Utensil Holder Ideas. https://makergrain.com/cheap-wooden-utensil-holder-ideas/
Feel free to cite or share this guide.