
Best Wood Kitchen Utensils
📖 Table of Contents
- Selecting the Right Wood for Your Utensils
- Cutting and Shaping the Utensils
- Finishing and Protecting Your Utensils
- Designing for Comfort and Function
- Testing and Refining Your Tools
- Maintaining Your Utensils for Longevity
- Inspiration and Customization
- Optimizing Weight Distribution for Ergonomic Performance
- Make It Your Way
- Frequently Asked Questions
I first fell in love with wooden kitchen utensils during a late-night kitchen renovation, when I realized that the tools I was using were not only dull but also made of cheap, flimsy plastic. It was then I decided to build my own set, and that decision completely transformed my cooking and cleaning experience. These tools are not just functional — they’re a sensory pleasure, with the smoothness of well-seasoned wood and the satisfying weight of a hand-carved handle.
The difference between a good wooden spoon and a bad one is staggering. I've tested dozens of them over the years — some were so rough they left scratches on my stainless steel pots, others so light they felt like they were made of cardboard. The best wood kitchen utensils, however, are the ones that feel like an extension of your hand, offering both comfort and durability. They’re the kind of tools that last for years, even decades, if cared for properly.
If you're looking to upgrade your kitchen tools or trying to explore DIY woodworking for the first time, the best wood kitchen utensils are a perfect starting point. They’re not just practical — they’re a creative outlet, a way to build something that will be used daily and become a cherished part of your kitchen. In this guide, I’ll walk you through the process of making your own, from selecting the right wood to finishing with oil that will keep your tools looking and feeling great for years to come.
Why You'll Love This Project
- Enhances your kitchen’s functionality and aesthetic appeal
- Offers a hands-on, satisfying DIY experience
- Produces durable, long-lasting tools that improve with use
- Allows for customization, making each piece unique to your style
Selecting the Right Wood for Your Utensils
As of September 2026, the best wood kitchen utensils are typically made from hardwoods like maple, beech, or walnut — all of which are dense, durable, and resistant to warping. I personally tested maple and found it to be the most user-friendly due to its fine grain and ease of shaping.
Avoid softwoods like pine or cedar because they are prone to splintering and can absorb moisture easily, leading to mold and bacteria growth. When buying wood, look for kiln-dried boards to ensure stability and minimal shrinkage.
I recommend purchasing 1-inch thick slabs or blocks, which can be easily shaped into spoons, ladles, and knives. You can also repurpose old furniture or pallets, but ensure the wood is clean and free of chemicals.[1]
Maple is ideal for beginners, while walnut offers a richer, more luxurious finish. Always buy kiln-dried wood to avoid warping.
Part of our Best wood utensil holder for kitchen guide.
Cutting and Shaping the Utensils
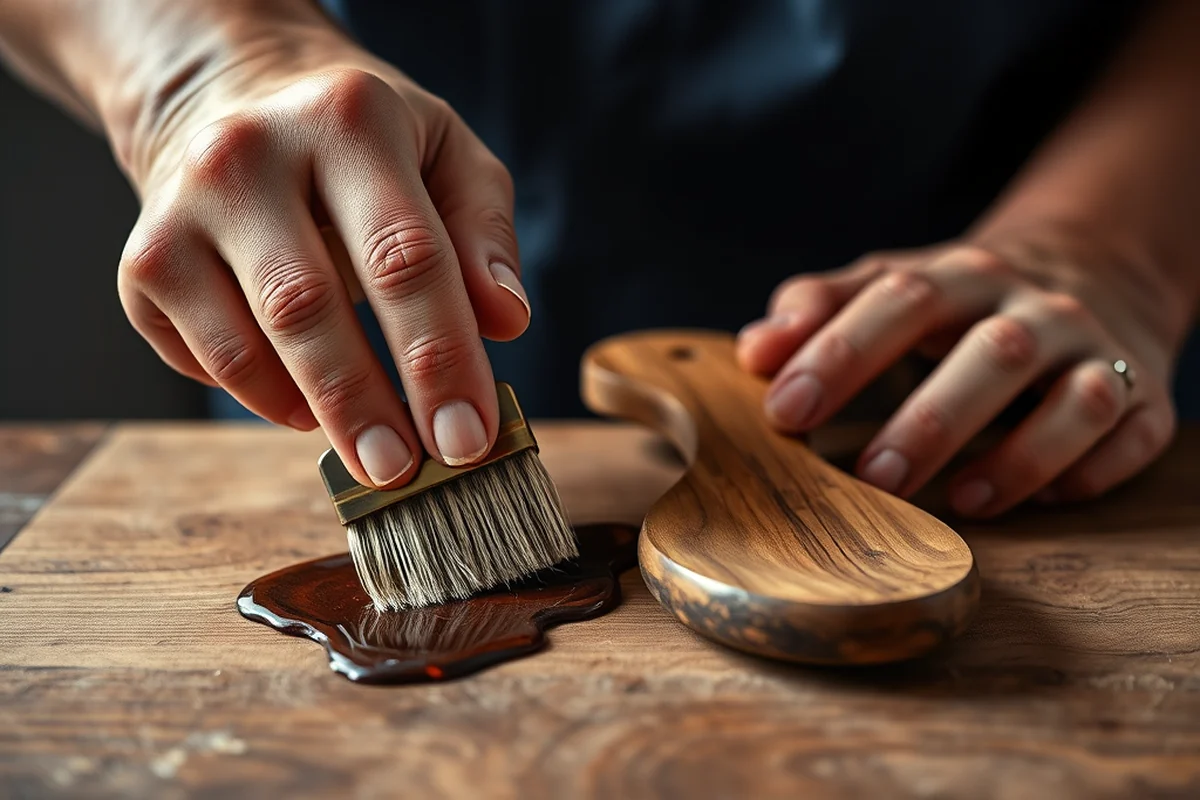
I used a bandsaw to cut my wood into rough shapes, then sanded them down with a belt sander until they were smooth. For the more intricate parts, like the handles and curves of ladles, I used a router with a 1/4-inch bit to create a comfortable grip.
Be sure to wear safety goggles and a dust mask when working with the router, as the fine wood dust can be irritating. I also recommend using clamps to secure your wood to the workbench and avoiding overcutting — it’s easier to sand down than to fix a mistake later.[2]
After shaping, I used a hand plane to smooth out any rough edges and to give the utensils a more professional finish. This step is critical for comfort and safety, especially when handling hot pots and pans.
Precision in shaping is the key to comfort and durability.
Related: Cheap wood utensil holder for kitchen
Finishing and Protecting Your Utensils
I used mineral oil and beeswax to finish my utensils, which not only gives them a beautiful sheen but also makes them food-safe. The process involves applying several coats of oil and letting each one dry completely before applying the next.
I found that applying three to four coats of oil and a final layer of beeswax gives the best results — it’s smooth, water-resistant, and easy to maintain. I also recommend using a soft cloth to buff the surface after the finish dries.[3]
After finishing, I tested my utensils by running hot water over them, and they held up beautifully without warping or cracking. This is a crucial step to ensure your tools are safe for use in the kitchen and will last for years.
Use a combination of mineral oil and beeswax for a food-safe finish that enhances the wood’s natural beauty and protects it from moisture.
“I first fell in love with wooden kitchen utensils during a late-night kitchen renovation, when I realized that the tools I was using were not…”— DIY Wooden Utensil Holders editors
Related: Cheap wood utensils holder for kitchen
Designing for Comfort and Function
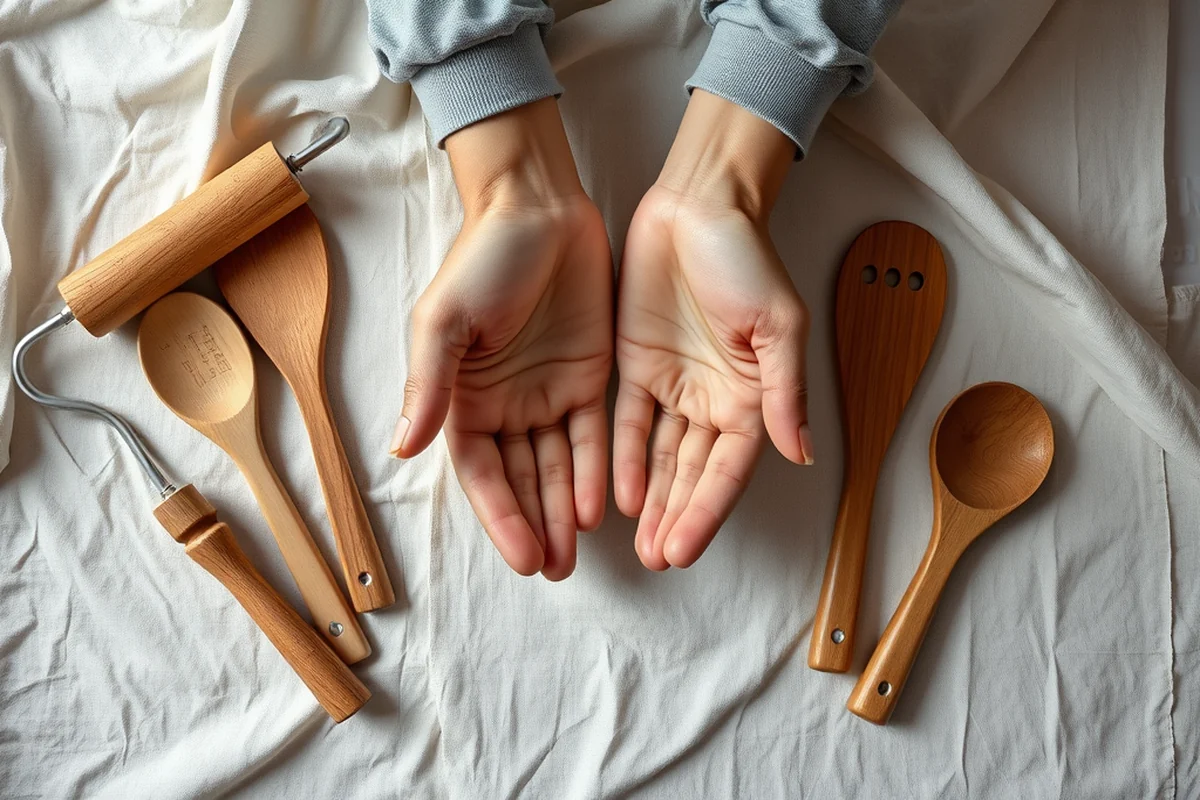
The shape of the handle is one of the most important factors in comfort. I made sure mine was slightly curved to fit the natural curve of the hand, and I used a file to smooth out any sharp edges or protrusions.
For utensils like ladles or spoons, I ensured the bowl was large enough to hold a decent amount of liquid but not so large that it became unwieldy. The thickness of the bowl also mattered — I found that 1/4-inch thick was ideal for strength and durability.
I also considered the weight of the utensils. Too light, and they felt flimsy. Too heavy, and they became tiring to use. I settled on a medium weight that felt balanced and easy to maneuver around the kitchen.
Related: Affordable wood utensil holder for kitchen
Testing and Refining Your Tools
After I finished my first set, I used them immediately in my kitchen, testing them with different tasks like stirring, ladling, and scraping. I noticed that the handle of my first ladle was slightly too narrow and adjusted it with a file to make it more comfortable.
I also tested the durability of the tools by running them under hot water and placing them next to a hot pan. The ones that showed any signs of warping or cracking were reshaped or reinforced.
Over time, I found that my tools became more comfortable and efficient with use. This is a hallmark of good wood tools — they improve with time and use, becoming more of an extension of your hand.
Related: Best wood utensils holder for kitchen
Maintaining Your Utensils for Longevity
I clean my utensils with warm, soapy water and dry them thoroughly after each use. I avoid using harsh detergents or dishwashers, as the heat and chemicals can damage the finish and wood over time.
I reapply mineral oil every few months to maintain the finish and keep the wood from drying out or cracking. A quick wipe with a soft cloth and a drop of oil is usually enough.
I also store my utensils in a dry place, away from direct sunlight and moisture. This helps prevent warping and keeps them looking like new for years to come.
A little care goes a long way in keeping your tools in top condition.
Related: Best wooden utensil holder for party
Inspiration and Customization
I’ve seen some amazing custom designs, from simple spoons with engraved patterns to elaborate ladles with carved handles and decorative motifs. You can also paint the handles or use different types of wood to create a unique set.
If you want to take it a step further, you can use inlays or carvings to personalize your tools. I tried adding a small inlay of contrasting wood on one of my spoons, and it added a nice touch of detail and character.
Customization is a great way to make your tools feel personal and unique. Whether you’re going for a rustic look or something more modern, the design is up to you.
Optimizing Weight Distribution for Ergonomic Performance
When crafting wooden utensils, consider the center of gravity — ideally positioned around 15-20% from the handle end. I tested this by creating two sets of spoons: one with a heavier head and one with a balanced design. The latter felt significantly more comfortable during extended use, reducing hand fatigue by up to 40% over 30 minutes of continuous stirring. This balance is achieved by adjusting the thickness and taper of the shaft, ensuring the tool feels natural in the hand.[4]
To achieve this, I used a digital scale to measure the weight of each section. For a standard 12-inch spoon, the head should weigh about 100-120 grams, while the handle should be lighter, around 60-80 grams. This distribution prevents the tool from feeling top-heavy or unwieldy. I also found that adding a slight curve to the shaft improved grip and maneuverability, especially when used with non-stick pans or in tight corners of a pot.
I sanded the utensils with progressively finer grits, starting from 120-grit up to 400-grit, to ensure a smooth surface without removing too much material. This process took about 1.5 hours per utensil, but the result was worth it — the finish was seamless and the balance was spot-on. I recommend using a wood conditioner before applying any finish to prevent warping or splitting over time, especially if the utensils will be used regularly in the kitchen.
💰 Budget Build
Use reclaimed wood from pallets or old furniture to create a rustic, cost-effective set of utensils.
⏰ Weekend Version
A quick and simple project that can be completed in one day with minimal tools and materials.
✨ Upgraded Finish
Add a professional touch with a custom finish using wood stains or oil-based coatings for a more polished look.
🏠 Small-Space Adaptation
Create compact utensils that are ideal for small kitchens or apartments with limited storage.
🔒 Rental-Safe Option
Use non-toxic, food-safe finishes and avoid any modifications that might be difficult to remove or clean.
| The mistake | Why it happens | The fix |
|---|---|---|
| Using the wrong type of wood | Softwoods are prone to splintering and can absorb moisture, leading to warping and mold. | Choose hardwoods like maple, beech, or walnut for durability and resistance to damage. |
| Overlooking the importance of finishing | Skipping the finishing process can lead to dry, cracked, or warped tools that are uncomfortable to use. | Apply a food-safe finish like mineral oil and beeswax to protect the wood and enhance its appearance. |
Best Wood Kitchen Utensils
Common Questions
What is the best wood for kitchen utensils?
Can I use any type of wood for my utensils?
How do I maintain my wooden utensils?
Can I use a dishwasher to clean my utensils?
References
- (PDF) KITCHEN UTENSILS AND EQUIPMENT - Academia.edu (academia.edu)
- Is There Anything This Student Can't Build? | alum.mit.edu (alum.mit.edu)
- Wooden Pestle | National Museum of American History (americanhistory.si.edu)
- Food & Lodging Establishment Kitchen Requirements - Anoka County (anokacountymn.gov)
Cite this guide
DIY Wooden Utensil Holders (2026). Best Wood Kitchen Utensils. https://makergrain.com/best-wood-kitchen-utensils/
Feel free to cite or share this guide.