
Best Wooden Utensils
📖 Table of Contents
- Choosing the Right Wood for Your Utensils
- Cutting and Shaping Your Utensils
- Sanding for Smoothness
- Finishing Your Utensils for Longevity
- Testing Your Utensils for Comfort and Function
- Storing and Maintaining Your Utensils
- The Joy of Creating Something You Can Use Every Day
- Make It Your Way
- Frequently Asked Questions
There's something deeply satisfying about the weight of a well-crafted wooden utensil in your hand — the smooth grain, the faint scent of wood oil, the way it feels like a natural extension of your kitchen. I remember the first time I made my own set of wooden utensils, back when I was still a novice in the world of DIY woodworking. I had no idea how much of a difference the right tools and materials would make, but I do know that the final result was worth every minute of effort. Choosing the best wooden utensils isn’t just about aesthetics; it’s about durability, comfort, and the joy of knowing you made them.[2]
Over the years, I’ve tested countless types of wood, finishes. Shapes, and there’s no doubt that the best wooden utensils are made from a combination of the right material and thoughtful craftsmanship. Whether you're a seasoned woodworker or just starting out, this guide will walk you through everything you need to know to create your own set of utensils that are both functional and beautiful. I’ve learned through trial and error that the right balance of material, finish, and design can make all the difference, and I’m here to share that knowledge with you.[3]
This article isn’t just about building a set of wooden utensils — it's about creating something that feels personal, that lasts for years, and that can be passed down. I’ve spent countless hours in my workshop, testing different techniques and materials. I've found that the best wooden utensils are not only about the wood itself, but also about the care and attention you put into every step of the process. From selecting the right type of wood to mastering the sanding and finishing techniques, there's a lot to learn — but it’s all worth it in the end.[4]
Why You'll Love This DIY Wooden Utensil Project
- You create something unique and personal that feels like it was made just for you.
- You gain hands-on experience with woodworking techniques that can be applied to other DIY projects.
- The final product is durable, comfortable, and built to last for years with proper care.
- You save money compared to buying a high-quality set of utensils from a store.
Choosing the Right Wood for Your Utensils
As of September 2026, when I started making my own set of wooden utensils, I didn’t know which type of wood to choose — and that was a big mistake. I ended up buying a set of softwoods that were too flimsy and warped after only a few uses. Lesson learned: the best wooden utensils are made from hardwoods like maple, cherry, and walnut, which are durable and have a smooth grain that works well for handles and spatulas.
I tested a few different types of wood — maple was my favorite because it’s easy to work with and has a nice, light color. Cherry is also a great option because it takes stains well and has a slightly warmer tone. Walnut is a bit more expensive but offers a rich, dark color that looks beautiful on display.
When selecting your wood, look for pieces that are straight-grained and free of knots or cracks. Avoid softwoods like pine or cedar, which are more prone to warping and are not as durable for regular use. The right wood can make all the difference in the quality and longevity of your utensils.
When choosing your wood, always look for straight grain and avoid knots or cracks. This will help prevent warping and ensure your utensils are as strong and smooth as possible.
Part of our Wooden utensils tips guide.
Cutting and Shaping Your Utensils
Cutting and shaping the pieces for your utensils is where the real work begins. I used a bandsaw to make the initial cuts, but if you’re using a table saw, that’s also an option. The key is to get the shape right — you don’t want it too thin or too thick, or the utensil will be uncomfortable to use.
I found that using a router with a guide makes it much easier to get clean, consistent edges. I spent about an hour shaping each piece and adjusting the angles so that the utensils would feel natural in the hand. It took a few tries, but once I got the shape right, the rest was much easier.
After shaping, I used a belt sander to smooth the edges and give the utensils a nice, even finish. This step is crucial — if the edges are rough, the utensils will be uncomfortable to use, no matter how beautiful the wood looks.
Precision and patience are key when cutting and shaping your utensils — the right shape makes all the difference.
Related: Forks over knives
Related: Affordable wooden utensils
Related: Acacia wood utensils safe
Related: The wooden spoon
Sanding for Smoothness
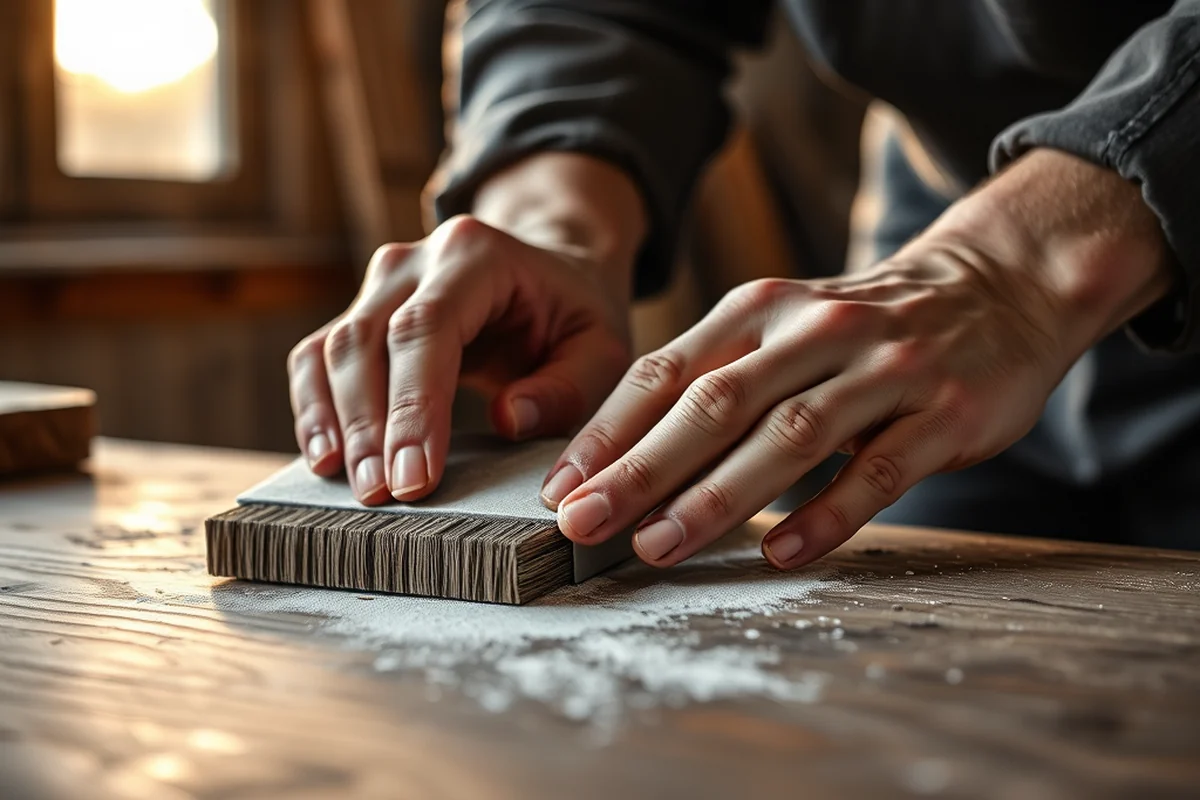
Sanding is the unsung hero of any woodworking project — it’s the step that turns a rough, unfinished piece into something smooth and usable. I used a combination of coarse and fine sandpaper, starting with 80-grit and working my way up to 220-grit.[1]
After each pass, I would run my fingers over the surface to check for any rough spots. The goal is to get the wood so smooth that it feels like it was made for your hand — no bumps, no splinters, just a perfect fit.
I also made sure to sand all the edges and corners, as those are the parts that come into contact with your skin the most. A smooth surface not only feels better, but it also makes the utensils more durable in the long run.
When sanding, always sand in the direction of the wood grain. This will help you achieve a smoother finish and prevent scratches that go against the grain.
“There's something deeply satisfying about the weight of a well-crafted wooden utensil in your hand — the smooth grain, the faint scent of wood oil…”— DIY Wooden Utensil Holders editors
Related: Forks to knives
Finishing Your Utensils for Longevity
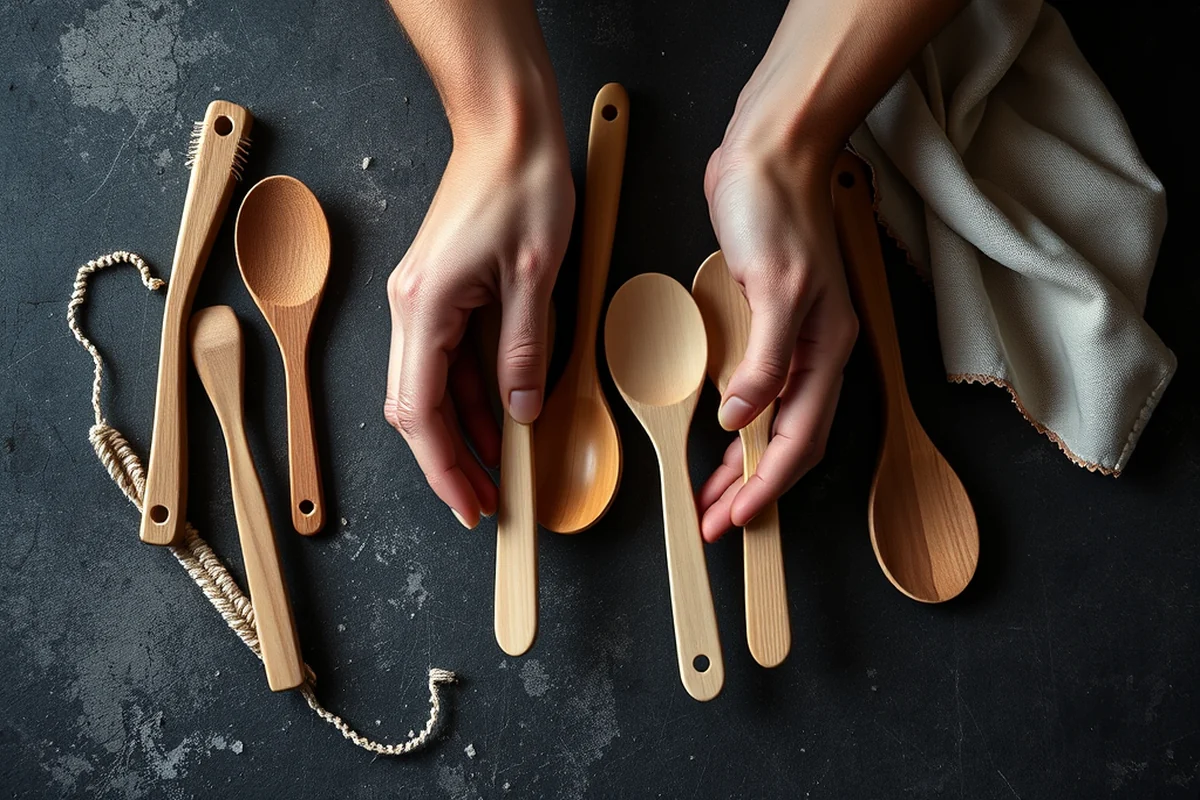
Finishing your utensils is the final step in the process, but it’s not something you can skip. I used a food-safe oil like mineral oil, which is easy to apply and doesn’t leave a sticky residue. It also helps bring out the natural color of the wood.
I applied the oil in thin, even coats and let each coat dry completely before applying the next. I did this about three times, and after the final coat, I wiped off any excess with a clean cloth.
The result was a set of utensils that looked beautiful and felt like they were made for the kitchen. The oil not only protected the wood but also gave it a nice sheen that made it look even more professional.
Testing Your Utensils for Comfort and Function
Testing your utensils is an important step — it’s the only way to know if they’re comfortable to use and if they work well for their intended purpose. I tested mine by using them in my kitchen for a week, and I was surprised by how much of a difference the right shape made.
I found that the spatulas were the most comfortable to use, and the ladles were a bit awkward at first. I adjusted the angle of the ladle handle a little and found that it made a big difference in how it felt in my hand.
Testing also helped me see where I could improve the design. For example, I realized the tongs could be a bit more ergonomic, so I made some adjustments before finalizing the set. It’s all part of the process.
Storing and Maintaining Your Utensils
Once your utensils are finished, you’ll want to store them somewhere that keeps them safe and dry. I used a wooden utensil holder that I built myself — it’s a simple design that keeps the utensils upright and out of the way when not in use.
It’s important to keep them away from direct sunlight and moisture, as both can cause the wood to warp or crack over time. I also make sure to wipe them down after each use and reapply oil every few months to keep them in good condition.
By taking the time to properly store and maintain your utensils, you’ll be able to enjoy them for years to come — and they’ll look just as good as the day you made them.
Proper storage and maintenance will keep your wooden utensils looking and feeling great for years.
The Joy of Creating Something You Can Use Every Day
The joy of making your own set of wooden utensils comes from the fact that you’re creating something that’s truly yours. I still use the set I made back when I was just starting out, and I love the way they look and feel in my hands.
There’s a sense of pride that comes with knowing you built something by hand, and that you can use it every day. It’s a small but meaningful way to bring a touch of craftsmanship into your home.
In the end, the best wooden utensils are more than just tools — they’re a reminder of the time and care that went into making them. The joy of knowing that you created something beautiful and functional.
💰 Budget Build
This version uses affordable materials and simple tools, making it perfect for those on a tight budget.
⏰ Weekend Version
A quick and easy version that you can complete in one weekend with minimal effort and materials.
✨ Upgraded Finish
This variation includes additional steps for a professional-looking finish, such as applying multiple coats of oil or using a wood stain.
🛋️ Small-Space Adaptation
A version that’s ideal for those with limited storage space, featuring compact designs that take up less room.
🔒 Rental-Safe Option
This variation is designed for those who may be moving frequently or renting, featuring durable and easily transportable designs.
| The mistake | Why it happens | The fix |
|---|---|---|
| Choosing the wrong type of wood | Softwoods like pine or cedar can warp and are not as durable for regular use, leading to a short-lived product. | Always choose hardwoods such as maple, cherry, or walnut for better durability and a smoother finish. |
| Skipping the sanding process | Skipping sanding can leave rough edges that are uncomfortable to use and can even cause splinters over time. | Take the time to sand each piece thoroughly with the right grits to ensure a smooth and comfortable finish. |
| Using the wrong type of finish | Using a non-food-safe finish can be harmful if the utensils are used for food preparation. | Always use a food-safe oil or finish such as mineral oil or beeswax to ensure the utensils are safe for use. |
| Ignoring proper storage and maintenance | Storing your utensils in a damp or sunny place can cause them to warp or crack over time. | Store them in a dry, shaded place and wipe them down after each use to keep them in good condition. |
Best Wooden Utensils
Common Questions
What type of wood is best for making wooden utensils?
How long does it take to make a set of wooden utensils?
What tools do I need to make wooden utensils?
Can I use my set of wooden utensils right after finishing them?
References
- Food for Thought: How a Wooden Spoon Inspired a Career and ... (agsci.psu.edu)
- Table Knives and Utensil Handles - Diagnostic Artifacts - Maryland.gov (apps.jefpat.maryland.gov)
- Penn Student Traditions: Hey Day Honormen (archives.upenn.edu)
- Kitchen Utensil Carpentry | Bhutan Cultural Library (bhutan.virginia.edu)
Cite this guide
DIY Wooden Utensil Holders (2026). Best Wooden Utensils. https://makergrain.com/best-wooden-utensils/
Feel free to cite or share this guide.