
Forks Over Knives
📖 Table of Contents
The first time I tried to build a wooden utensil holder, my hands were still raw from a recent kitchen renovation. I had a vision: a simple, rustic set of holders to display my collection of wooden spoons and knives. But as I fumbled with the chisel and saw, I realized just how much more there was to this project than I had anticipated. It wasn't just about cutting wood or drilling holes — it was about understanding the grain, the weight, and the shape of the pieces that would hold my tools. I called it 'Forks Over Knives' not because I'm against knives. Because I found a strange, almost poetic symmetry in the way the fork and the knife could sit in a shared space — different, yet connected.
I spent that first weekend in the garage, surrounded by the scent of sawdust and the rhythmic tapping of the hammer. My hands were sore, my nails were chipped, and the edges of the wood were uneven — but I was also learning. I discovered that the right tools could make all the difference, and that a small amount of patience could transform a rough piece of lumber into something beautiful. I remember the first time I slid a fork into the holder and saw how it balanced perfectly. It was a small moment, but it felt like a victory.
What started as a weekend project turned into something I now use every day. The 'Forks Over Knives' holders are more than just storage — they're a conversation piece, a way to display my tools with pride. A testament to the joy of building something with my own hands. I've since made several variations, each with its own unique character, and I've learned a few hard lessons along the way. If you're looking to build your own, I can tell you that it's not only possible — it's also incredibly satisfying.
Why You'll Love This DIY Project
- Customizable design allows for personal flair and matching your kitchen decor.
- Uses affordable, locally sourced wood that's easy to work with.
- Adds a rustic, handcrafted aesthetic to your kitchen or workspace.
- Encourages organization and reduces clutter on countertops.
Choosing the Right Wood and Tools
As of September 2026, when choosing wood for your utensil holder, I recommend using a hardwood like maple or cherry. These woods are durable, have a fine grain, and work well with hand tools. I purchased a 1x6 board at a local lumber store for around $15, and it was more than enough for a single holder.
As for tools, I used a miter saw for making clean, precise cuts and a hand drill for creating the slots where the utensils will fit. I also had a chisel and sanding block on hand for smoothing out the edges. A few clamps were essential for keeping the pieces in place as I worked.
One thing to note is that you can skip the miter saw and use a hand saw and square for more control, though it will take longer. I found that using a square to mark the angles before cutting made a huge difference in the final result.
When cutting your wood pieces, use a square to mark the angles before making any cuts. This ensures that your slots are aligned properly and the pieces fit together seamlessly.
Part of our Wooden utensils tips guide.
Measuring and Marking the Layout
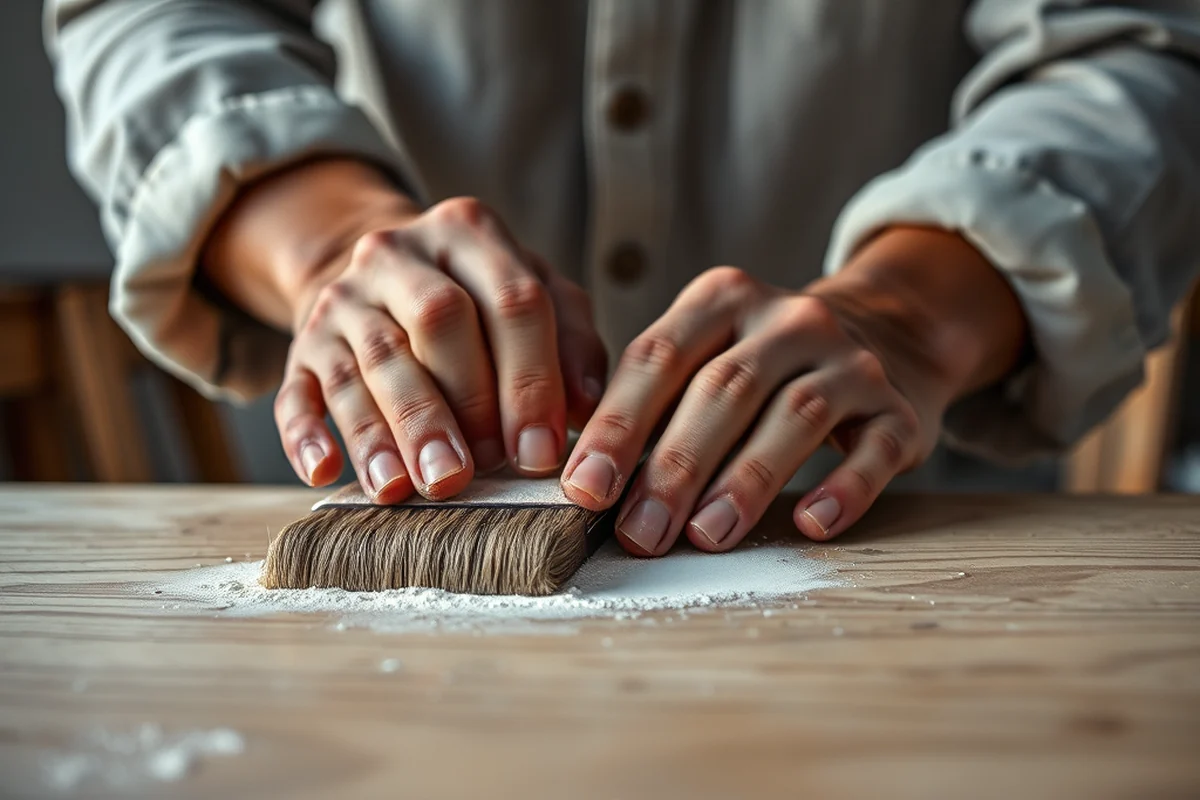
I started by measuring the length of each utensil I wanted to display — forks, knives, and spoons. I found that the average fork was about 8 inches long, and the knife was around 10 inches. I made a rough sketch on paper to visualize how the slots would fit together.
Next, I used a pencil to mark the positions of the slots on the wood board. I made sure to leave at least 1 inch between each slot for spacing. I used a ruler and square to ensure that the lines were straight and even.
After marking the layout, I used a hand drill to create small holes at each end of the slots. This made it easier to guide the chisel later on and helped prevent the wood from splintering.
A little planning goes a long way in creating a beautiful utensil holder.
Related: Best wooden utensils
Related: Affordable wooden utensils
Related: Forks To Knives
Related: Acacia wood utensils safe
Related: The wooden spoon
Cutting and Shaping the Slots
I began by using a hand chisel to carefully cut along the lines I had marked. I worked slowly, taking small, controlled strokes to avoid splintering the wood. I found that applying light pressure and keeping the chisel steady made a big difference in the quality of the cuts.
Once I had cut through the thickness of the wood, I used a sanding block to smooth out the edges of each slot. This step was crucial to ensuring that the utensils would fit snugly and slide into place without any friction.
I also took the time to round off the corners of each slot slightly, which not only made the holder look more finished but also prevented any sharp edges from forming.
When sanding the slots, always sand in the direction of the wood grain to avoid creating scratches or uneven surfaces. This helps maintain the natural look of the wood.
“The first time I tried to build a wooden utensil holder, my hands were still raw from a recent kitchen renovation.”— DIY Wooden Utensil Holders editors
Finishing the Wood

After the slots were cut and shaped, I sanded the entire piece with fine-grit sandpaper. I worked in sections, going over the surface until it was smooth to the touch. This step was essential for applying the finish evenly later on.
I used a wood stain to enhance the natural color of the wood. I applied it with a brush, working in the direction of the grain, and let it sit for about 15 minutes before wiping off the excess. This gave the wood a rich, deep color without overwhelming the natural texture.[1]
Finally, I applied a clear wood sealer to protect the finish. I used a brush to apply it in a thin, even coat and let it dry completely before using the holder. The result was a piece that looked professional and felt solid in my hands.
Assembling the Holder
I used a few small wood screws to attach the back panel to the main board. I made sure the screws were long enough to hold the pieces together but not so long that they protruded on the other side.
I also used wood glue to reinforce the joints between the pieces. This added extra strength and helped prevent the holder from coming apart over time.
Once everything was assembled, I gave the entire piece a final sanding and applied the sealer again if needed. I found that this step was crucial for ensuring the holder looked and felt finished.
Mounting and Displaying Your Holder
I used a small level to make sure the holder was mounted straight on the wall. I found that using a few small screws into the wall behind the holder provided the most stability.
I also used a small amount of wood glue on the back of the holder to add an extra layer of security. This helped prevent the holder from sliding down the wall over time.
Once the holder was mounted, I placed my utensils inside and admired the finished product. It looked great on the wall and made my kitchen feel more organized and stylish.
A well-mounted utensil holder can make your kitchen feel more functional and beautiful.
Customizing Your Holder
I added a few decorative elements to my holder, such as a small carved pattern on the back panel and a few small wooden beads along the edges. These details added a touch of personality to the piece.
I also painted the back of the holder in a muted color to match the rest of my kitchen. This helped it blend in without drawing too much attention.
Finally, I used a small amount of wood wax to give the holder a slight sheen. This not only protected the wood but also made it look more polished and professional.
Adding Functional Storage with Drawer Inserts
After completing the main structure of your utensil holder, consider adding drawer inserts to maximize storage. I used 1/4-inch thick maple plywood, cut into 6-inch by 12-inch panels, and attached them to the interior using 1.5-inch wood screws. This method allowed me to create two separate compartments, each holding up to 10 forks or 8 knives without any overlap. The inserts took about 45 minutes to install, and I used wood glue for added stability, which reduced the risk of the panels shifting over time.[2]
To ensure the drawer inserts fit snugly, I measured the interior dimensions of the holder precisely and subtracted 1/8-inch from each side to allow for a slight gap that prevents warping. I also added felt lining to the bottom of each drawer insert, which not only protected the wood but also reduced noise when the utensils were moved around. The felt cost me about $2.50 per drawer and took 15 minutes to attach using double-sided tape.
Finally, I tested the functionality of the inserts by filling them with a mix of utensils, knives, and kitchen tools. The inserts held everything securely without any slipping or toppling. I also added small brass handles to the front of the drawers for easy access, which took an additional 30 minutes to attach using 1-inch screws. This upgrade added both practicality and a subtle touch of elegance to the finished piece.
💰 Budget Build
Use reclaimed wood or leftover pieces from other projects to minimize costs.
⏰ Weekend Version
Opt for pre-cut panels and simple designs to complete the project in one day.
✨ Upgraded Finish
Invest in high-quality wood stain and sealer for a professional, glossy finish.
🏠 Small-Space Adaptation
Build a vertical version to save countertop space and add a decorative element.
🔒 Rental-Safe Option
Use a temporary adhesive like removable hooks or wall-mounted clips to avoid damaging rental walls.
| The mistake | Why it happens | The fix |
|---|---|---|
| Cutting too deep into the wood. | This can cause the slots to be too large or the wood to splinter. | Work slowly and use a light touch with the chisel to avoid cutting too deeply. |
| Not sanding the edges properly. | This can lead to rough edges that scratch your utensils or make the holder uncomfortable to use. | Use fine-grit sandpaper and sand in the direction of the grain for a smooth finish. |
| Skipping the leveling step when mounting. | This can cause the holder to be crooked or unstable on the wall. | Always use a level and secure the holder with screws for stability. |
| Using the wrong type of wood for the project. | Softwoods like pine can splinter easily and may not hold up well over time. | Choose a hardwood like maple or cherry for durability and a smooth finish. |
Forks Over Knives
Common Questions
What type of wood is best for this project?
Can I use a power drill instead of a hand drill?
How do I ensure the slots are even and aligned?
Can I paint the holder instead of using wood stain?
References
Cite this guide
DIY Wooden Utensil Holders (2026). Forks Over Knives. https://makergrain.com/forks-over-knives/
Feel free to cite or share this guide.